Short answer
To tile a shower, waterproof and flood test it first; tile and grout are not the waterproofing. Plan the layout so full tiles land where the eye goes and the grout lines suit the niche and valve. Start the walls from a level line, not the sloped floor, using a non-sag mortar. Slope the floor about 1/4" per foot to the drain, with small tile or careful cuts at a centre drain. Seal inside corners with silicone, not grout, and wait about 72 hours before the first shower.
A shower is the hardest place in a house to tile well. It is wet every day, the floor slopes, the walls are rarely perfectly square, and every pipe and corner is a possible leak. This guide explains how to tile a shower in the order the work is done: shower walls, shower floor, corners and finishing. It also covers where showers usually fail, so you can judge your own plan or an installer's.
What must be done before you tile a shower
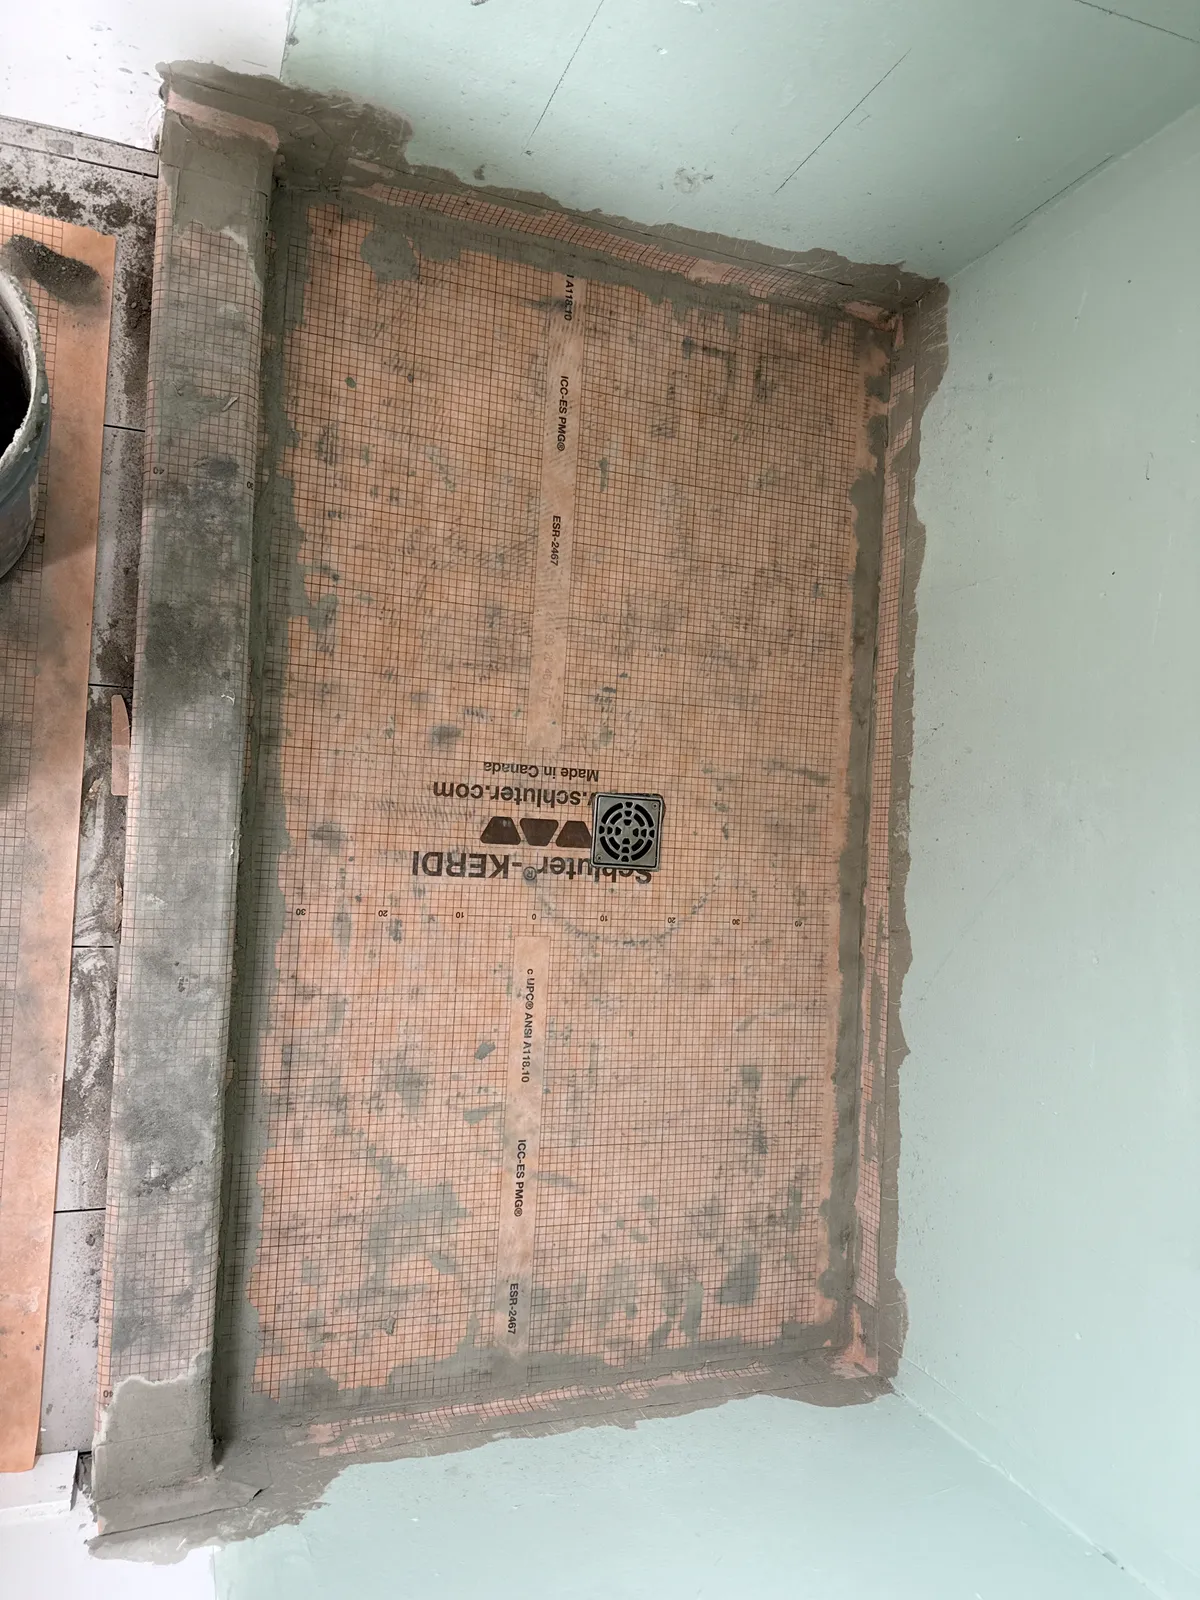
Tile and cement grout let water through. What keeps the wall and floor dry is a waterproofing layer behind the tile and a floor sloped to the drain. By the time tiling starts, these should already be in place:
- A suitable backer. Cement board, a foam board such as KERDI-BOARD, or in some systems drywall under a bonded membrane. Never bare drywall or green board on its own. See KERDI-BOARD vs cement board.
- Flat, plumb walls. Waterproofing won't hide a bowed stud, and large tile will show it.
- Blocking in the framing for grab bars and the glass.
- The valve set by the plumber at the right depth for the finished wall, so the trim fits once tile is on.
- One waterproofing system on walls, floor, niche and curb, with every seam, corner and pipe sealed and the membrane bonded to the drain.
- A passed flood test, commonly 24 hours with the drain plugged.
The steps are covered in how to waterproof a shower, and the reasons in shower waterproofing explained. Sheet and liquid membranes both work when installed exactly as the maker says; see liquid vs sheet membranes. After the flood test, protect the membrane. A dropped trowel or a boot can puncture it.
Plan the shower tile layout first
Showers are small, so every cut shows. Layout is worked out on paper and with a tape before any mortar is mixed.
Start with the wall people see first, usually the back wall facing the door or the long wall of a tub-shower. Find its centre and decide whether a grout line or the middle of a tile lands there. Pick whichever leaves equal cuts of at least half a tile at both corners. Then lay out the side walls. Many installers put full tiles at the outside edge, where they are seen from the bathroom, and let the cut fall in the back corner.
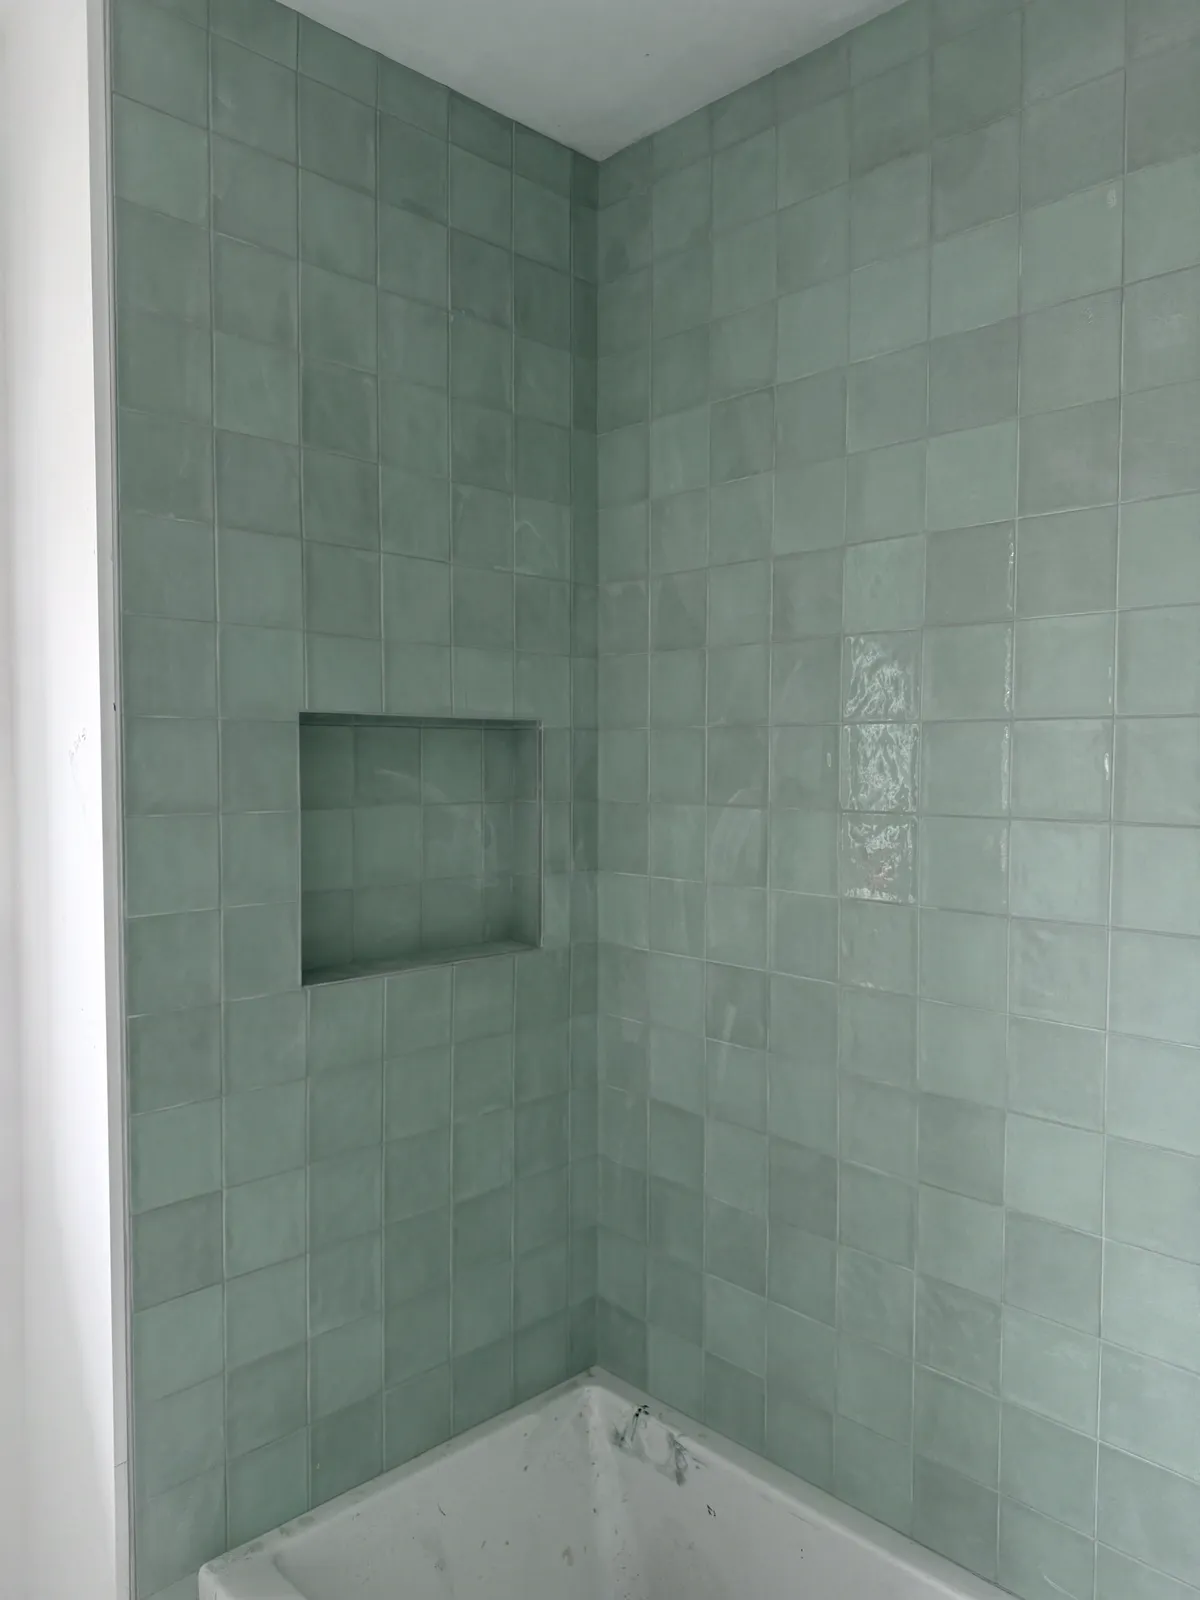
Next, check the height. A story pole (a straight board marked with tile and joint widths) shows where each row lands. Adjust so you don't end with a sliver at the ceiling or the top of the tiled area. Then check the fixed points: the valve, shower arm, niche, bench and the edges of the glass. A grout line that lines up with the top and bottom of the niche looks deliberate. One that misses by half an inch looks like a mistake. Our guide to shower niches covers sizing a niche to the tile.
Floor or walls first?
Both sequences are common, and good installers use both. Each has a reason.
Floor first, then walls. The shower floor is tiled and grouted first. The bottom row of wall tile then sits just above it, overlapping the edge of the floor tile, with a gap for sealant. Water running down the wall lands on top of the floor tile, not behind it. The downside is that the new floor has to be protected while the walls are tiled above it.
Walls first, then floor, then the bottom row. A level ledger board is fixed one row up, and the walls are tiled from there to the top. The floor goes in next, and the bottom wall row is cut last to fit between the floor tile and the first full row. This keeps the floor clean and lets each bottom piece be cut to the slope.
The finished joint is the same either way. The wall tile sits over the floor tile, and that corner gets flexible sealant. What matters is that the first full row on the wall is level, which leads to the next step.
How to tile a shower wall from a level line
A shower floor slopes to the drain, and a tub is rarely perfectly level. If you start the first row on either one, every row above inherits the slope. The joints run downhill and the top row tapers.
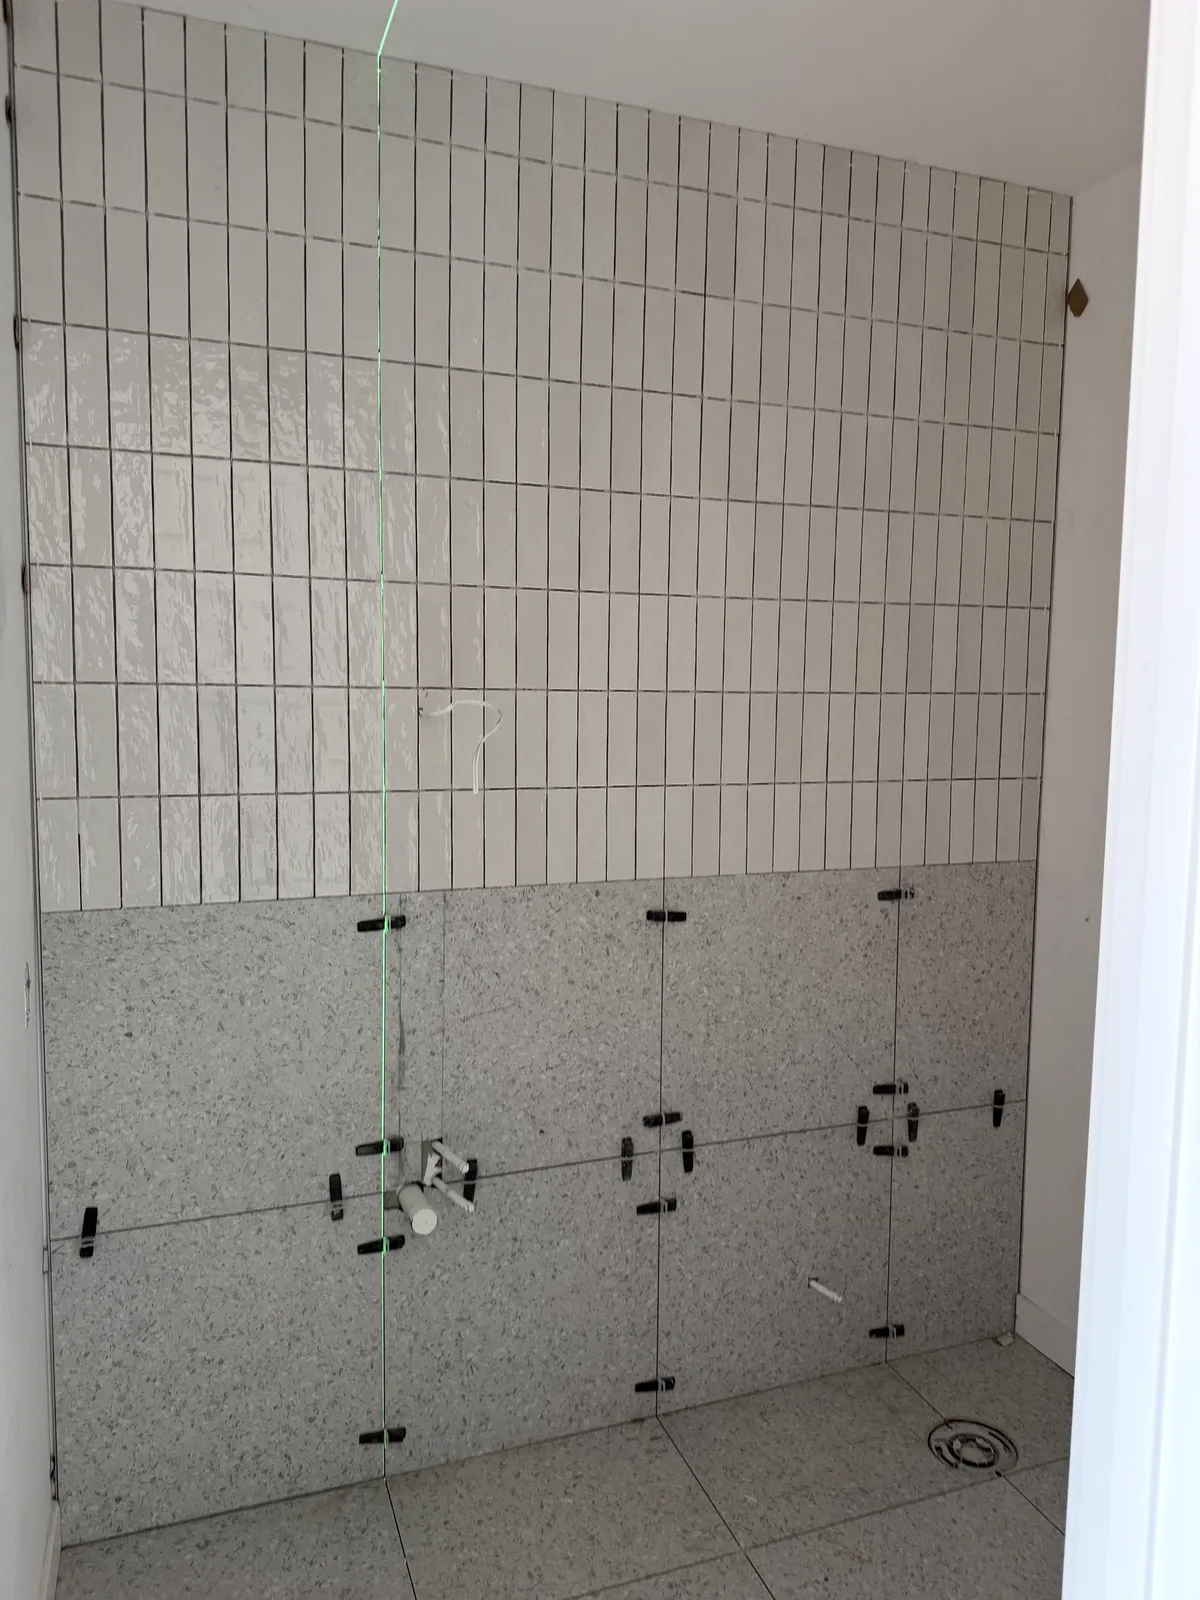
Instead, find the lowest point where the first row will sit. Then set a level line one tile height (plus a joint) above it. A self-levelling laser line is the easiest way to do it, and you can see one in the photo at the top of this page. A straight ledger board screwed along that line holds the first full row while the mortar cures. Any screw holes this leaves in the waterproofing are patched as the system specifies before the bottom row goes on.
Work up the wall in rows, checking for level and plumb every few rows. Keep the vertical joints in line between walls so the corners read cleanly. Cut holes for the valve and shower arm with a diamond hole saw. Keep them only as large as the trim plate covers, and seal around each pipe as the waterproofing system specifies.
Mortar for shower walls and large-format wall tile
Wall tile needs a mortar that grabs and holds without slumping. Non-sag modified mortars are made for this, and lightweight versions help with larger tile. Over a membrane, use a mortar that membrane's maker lists, or the system warranty may not apply. Our guide on which thin-set to use explains the choice. Premixed mastic does not belong in a shower; water can soften an organic adhesive over time.
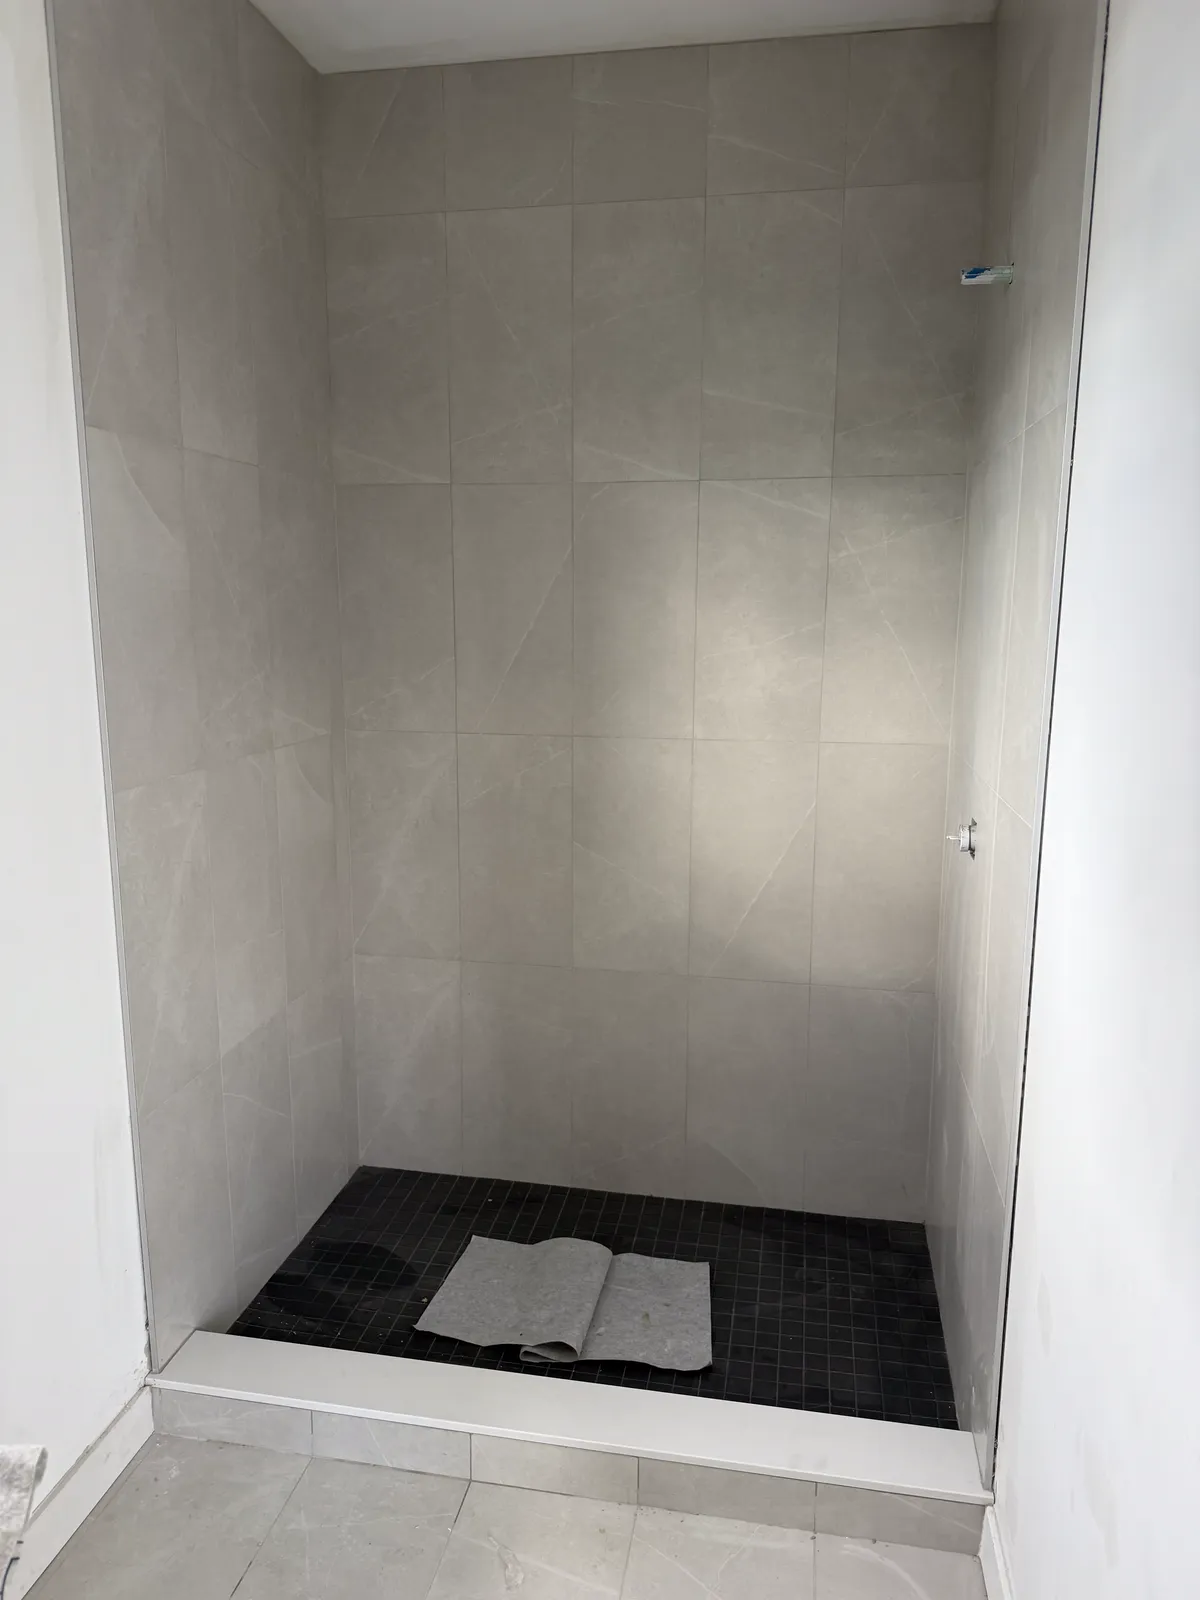
Large-format tile on walls, 12 × 24 and up, is popular because it means fewer grout lines to clean. It is also the hardest to set. Large heavy tiles want to slide down before the mortar grabs. They need a flat wall, a large-and-heavy-tile mortar, back-buttering and a ledger or spacers underneath. In a shower, aim for the 95% coverage industry standards call for in wet areas, with the edges and corners fully supported. Levelling clips keep the edges flush. See the large-format tile guide for flatness and offsets.
How to tile a shower floor
The shower floor is built sloped before the membrane goes on, typically about 1/4" per foot toward the drain. The tile follows that slope; it doesn't create it. Set the drain grate at the height of the finished tile so water runs off the tile into the drain, not over a raised lip.
Centre drain. The floor slopes in from all four sides like a shallow funnel. Small mosaics, such as 2 × 2 tiles on a sheet, bend to that shape easily. Their many joints also give good grip underfoot; see mosaic tile installation. Larger tile at a centre drain needs envelope cuts, sometimes called pie cuts. The tile is cut on diagonal lines running from the drain to each corner of the shower, so each of the four sections is a flat plane. Done well, the cuts look intentional and the floor drains without puddles. Done poorly, the corners of the tiles rise above their neighbours and water ponds.
Linear drain. A long channel at the back wall or the entrance lets the whole floor slope in one direction. One flat plane can take large tile, even the same tile as the bathroom floor. See linear shower drains and shower pan vs tiled shower floor for how the two compare.
Whatever the tile, choose one rated for wet floors with a slip-resistant finish. Lift tiles to check coverage, because a hollow under a shower floor tile holds water.
Corners, niches, curbs and edges
Most shower details come down to how planes meet and how edges finish.
Inside corners and changes of plane. Where two walls meet, and where the walls meet the floor or a tub, the surfaces move slightly differently. Rigid grout in these joints eventually cracks. Industry guidance is to fill them with a flexible sealant, colour-matched to the grout. Our guide to tile movement joints explains why.
Niches. The bottom of a niche should slope slightly outward so water doesn't sit. Its edges are finished with trim or mitred tile, and its grout lines line up with the wall.
Curbs. The top of the curb is tiled with a slight slope back into the shower, so water on it runs inside. The outside edges are finished with a profile, bullnose or a mitre. A curbless shower avoids the curb altogether but needs the floor dropped; see walk-in showers.
Exposed edges. Where the tile stops on the outside wall or at a half wall, the raw edge needs finishing. Tile edge trim vs mitred edges compares the options. Metal profiles are set into the mortar as the edge tiles go up, so choose them before tiling starts.
Grout and silicone in a shower
Once the mortar has cured, usually about 24 hours with standard products, the spacers and clip tops come out and the shower is grouted. Rake out any mortar left in the joints first. Grout over a shallow joint is thin and cracks.
Grout choice matters more in a shower than anywhere else. High-performance cement grouts and epoxy both suit showers. Epoxy is dense, doesn't need sealing and resists the soap scum and mildew that make shower grout look old. It costs more and takes skill to clean off before it sets. See grout types explained and epoxy vs cement grout.
Silicone goes in last, after the grout has cured. Use a 100% silicone sealant made for kitchens and baths, in a colour that matches the grout. Keep the joints clean and dry, tape the edges for a straight line, and tool it smooth. Silicone is a maintenance item. It is checked and replaced over the years, which is much easier than repairing cracked grout in a corner.
How long before you can use a new tiled shower?
With standard products, a shower is usually left about 72 hours after grouting before it gets wet. Rapid-setting systems can shorten that to about a day. Epoxy grout usually takes light use after about a day but reaches full strength in about a week. Silicone also needs time to cure before water hits it; the tube gives the time. The table in how long before using new tile has the typical waits. Showering too soon can wash out or weaken uncured grout and leave it patchy.
How long does it take to tile a shower?
For a standard alcove shower, plan on about one to two weeks from bare studs to the first shower. The hands-on tiling is only part of that. Building the floor slope, waterproofing and the flood test usually take two to three days with cure times. Wall tile takes one to three days depending on size and pattern. The floor, grout and silicone take another two or three, then about three days of cure before use. Large-format walls, mosaics, niches, benches and epoxy grout add time. A custom walk-in shower takes longer again.
Where tiled showers usually fail
Leaks rarely start in the middle of a wall. They start at the details: an unsealed seam or pipe, a niche with a flat bottom, a curb that wasn't fully wrapped, or a drain the membrane wasn't bonded to. Grout in the inside corners cracks and lets water sit behind it. Poor mortar coverage leaves hollows that hold water and crack under foot. Tile set on the sloped floor gives crooked rows, and a shower floor without enough slope leaves puddles that grow mould. Most of these are invisible once the shower is finished, which is why the order of work matters so much.
DIY or hire a pro for shower tile?
Tiling shower walls over a properly waterproofed, flood-tested enclosure is within reach of a careful DIYer with small or medium tile. The parts that go wrong most are the waterproofing, the floor slope and drain, and large-format tile. A mistake there shows up months later as a leak into the ceiling below, and the fix is tearing the shower out.
A tiled shower also involves other trades. The plumber moves the drain and sets the valve. Glass is measured after the tile is finished. Agora Flooring tiles and waterproofs showers, and the plumber, electrician and other trades do their own parts. We have waterproofed more than 350 showers with Schluter-KERDI. See our bathroom and shower tile page for how we work, and the cost to tile a shower in Ottawa for budgets.
Frequently asked questions
Do you tile the shower floor or walls first?
Either works. Some installers tile the floor first and set the wall tile over it. Others tile the walls from a level ledger, then the floor, then cut the bottom wall row to fit. Either way, the wall tile ends up over the floor tile with sealant in the corner.
Where do you start the first row of tile on a shower wall?
On a level line one full tile above the lowest point of the floor or tub, usually marked with a laser and supported by a ledger board. Starting on the sloped floor makes every row above it crooked.
What size tile is best for a shower floor?
With a centre drain, small mosaics are the easiest and give the best grip. Larger tile works with envelope cuts at a centre drain, or with a linear drain, which lets the floor slope in one plane.
Can you tile directly over drywall in a shower?
Not without a waterproofing membrane over it, and only if that system allows drywall underneath. Common choices are cement board covered by a membrane, or a foam board with its seams sealed.
Should shower corners be grouted or caulked?
Caulked with a flexible silicone sealant colour-matched to the grout. Rigid grout in inside corners and at the floor-to-wall joint cracks as the surfaces move.
Can you use premixed mastic for shower tile?
It is not a good idea. Water can soften organic adhesives over time. Shower tile is set in a cement-based thin-set, using the mortar the membrane or board maker lists.
How long after tiling can I shower?
Usually about 72 hours after grouting with standard products, sooner with rapid-setting systems. Check the grout and silicone instructions for the products used.