Short answer
Tile edge trim finishes an exposed tile edge, which otherwise shows the tile body and chips easily. A metal or PVC profile such as Schluter-JOLLY is set into the mortar under the last tile. It is durable, quick and suits any tile. Mitred edges join two tiles cut at 45 degrees for a clean corner with no metal showing. They take more labour, need flat, square walls and work best with colour-body or through-body porcelain. Bullnose pieces are a third option where the tile line makes them.
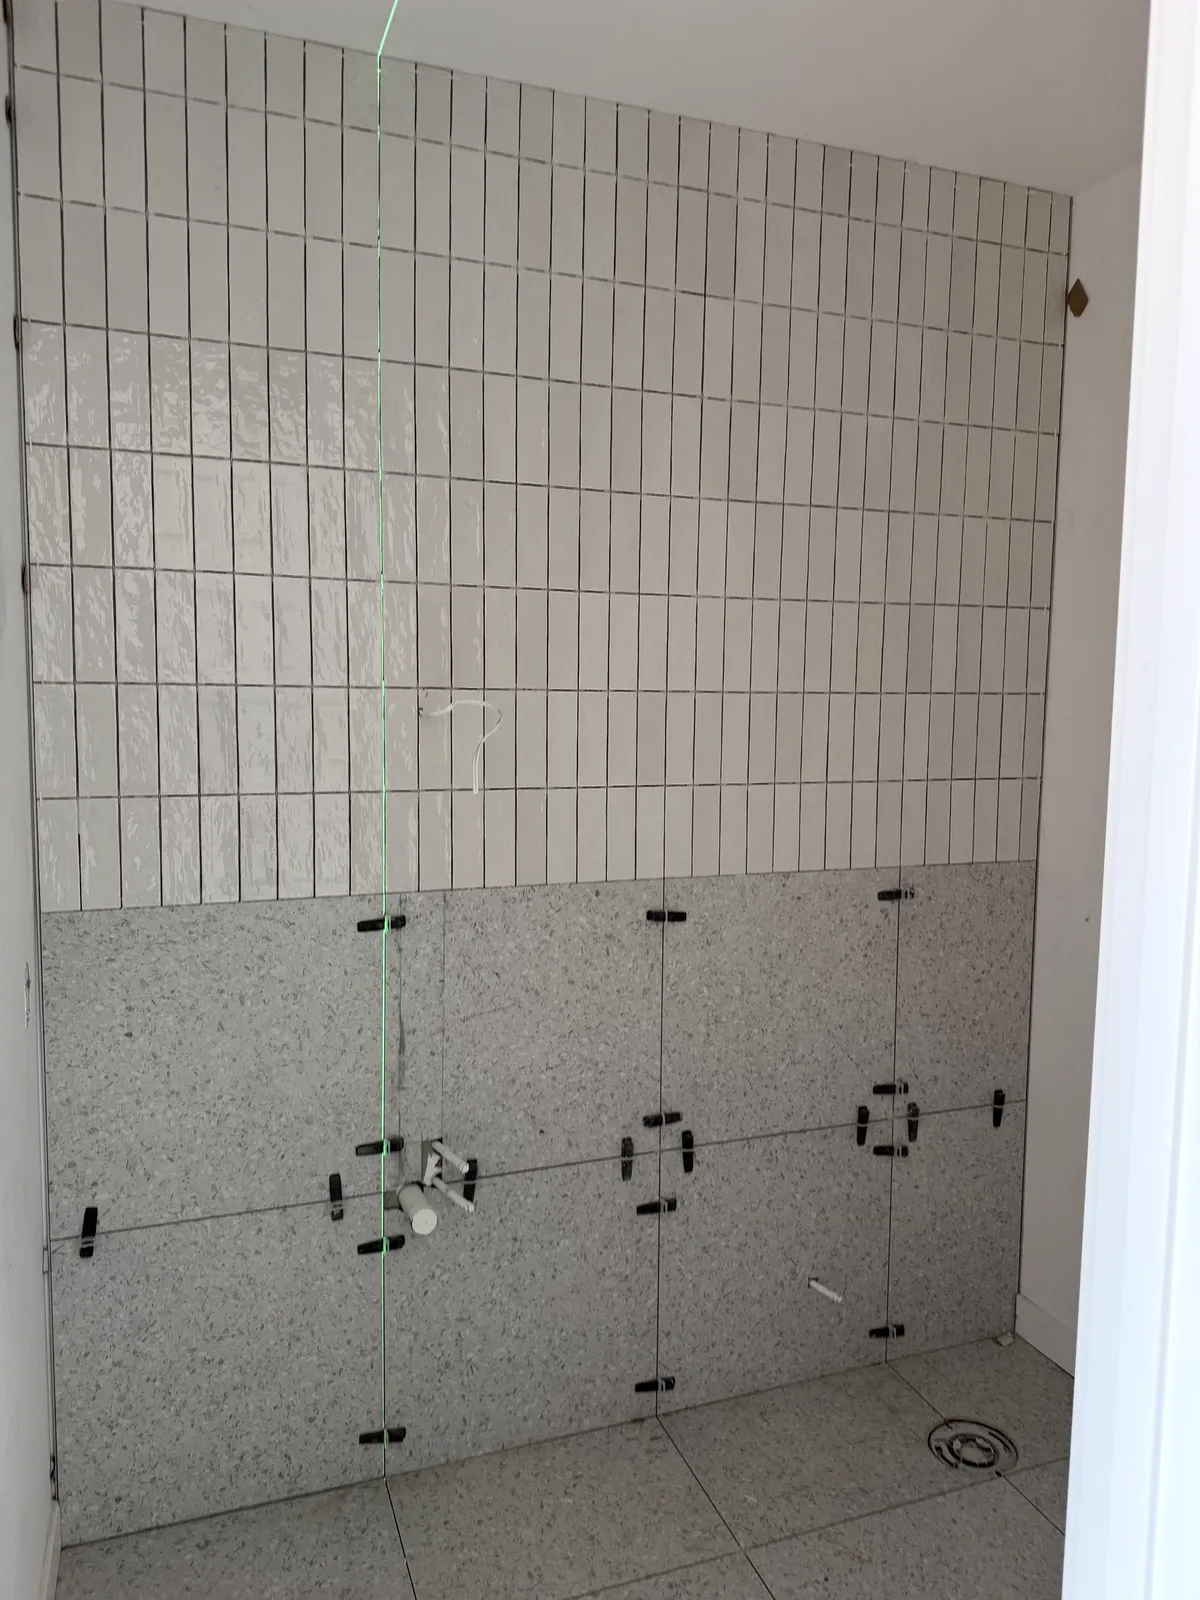
Tile looks finished in the middle of a wall. The edges are where a job looks either crisp or homemade. Outside corners, the sides of a shower, niches, curbs, window returns and the ends of a backsplash all leave a tile edge exposed. This guide explains how to finish tile edges with tile trim profiles, mitred corners, bullnose and other finished-edge pieces. It covers where each one suits and how each is installed.
Why exposed tile edges need finishing
Most tile is glazed. The colour and pattern are on the surface, and the body underneath is a different colour, often red, tan or grey. A cut edge shows that body as a line. Even on porcelain with a matching body, a raw cut edge is sharp and slightly rough, and it chips when something knocks it.
An exposed edge is also the weakest part of a tile. The corner of a tile on an outside wall corner or a shower curb gets bumped by shoulders, shampoo bottles, vacuum cleaners and feet. A finished edge, whether metal, bullnose or a mitre, protects that corner and gives the tile a clean line to stop at. On floors, an edge also has to handle traffic where the tile meets another floor or a step.
Ways to finish tile edges compared
There are five main options. Each suits different tile and different places.
| Option | Look | Durability | Labour | Best for |
|---|---|---|---|---|
| Metal profile (aluminum, stainless steel) | Thin metal line in a chosen finish | High; protects the edge | Low to moderate | Showers, curbs, backsplash ends, floors, large-format tile |
| PVC profile | Plastic edge, often white or neutral | Moderate | Low | Budget wall work, light-use areas |
| Mitred edge | Tile wraps the corner; no trim visible | Fair; the thin edge can chip | High | Niches, feature-wall corners, curbs, window returns with colour-body porcelain |
| Bullnose or finished-edge tile | Rounded or glazed edge matching the tile | Good | Low to moderate | Ceramic wall tile, subway tile, traditional looks |
| Wood or stone trim | Wood casing, marble pencil or a stone sill | Varies | Moderate | Window sills, thresholds, framing a tile area |
Many good jobs mix them. A shower might have metal trim on the outside edges, mitres inside the niche and a stone sill on the curb.
Metal tile edge trim profiles
Metal tile trim is the most common way to finish an edge today. It works with any tile, including glazed porcelain whose body doesn't match its face, and it protects the edge for good. Schluter-Systems makes the best-known range, and other makers sell similar profiles. The main shapes are below.
Square edge (for example Schluter-JOLLY). An L-shaped profile with a thin, square visible edge. It reads as a crisp line, which suits modern bathrooms, large-format tile and backsplash ends.
Rounded edge (for example Schluter-RONDEC). A profile with a rounded, quarter-circle face that wraps the corner of the tile. It is softer to the touch and visually closer to a bullnose. It is a common choice on outside corners and shower edges people brush against.
Square with rounded corners (for example Schluter-QUADEC). A square-faced profile whose outer corners are slightly radiused. It gives a bolder, framed look than a thin square edge.
Profile families also include matching inside and outside corner pieces, end caps and connectors. Some carry the look into transitions, stair edges and movement joints. Schluter sells most profiles in lengths of 2.5 m (about 8'-2 1/2"), so a wall or curb is planned in those lengths.
Aluminum, stainless steel or PVC trim
The material decides how the trim looks and where it holds up.
Aluminum is the most common. It comes anodized in finishes such as satin, brushed or polished silver and brass-look, and coated in colours including matte black and white. It suits most homes, on walls and in residential showers. Cement-based mortar and grout can mark some aluminum finishes, so residue is wiped off promptly, as the maker advises.
Stainless steel is stronger and more resistant to corrosion and chemicals. It is the usual choice in commercial kitchens, pools, steam showers and places cleaned with harsh products. It also holds up better on floor edges that take heavy traffic.
PVC is the most economical. It won't corrode, but it is softer, can dent or scratch, and doesn't give as crisp a line as metal. It suits wall edges in light-use areas more than floors or busy corners.
Match the finish to the room, not just to the tile. A brushed finish that matches the shower fixtures, or matte black to match black hardware, usually looks more deliberate.
Choosing the right trim height
Edge profiles are sold in heights to match tile thickness. The visible edge should finish flush with the face of the tile or a hair above it, never below. A profile that is too short leaves the tile's sharp edge standing proud. One that is much too tall leaves a step that catches dirt and feet.
Measure the actual tile, not the nominal size on the box, because thickness varies between products. Remember that the profile's anchoring leg sits under the tile in the mortar, so the mortar layer is part of the height. If you are between two sizes, the maker's guidance or a quick dry fit settles it. Mixed-thickness jobs, such as a thin mosaic beside thick porcelain, often need different heights in the same room.
How tile trim is installed
Trim profiles are installed with the tile, not glued on afterward. Each profile has a perforated anchoring leg that goes under the edge tile. The steps are simple, but the order matters:
- Trowel thin-set where the edge tile will go.
- Press the anchoring leg into the mortar, aligned straight and plumb (or level), then trowel more thin-set over the perforations so it locks the leg in.
- Set the edge tile over the leg, fully bedded, with its face flush with the top of the profile.
- Leave a small joint between the tile and the profile, as the maker's instructions show, and fill it with grout later.
Because the profile is locked in with the tile, it can't be added neatly once the tile is up. Changing it means removing the edge tiles.
Corners are handled two ways. Pre-formed inside and outside corner pieces give clean, consistent joints and are quick. The alternative is mitring the profile itself with a fine-tooth saw, which takes more skill. Straight runs are butted or joined with connectors, and cut ends are filed smooth. On a shower curb, the profile runs along both outside edges and turns down the curb ends with matching corners.
How to miter tile edges
A mitred edge, also spelled mitered, wraps the tile around a corner with no trim showing. The two tiles that meet at the corner are each cut at an angle, so their faces meet in a single line.
The cut is usually 45 degrees, or slightly more (a back-bevel) so the face edges meet tightly while a small gap stays behind them for mortar. It is made on a wet saw with a tilting head or table, or with a bevel-capable rail saw or grinder jig. Most installers don't cut all the way to a knife edge. They leave a tiny flat on the face, because a razor-thin edge chips. That flat becomes a narrow joint filled with grout or a colour-matched filler.
Mitring has limits. It works best on colour-body or through-body porcelain, where the cut edge is the same colour as the face. On glazed tile, the mitre exposes a thin line of body colour along the corner. It also needs flat, plumb walls and truly square corners. A wall that is out by a few degrees leaves an open or uneven mitre, and no grout hides it. The finished corner is more fragile than one with trim, and every piece takes extra cutting and dry fitting. The guide to cutting porcelain tile covers the cutting side, and porcelain vs ceramic tile explains colour-body and through-body tile.
Where mitred edges are often chosen
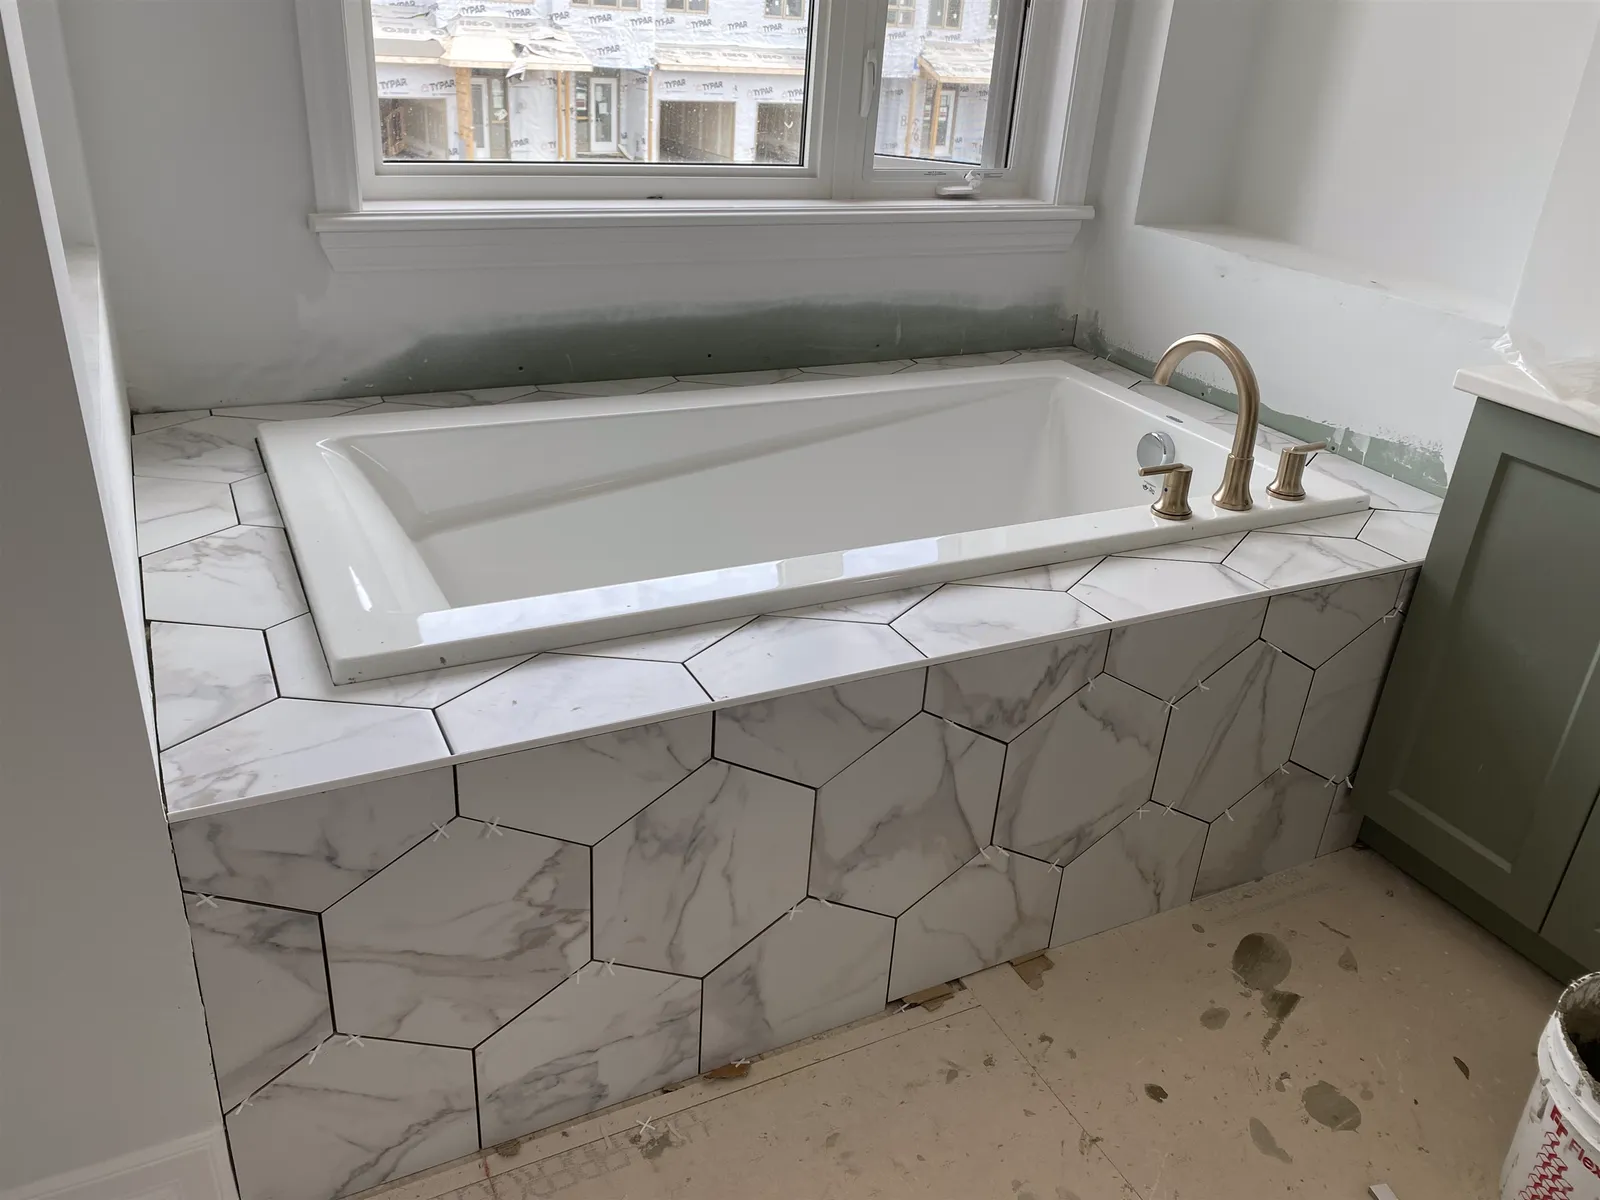
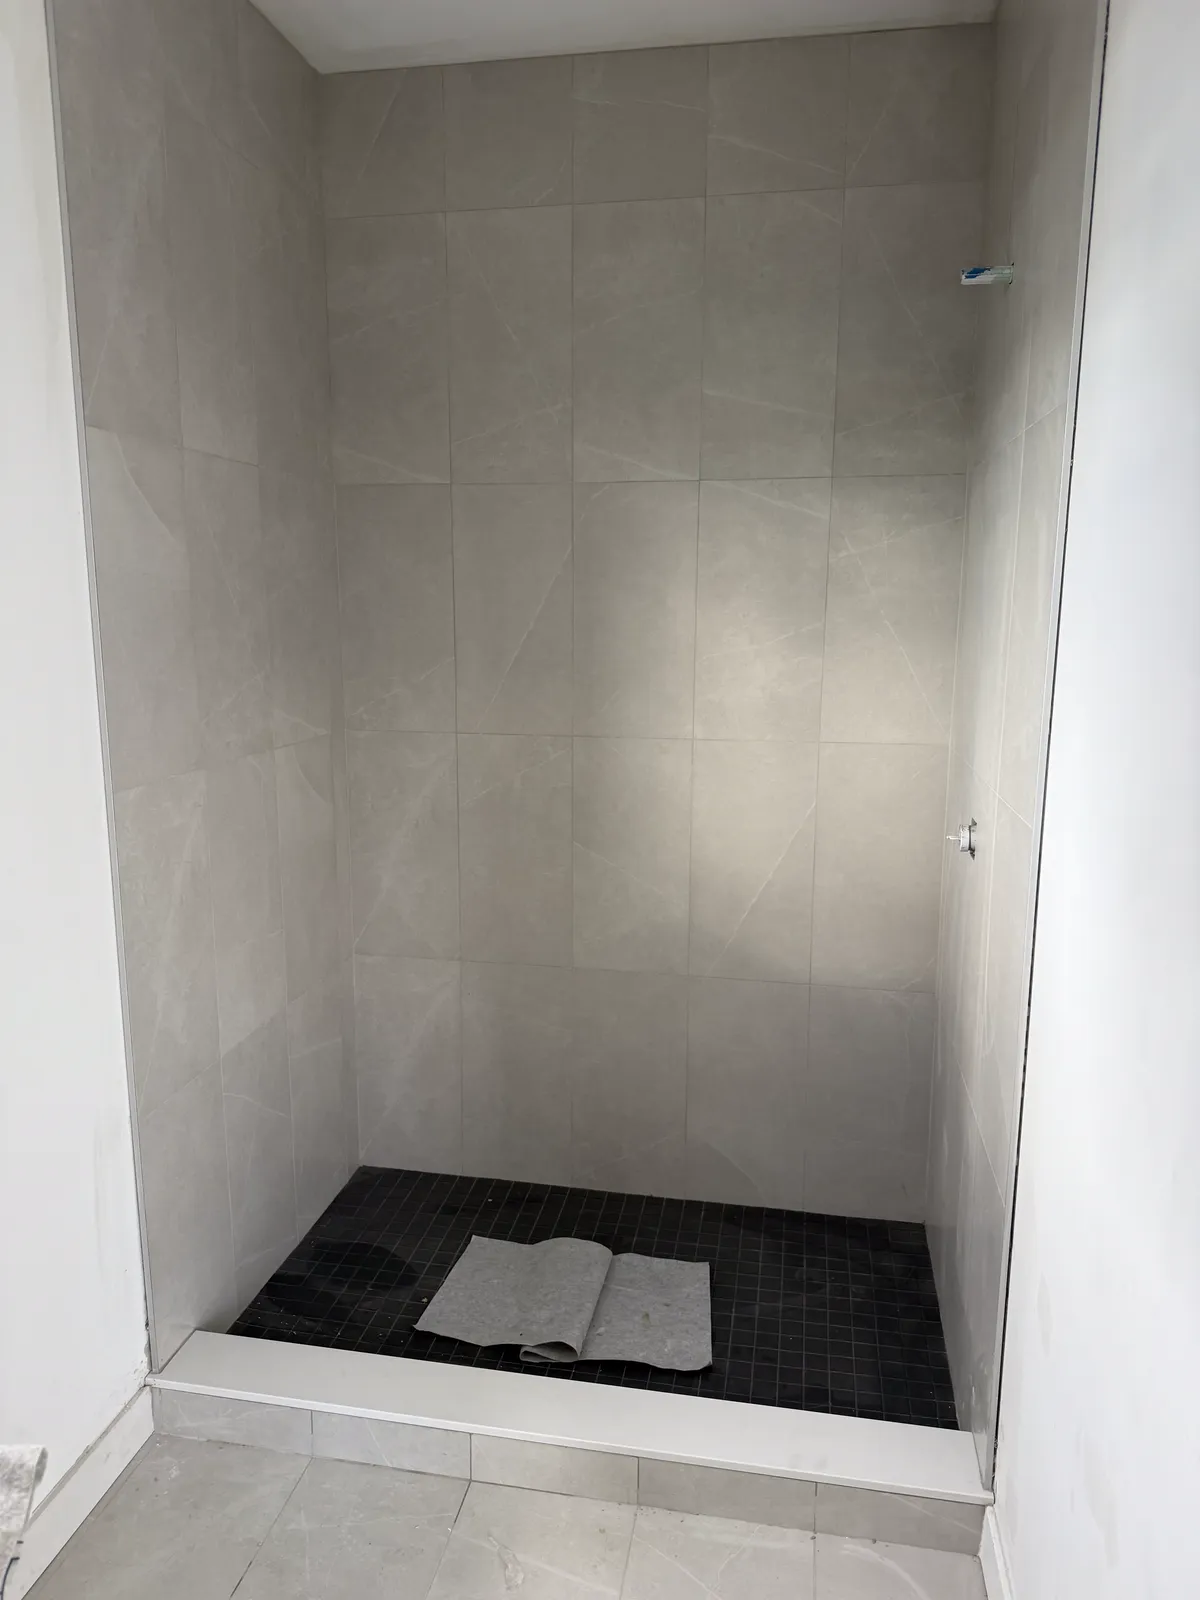
Mitres are chosen where a seamless look is worth the labour and the tile allows it. Common places are the inside edges of a shower niche and the outside corners of a feature wall or a tiled column. Shower curbs and benches, window returns, and the edges of a tiled tub deck or vanity face are others. Large-format and slab-look porcelain are frequently mitred, because a thin trim line would interrupt the look of a solid stone block.
A shower niche is the classic example. Niche edges are short, close to eye level and seen up close, so a mitre looks especially clean there. Our guide to shower niches covers sizing a niche so the tile works around it.
Bullnose and finished-edge tile pieces
Bullnose tile has one edge rounded over and glazed to match the face. It finishes an edge without any trim and is the traditional look for subway tile, wainscot and tub surrounds. Related pieces include pencil liners, quarter-rounds and caps, which frame the top or end of a tiled area.
Not every tile line has them. Many ceramic wall tile collections include bullnose and trim pieces. Many porcelain and large-format lines don't, which is one reason metal profiles are now so common. Check before you commit to a tile. Trim pieces can also come from a different production run than the field tile, so compare their colour on site. Where a line has no bullnose, some installers polish or round the edge of through-body porcelain. It is labour-intensive and only works on suitable tile.
Finishing tile edges on floors and stairs
Floor edges take traffic, so the trim has to be strong as well as neat. Where tile meets hardwood, vinyl or carpet, a transition profile bridges the height difference and protects the tile edge. These are set into the mortar as the edge tiles go down, so the profile is chosen before tiling. See our guide to floor transition strips.
On tiled stairs, the front edge of each tread needs a nosing profile or a bullnose stair tread to protect it and mark the step; see stair nosing. At a bathroom doorway, a stone threshold is the traditional finish between a tiled floor and the next room; see marble thresholds.
Shower curbs and backsplash ends
In a shower, the exposed edges are usually the outside vertical edges of the walls, the top and front of the curb, and the niche. Trim on these edges is set as the walls and curb are tiled, so it is planned along with the waterproofing and the layout. Our guide on how to tile a shower covers the order of work.
On a kitchen backsplash, the edges are where the tile stops at the end of a counter, beside a window or below the uppers. A thin metal profile in a finish that matches the hardware is common, and bullnose works with ceramic subway tile. See how to install a backsplash for where to stop the tile.
Plan tile edge trim before tiling starts
Edge finishing is decided at the planning stage, not at the end. It affects the layout, because a profile or mitre changes where the last full tile lands. It affects ordering: profile heights, finishes, corner pieces and lengths, or extra tile for mitres and bullnose. And it affects the schedule, because profiles go in with the tile.
It also affects price. Metal trim adds material, but it is quick to install. Mitring adds little material but a lot of labour: measuring, bevel cutting, dry fitting and careful setting at every corner. A job with many mitred corners costs noticeably more in labour than the same job with trim. For what drives tile labour costs, see tile installation cost in Ottawa. When Agora Flooring quotes a job, we work out how each edge will be finished before tiling. Our tile installation page explains how we plan the work.
Frequently asked questions
Is tile edge trim or a mitred edge better?
Trim is tougher, quicker and works with any tile. A mitre looks more seamless but costs more in labour, chips more easily and suits colour-body or through-body porcelain on flat, square walls.
What size tile trim do I need?
Choose the profile height that matches the actual thickness of your tile, so the trim sits flush with the tile face or very slightly above it. Measure a tile rather than relying on the box.
Can tile edge trim be added after the tile is installed?
Not properly. Profiles like Schluter-JOLLY have an anchoring leg that goes under the edge tile in the mortar. Adding one later means removing and resetting the edge tiles.
Can you miter porcelain tile?
Yes, with a wet saw or rail saw that cuts bevels. It works best on colour-body or through-body porcelain. On glazed porcelain, the mitre shows a thin line of body colour at the corner.
What is bullnose tile?
A tile with one edge rounded and glazed to match the face, used to finish exposed edges without trim. Many ceramic wall tile lines have it; many porcelain lines don't.
Does metal tile trim rust in a shower?
Aluminum and stainless steel profiles made for tile are designed for wet areas and don't rust like plain steel. Stainless steel is the choice for pools, steam showers and harsh cleaning chemicals.