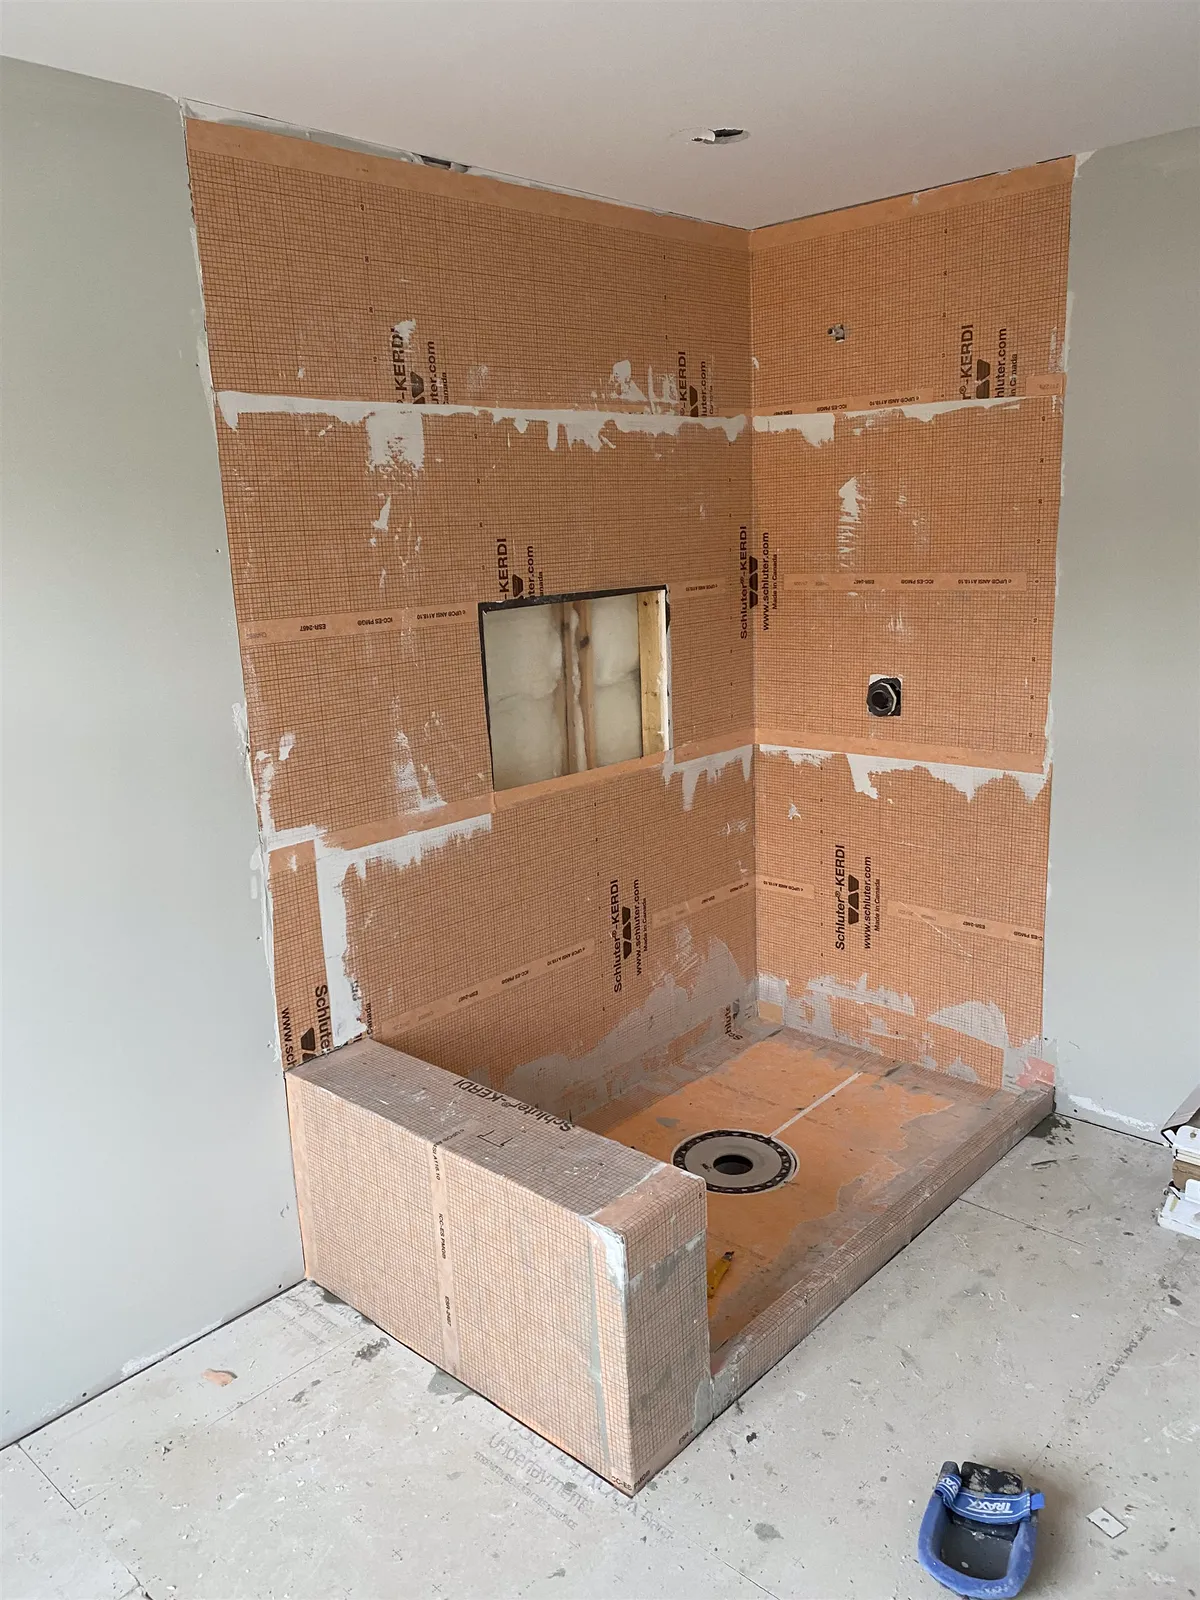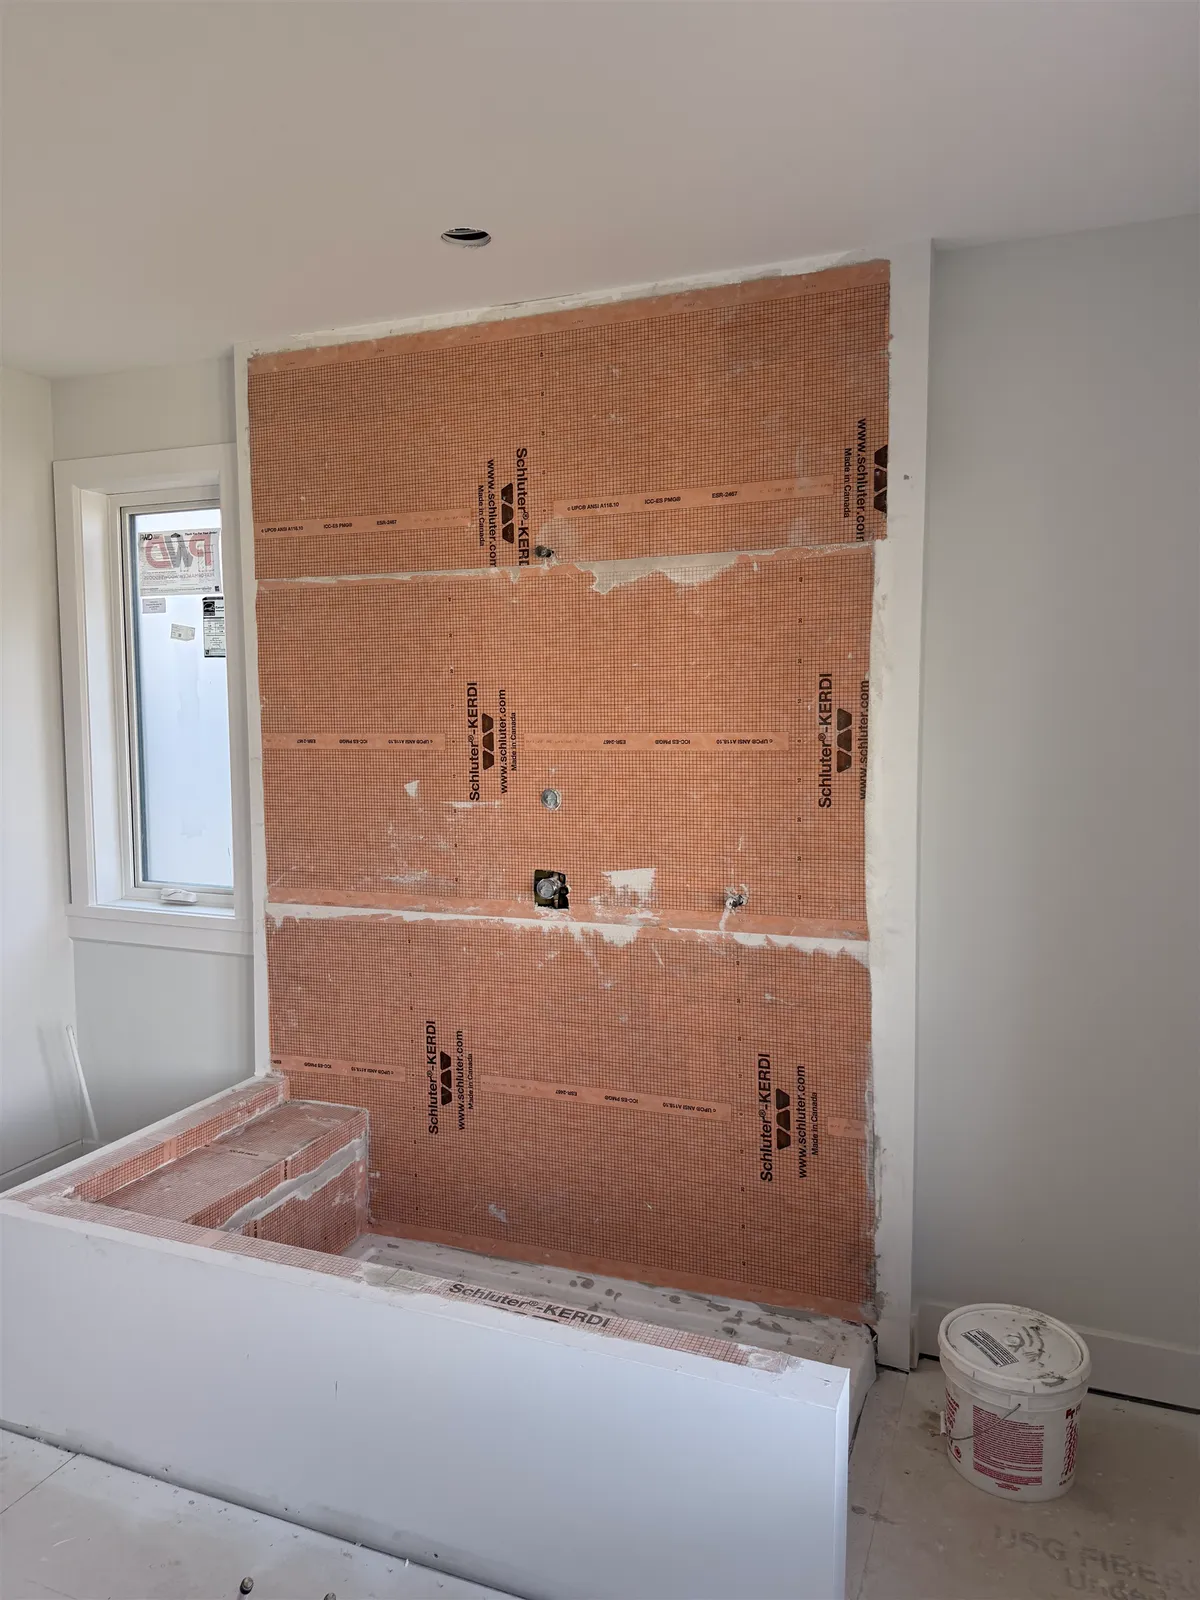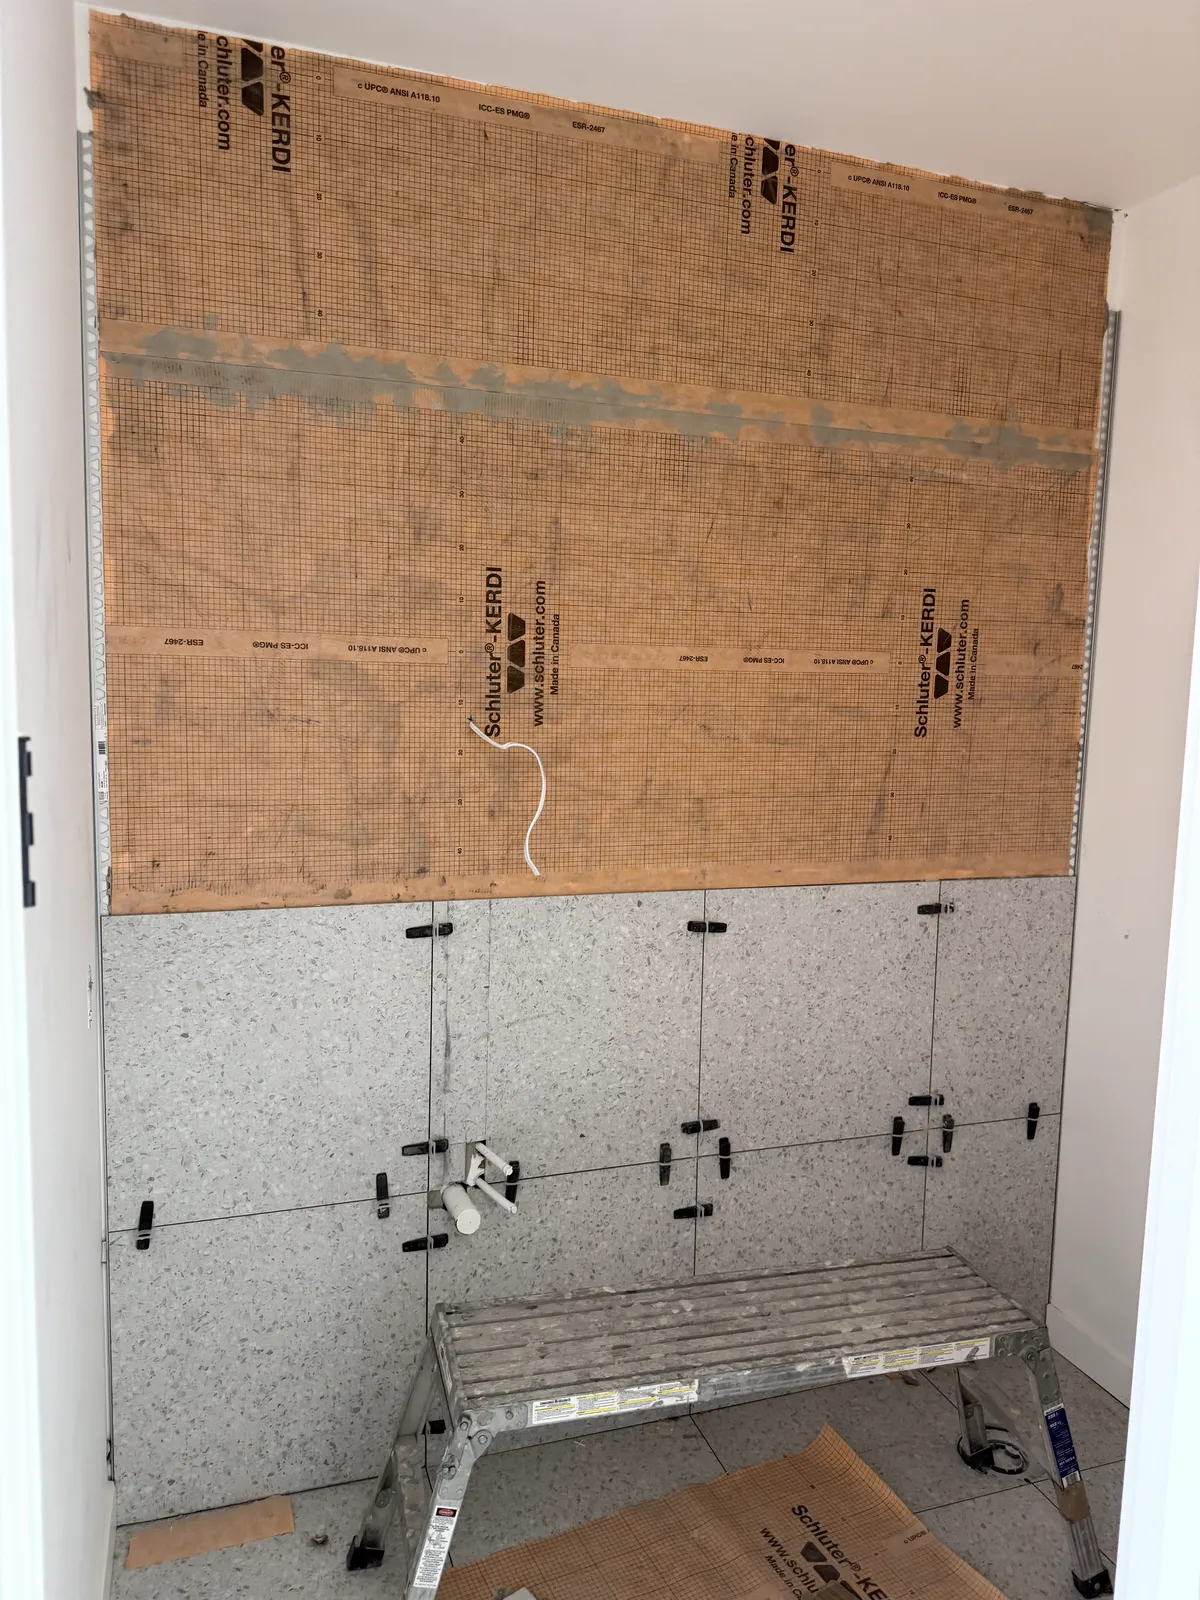

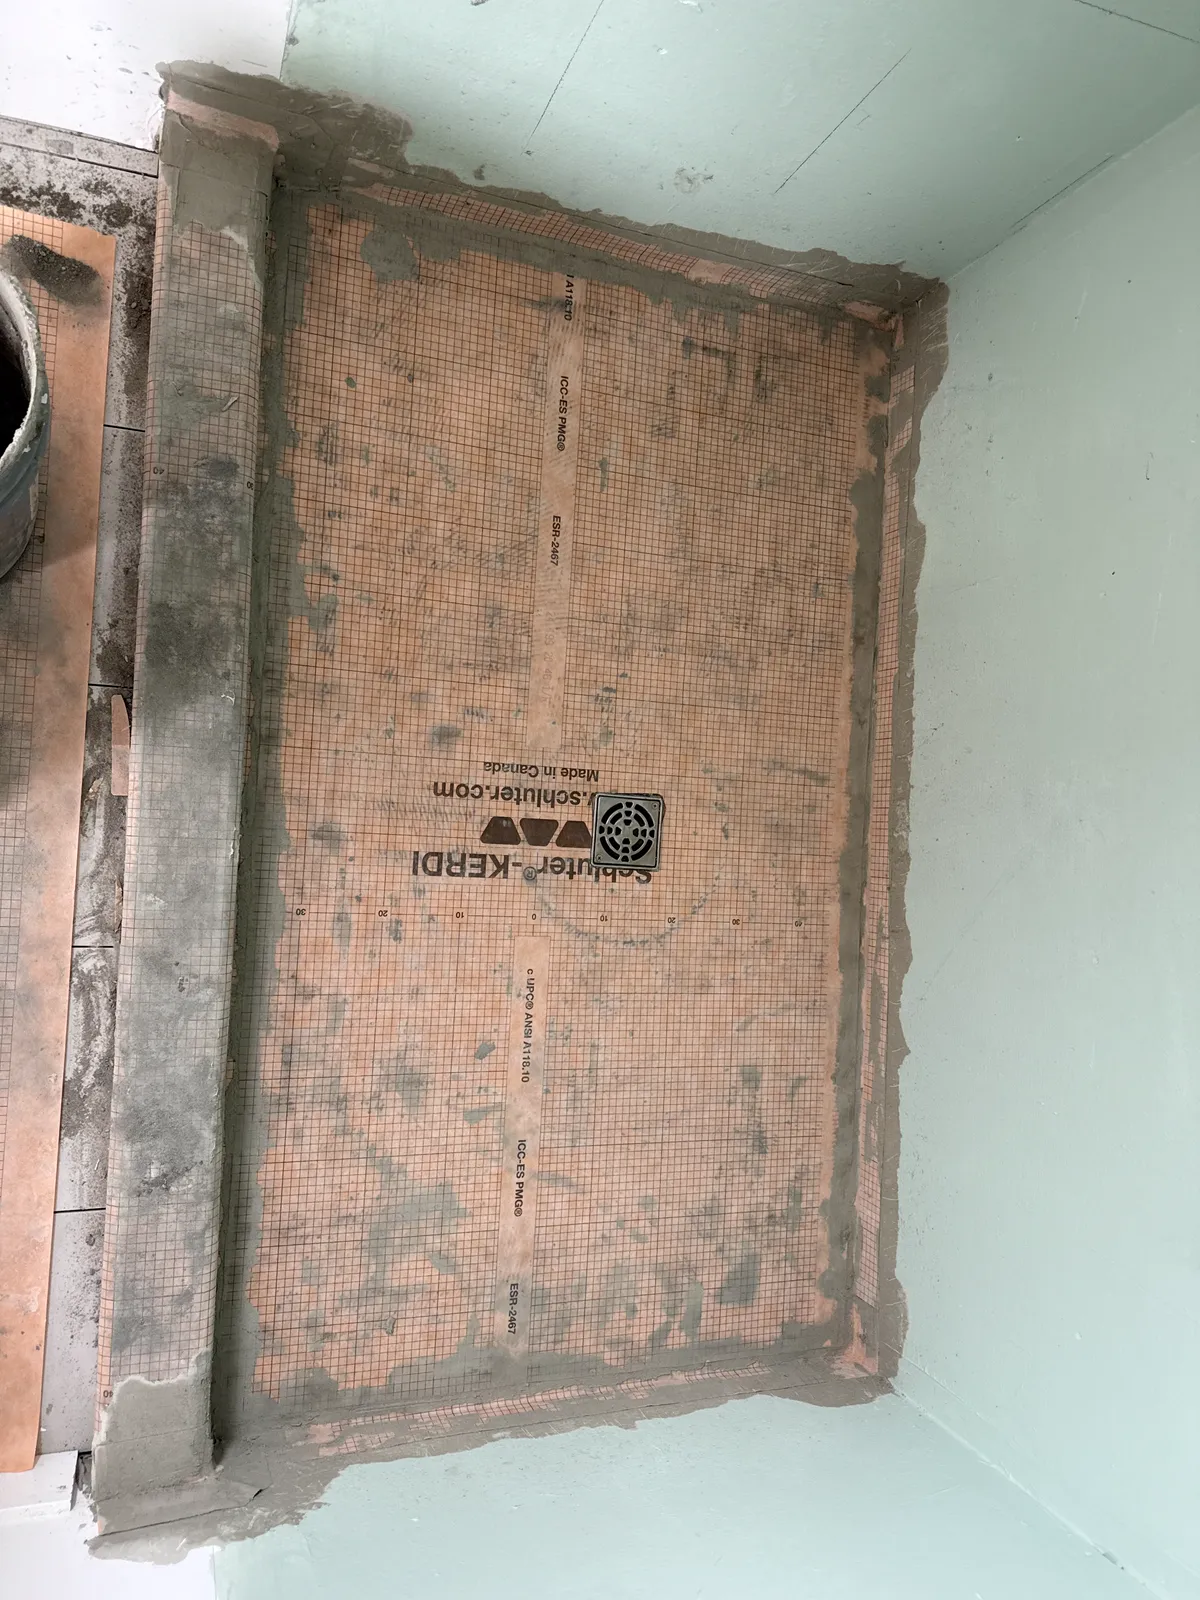
Short answer
A shower is waterproofed before any tile goes on. Build a sloped floor (about ¼ inch per foot toward the drain), cover the walls and floor with one waterproofing system (a sheet membrane like Schluter-KERDI or a liquid-applied membrane), seal every seam, corner, niche and pipe, connect the membrane to the drain, then flood test it before tiling. Tile, grout and sealer do not make a shower waterproof.
This is the order a shower is waterproofed in on a properly built job. If you are hiring someone, use it as a checklist of what should happen before the first tile goes up. If you are planning the work yourself, it shows where showers usually fail. For why each layer matters, see how a tiled shower is waterproofed.
Step 1: Choose one system and stick to it
Pick a single manufacturer's system for the walls, floor, drain and accessories: for example Schluter (KERDI), Laticrete (Hydro Ban), Mapei or Custom. These are tested as a set, and their warranties usually only apply when their own components are used together. Mixing a liquid from one brand with a drain from another is how gaps happen.
Step 2: Prepare the walls
- Use a backer the system allows: cement board, a foam board such as KERDI-BOARD, or in some systems regular drywall covered by the membrane (see KERDI-BOARD vs cement board).
- The walls must be flat and plumb. Waterproofing will not hide a bowed stud, and large tile will show it.
- Plan and frame niches, benches and blocking for grab bars or a glass door now.
Step 3: Build the sloped floor
Water has to run to the drain. The floor is sloped about ¼ inch per foot, either with a hand-packed mortar bed or a pre-sloped foam tray. A centre drain needs slope from all four sides; a linear drain needs slope in one direction only, which suits large tile and curbless showers (see shower pan vs tiled shower floor).
Step 4: Set the drain so it connects to the membrane
With bonded membranes, the drain has a flange that the membrane laps onto, so water on top of the membrane goes straight into the drain. Old-style clamping drains are designed for liners buried under a mortar bed and are not interchangeable with bonded systems.
Step 5: Apply the membrane to the walls and floor
- Sheet membranes are bonded in thin-set mortar and pressed flat with no air pockets.
- Liquid membranes are rolled or brushed on in coats until they reach the thickness on the label. Too thin is the most common mistake.
- Lap upper pieces over lower pieces so water runs over seams, not into them, and carry the waterproofing above the shower head (many installers go to the ceiling).
Step 6: Seal every seam, corner and opening
Most leaks start at the details, not in the middle of a wall:
- Seams and inside corners: overlapped or covered with seam tape (KERDI-BAND, or the fabric the liquid system calls for).
- Pre-formed corners at the inside and outside corners of the curb and niche.
- Pipe collars around the valve and shower arm.
- The niche: waterproofed on all five faces, with the bottom sloped slightly outward so water doesn't sit.
- The curb: fully wrapped, top included.
Step 7: Flood test before tiling
Once the membrane has cured (follow the product's timing), plug the drain, fill the shower floor with water to just below the top of the curb, mark the level and leave it, commonly for 24 hours. If the level hasn't dropped and nothing shows below, tile can start. Finding a leak now costs a few minutes; finding it after tiling means tearing the shower out.
Step 8: Tile with the right mortar, then grout and caulk
Set tile with the mortar the membrane maker approves (see modified vs unmodified thin-set), and use flexible sealant, not grout, in inside corners and where walls meet the floor.
Can you waterproof a shower after it's tiled?
Not really. Sealing grout makes it resist stains and slows water absorption, but it does not stop water getting behind the tile. If a shower is leaking or the grout stays dark long after use, the waterproofing behind the tile has failed or is missing. Regrouting or resealing won't fix it; the shower needs to come back to the studs and be rebuilt. See when regrouting is (and isn't) enough.
Questions to ask before your shower is built
- Which waterproofing system, and does it cover walls, floor, niche and curb?
- What drain are you using, and does it connect to the membrane?
- Will you flood test before tiling, and for how long?
- What backer goes on the walls?