Short answer
To install mosaic tile, lay out the sheets so the joints between sheets match the joints inside each sheet, spread mortar with a small notch so it doesn't squeeze up into the joints, press each sheet in flat with a block or float, and clean the joints before the mortar sets. Glass and light marble go in white mortar, and many marble mosaics are sealed before grouting. Mosaics are ideal on shower floors because small pieces follow the slope and the grout lines add grip, but they take more labour per square foot than larger tile.
Mosaics are some of the most rewarding tile to install and some of the easiest to get wrong. Each sheet goes down as one piece, but every small tile on it still needs full support, straight joints and clean grout. This guide covers how to install mosaic tile step by step: how mosaics are sold, how a mosaic shower floor works, layout, mortar, glass and stone mosaics, cutting, grouting and what to expect on time and cost. For the full order of work in a bathroom, see how to tile a shower.
How mosaic tile is sold: sheets and backings
Mosaics are small pieces, often 2 inches or less across, held together on sheets roughly a foot square so they can be set many at a time. How the pieces are held together matters more than most people expect.
Mesh-backed sheets have a fibreglass mesh glued to the back of the pieces. They are the most common type. The mesh stays in the mortar, and the faces are open, so you can see the joints as you set them.
Paper face-mounted sheets have paper glued to the front. The back is fully open to the mortar, which gives the best bond. Once the mortar has grabbed, the paper is dampened and peeled off, as the maker's instructions say, and the pieces are nudged into line.
Dot-mounted sheets are held by small plastic or rubber dots at the joints on the back. Clear film on the front is common on glass mosaics and works like face paper, but you can see through it while setting.
Why it matters: on back-mounted sheets, the glue, mesh or dots cover part of the tile's back and can reduce the bond. Some tile, waterproofing and pool makers restrict certain backings in wet or submerged areas. Before you buy mosaics for a shower floor, a steam shower or a pool, check that the mosaic maker rates that backing for the location, and follow the maker of the waterproofing system too.
Why mosaics suit shower floors
A shower floor with a centre drain slopes toward the drain from all four sides, typically about 1/4 inch per foot. That makes a shallow funnel. A large tile can't bend to that shape, but small pieces can, each one sitting flat in its own little plane. That is why a mosaic shower floor is the traditional choice with a point drain.
The second reason is grip. A wet shower floor needs slip resistance, and many grout joints give your feet something to hold. A small mosaic with a matte finish is one of the most comfortable, secure shower floors you can choose. See how to choose shower tile for slip ratings and finishes.
With a linear drain, the floor slopes in one direction, so larger tiles work too. Many walk-in showers still use a mosaic floor, simply for the grip and the look. Either way, the mosaic goes over a properly sloped and waterproofed floor. The mosaic doesn't make the floor waterproof.
Layout: hiding the sheet lines
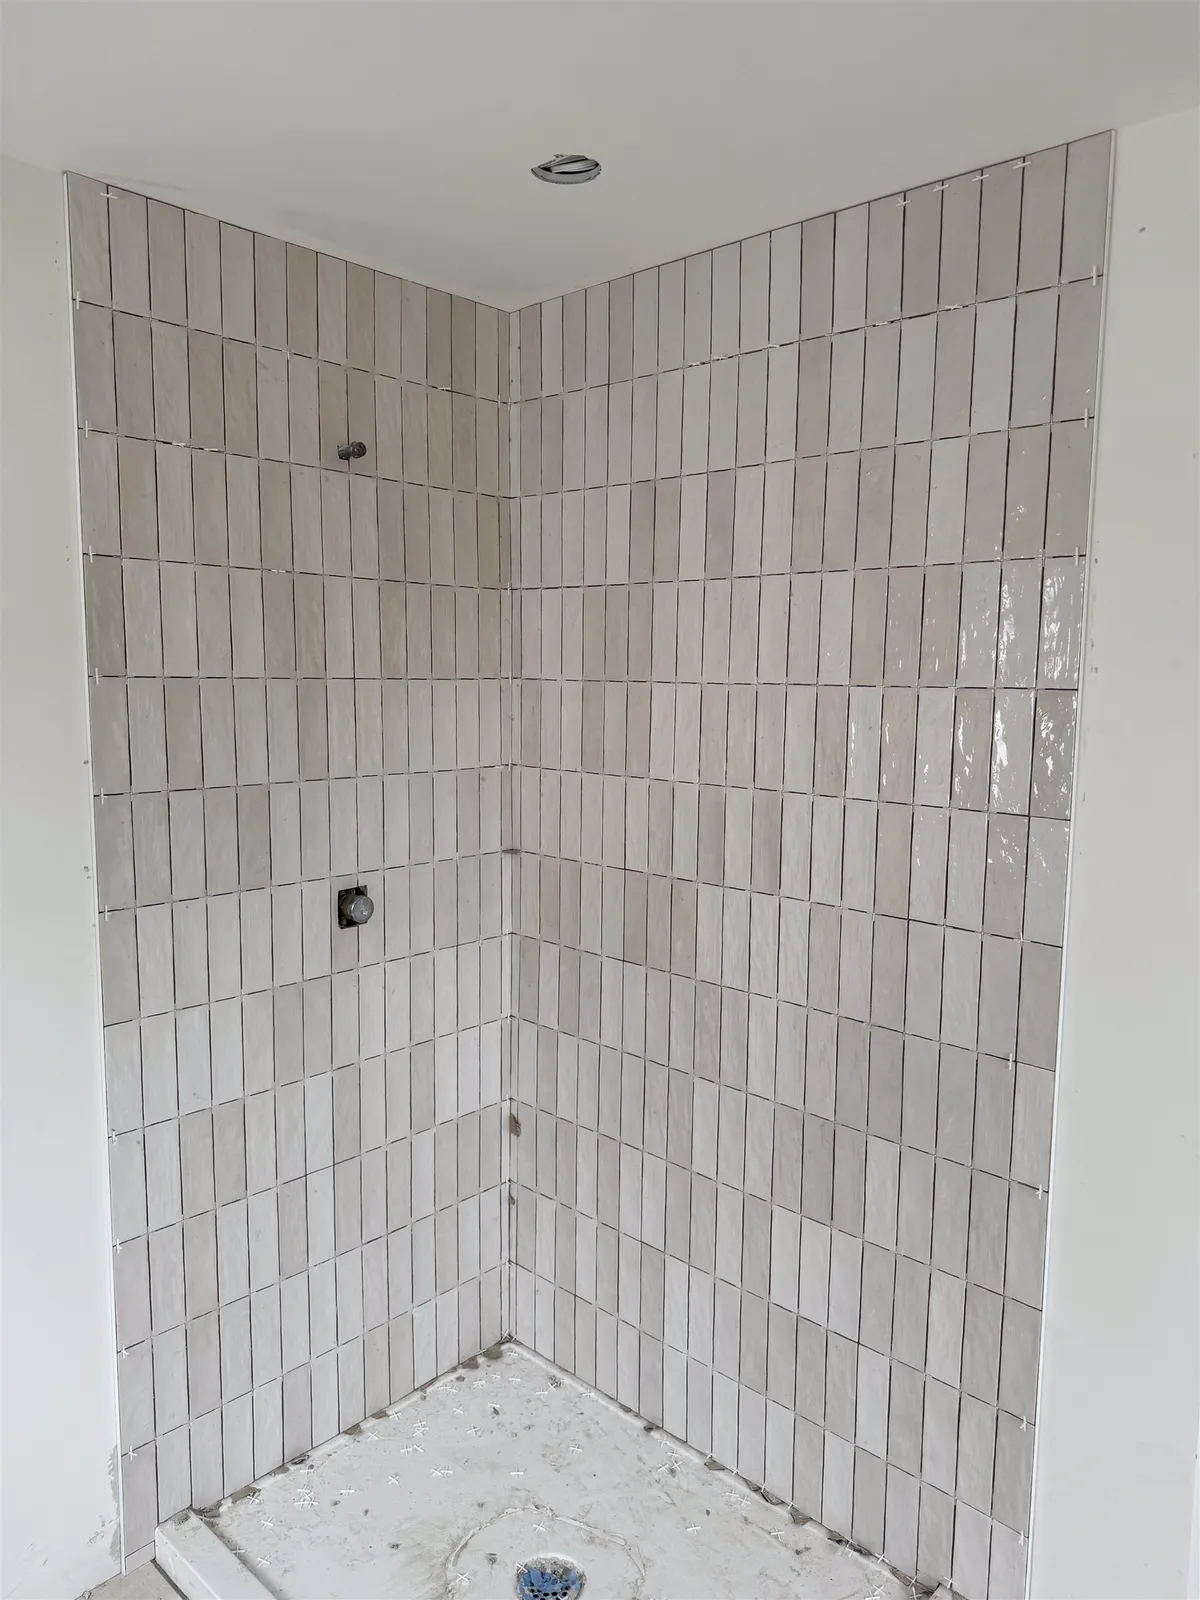
The most common flaw in mosaic work is visible sheet lines. Each sheet is perfectly spaced inside, but if the gap between sheets is wider or narrower than the gaps within them, you see a grid of squares across the wall or floor. It is obvious from across the room, especially with contrasting grout.
The fix is in the layout. The joint between two sheets must match the joints inside each sheet, in width and in line. A careful installer works like this:
- Dry lay several sheets on the floor first, to see how they fit together and how the pattern repeats.
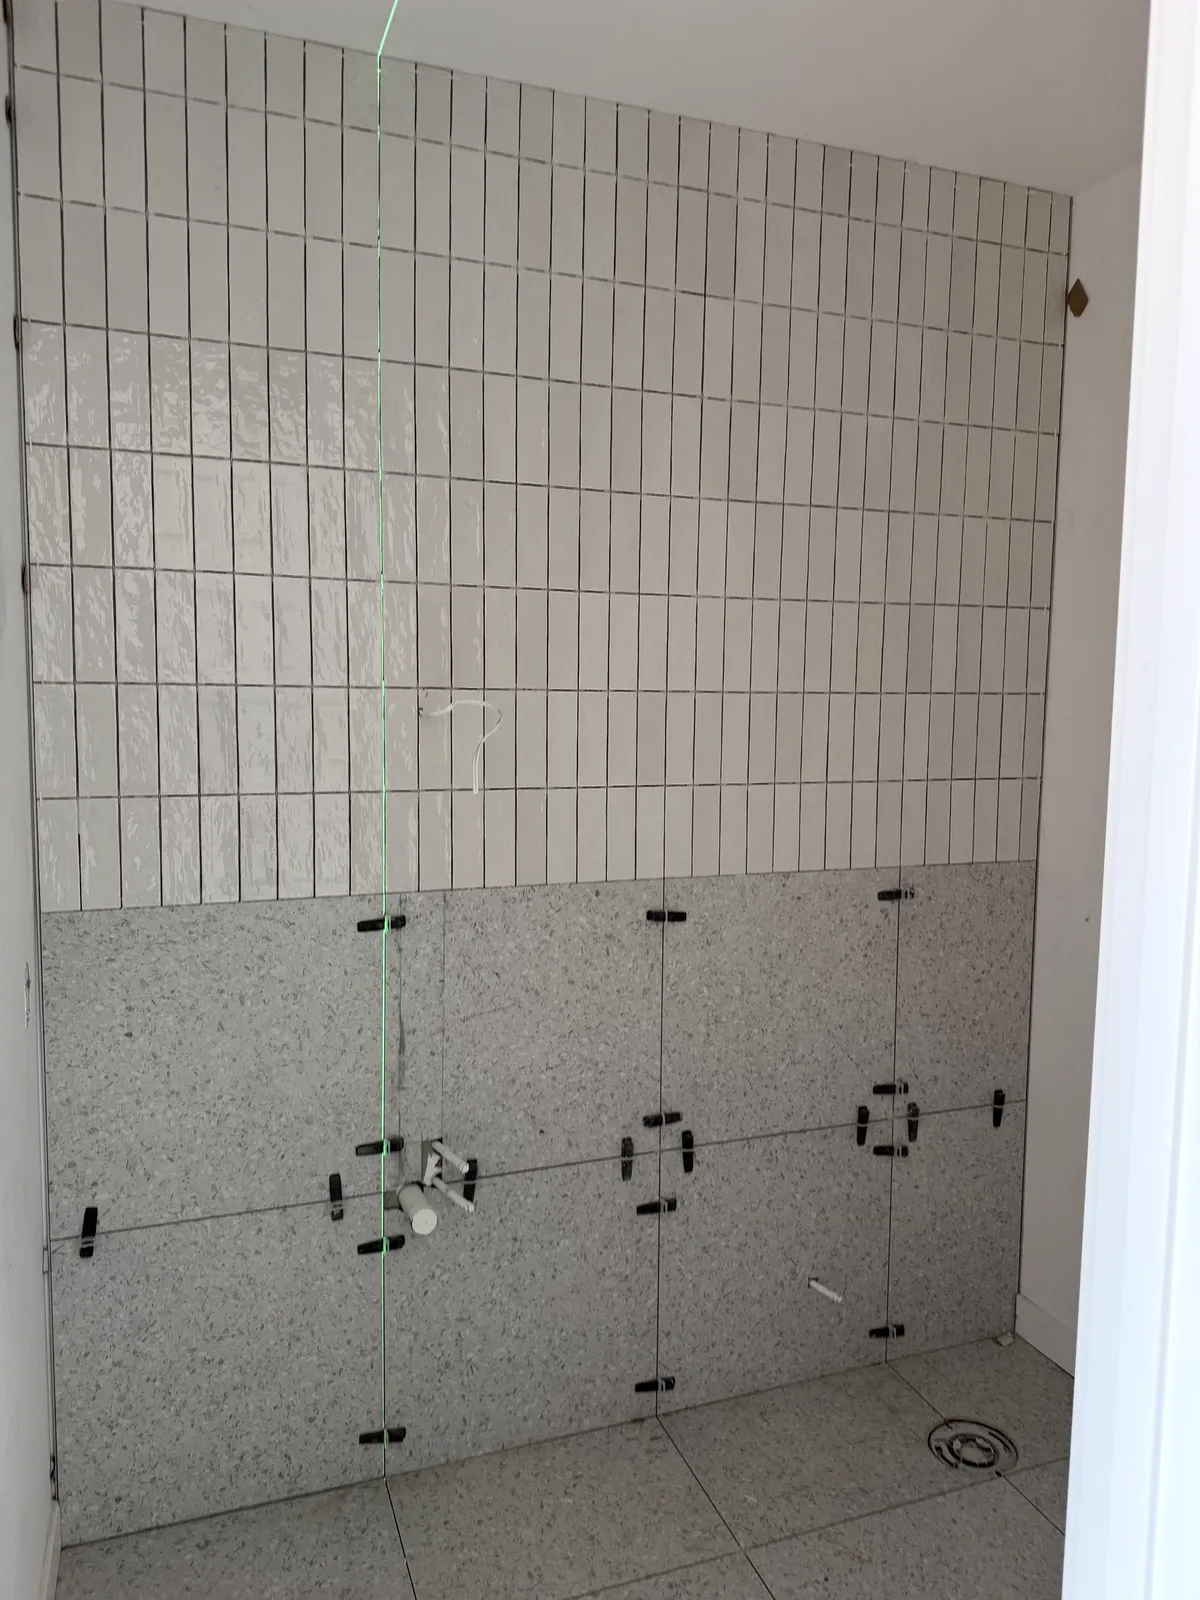
- Snap control lines every few sheets in both directions, or use a laser, so small errors can't add up across the room.
- Check from standing height and from an angle as you go, while the mortar is still soft enough to adjust.
- Slide sheets, not just pieces. If a sheet is out, move the whole sheet. Then nudge single pieces only where needed.
- Cut sheets rather than stretching them. Mesh lets sheets stretch or squeeze. That changes the joints and shows. Where a row doesn't fit, cut the sheet into strips or single pieces.
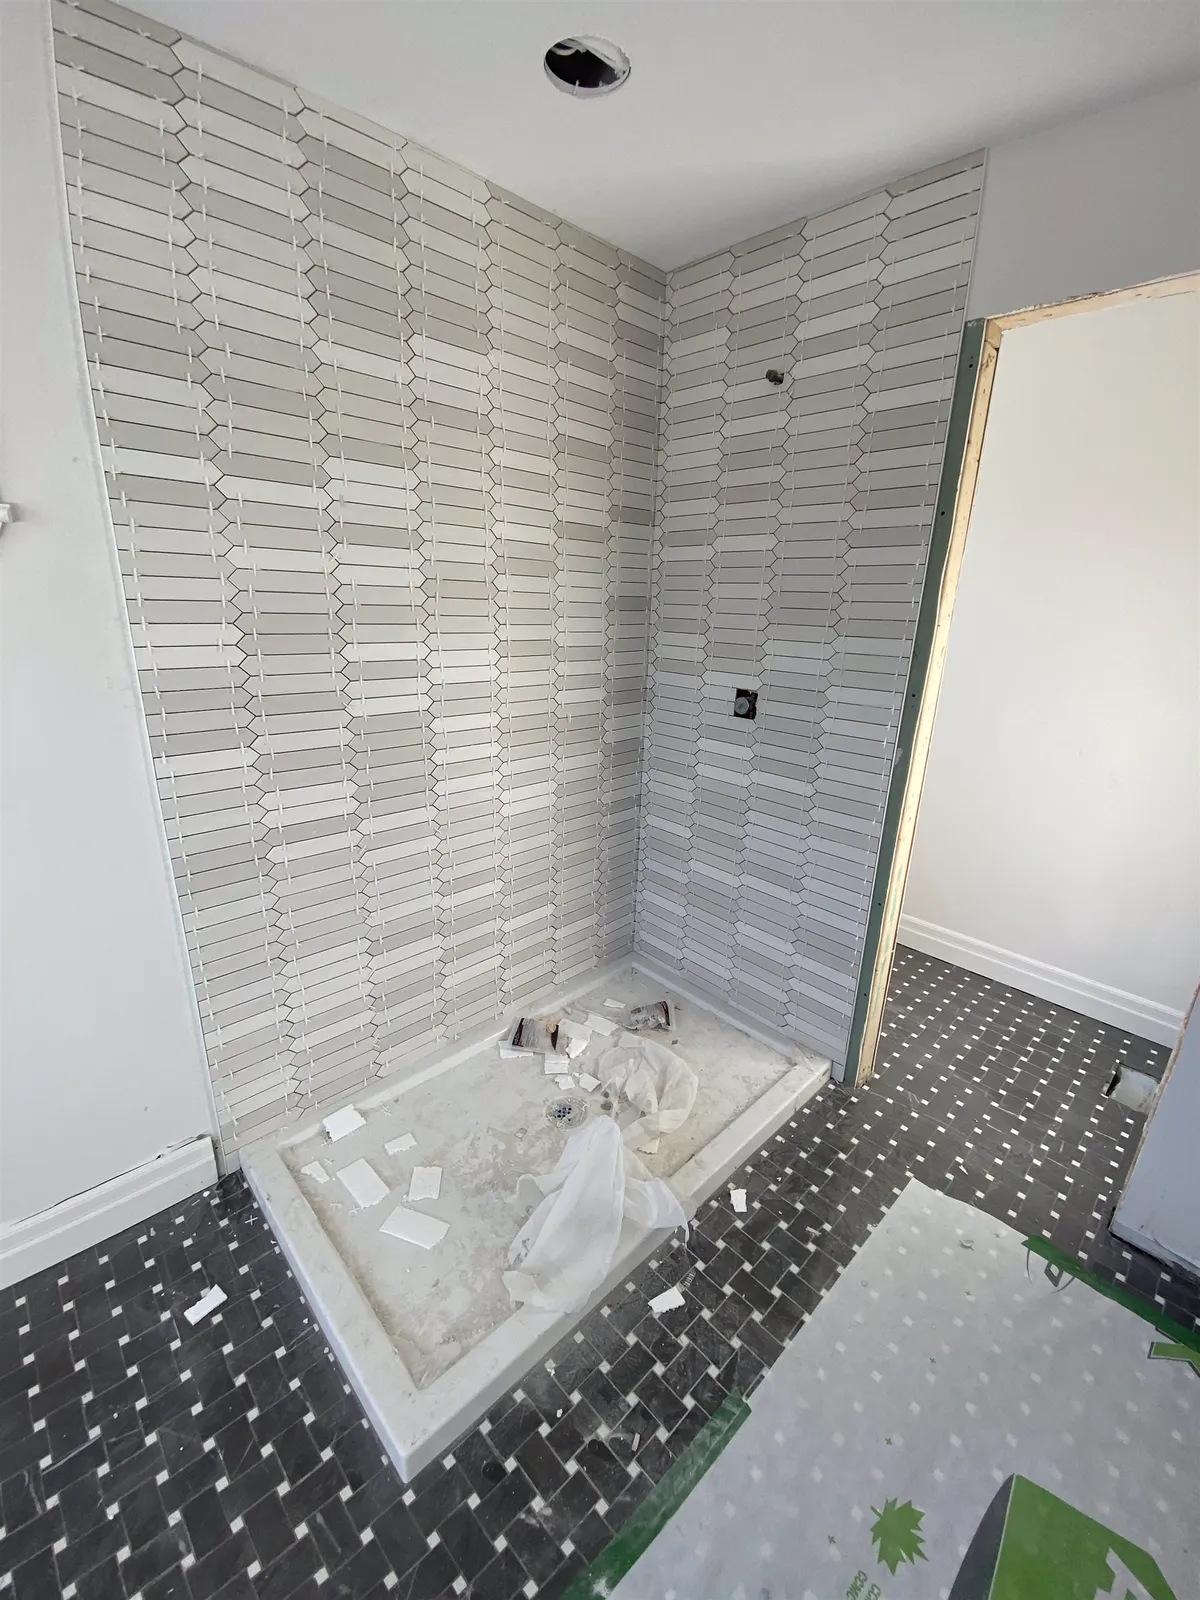
Patterns such as hexagons, basketweave and picket tiles interlock, so their sheets have stepped edges. They take longer to fit and need even more checking. Plan where the cuts land at walls, the curb and the drain, so you aren't left with slivers at the most visible edge. Our guide to tile spacers and grout joint width covers joint sizes for mosaics.
Mortar and trowel for mosaics
Mosaics need a smaller trowel notch than larger tile. A 3/16 inch V-notch is a common starting point for small mosaics (see what size trowel for tile). Too much mortar squeezes up between the small pieces and fills the grout joints. Too little, and pieces fall off or sound hollow.
The aim is a thin, even bed with full contact under every piece. Many installers key a thin coat into the surface with the flat side of the trowel first, then comb ridges in one direction. Spread only what you can cover before the mortar skins over. In showers, the same coverage rules apply as for any tile: the industry calls for at least 95% contact in wet areas.
Use a mortar the waterproofing maker approves for its membrane, and one that suits the tile. Light marble and glass need white mortar so grey doesn't show through. Our guide to which thin-set to use explains the choices.
Keep the joints clear as you go. Mortar that rises into the joints has to come out while it's soft, with a pick, a utility knife or a toothpick, so the grout has room. Wipe mortar off the faces with a damp sponge. Once it hardens, it has to be chipped out piece by piece.
Beating in the sheets
Each sheet is pressed into the mortar evenly, so all the pieces sit in the same plane. The usual tool is a flat beating block or a hard rubber grout float. Press the whole sheet, or tap the block lightly with a rubber mallet, working across it. Never hit the tile directly, and don't push so hard that mortar pumps up into the joints.
Then check. Lift a corner of a sheet now and then to make sure the backs are fully covered. Run your hand across the surface to feel for proud pieces. On a shower floor, check that the pieces follow the slope evenly, with no low spots where water can sit.
Glass mosaic tile installation
Glass mosaics look luminous, and they need extra care. The first rule is white mortar, formulated or approved for glass, because glass shows whatever is behind it. Grey mortar makes light glass look dirty.
Clear and translucent glass also shows the trowel lines. The ridges of mortar behind each piece can be seen through the face. Installers deal with this by combing ridges and then flattening them with the flat side of the trowel, so each piece sits in a smooth, even bed. Some also skim a thin coat of mortar into the back of the sheet before setting it. Follow the glass maker's method if it gives one.
Cutting glass is different from cutting ceramic. Small cuts are made with wheeled glass nippers, which snap the piece cleanly. Straight cuts on full sheets are made on a wet saw with a blade made for glass. Cut edges are sharp, so smooth them where they'll be exposed, and wear eye protection: glass chips fly.
Glass mosaics are mostly wall tile. On floors, use only glass the maker rates for floors, because most glass is slippery when wet.
Natural stone mosaics
Marble, travertine and other stone mosaics are popular on bathroom floors and shower walls. Stone is porous, so a dark or coloured grout can stain light marble at the edges of each piece. Many installers seal stone mosaics before grouting to limit that staining, using a penetrating sealer that suits the stone, then seal again after grouting. Test the grout on a spare piece first if you can.
Light marble goes in white mortar. Polished stone scratches easily, so unsanded or fine-aggregate grout is the safer choice, and grout floats and sponges should be used gently. Stone pieces vary in thickness more than porcelain, so beat them in carefully to keep the faces flat.
After installation, stone mosaics need the same care as any marble: pH-neutral cleaners, no acids, and resealing when water stops beading. See natural stone care and do you need to seal grout.
Cutting pieces around drains and edges
Mosaics rarely fit an edge as a full sheet. At walls, the curb and niches, sheets are cut along a joint into strips. Where a piece itself needs cutting, it is taken off the sheet, cut with nippers or a saw, and set back in place with mortar on its back.
The drain is the detail everyone looks at. With a square drain grate, the grout lines are best aligned with the grate so the cuts are even on all sides. With a round grate, pieces are cut individually around it. The drain grate is set so the tile around it finishes level with it or a hair above, so water runs in. Small cut pieces near the drain each get their own back-buttering so none sit hollow. Take your time here; it's where a quick job shows most.
Grouting mosaic tile
A square foot of mosaic has far more grout joint than a square foot of large tile, so the grout choice matters more. Grout is most of what you see and clean.
Cement grout is fine on dry walls, but in a shower it needs sealing and resealing. Epoxy grout is a strong option for mosaic shower floors, kitchen backsplashes and light grout colours, because it doesn't stain and never needs sealing. It does take skill, because the haze has to be cleaned off before it cures. High-performance cement grouts sit in between. See epoxy vs cement grout for the trade-offs.
Technique matters with so many joints. Wait until the mortar has cured, and pull any face paper and stray mortar first. Work the grout in diagonally across the joints, in several passes, so every joint fills. Clean with a well-wrung sponge and light strokes, because a wet sponge pulls grout out of small joints. Inside corners and changes of plane still get sealant, not grout; see tile movement joints.
Mosaics on walls, niches, backsplashes and columns
Mosaics aren't only for shower floors. On walls they make accent bands, full feature walls and shower walls with a classic look. Their small size makes them a natural fit for the back of a shower niche, where large tile would need awkward cuts. Mosaic backsplashes are popular in kitchens and bathrooms, with the same layout and grouting rules; see our backsplash installation guide.
Columns and curved walls are where mesh-backed mosaics shine, because the sheets bend around a curve that rigid tile can't follow. Outside corners are finished with a trim profile or carefully cut pieces. Agora tiled the mosaic pillars and food-station backsplashes at Teraanga Commons, Carleton University, an example of mosaics on curved and busy surfaces. You'll find more mosaic work in our project gallery.
Time and cost of mosaic installation
Mosaics take more labour per square foot than larger tile. There is more layout to check, more joints to clean, more cuts at every edge and far more grout to work in and clean off. Glass and stone mosaics add their own steps, from white mortar to sealing before grouting.
That shows up in the price. Mosaics usually sit at the top of the per-square-foot range for tile installation, and the tile itself costs more per square foot than most porcelain. A small mosaic shower floor is a modest area, though, so the total is often reasonable. Our guide to tile installation cost in Ottawa explains what drives the price.
DIY or hire a pro?
A small mosaic backsplash or accent band is a fair DIY project if you are patient with layout and grout. A mosaic shower floor is harder. It sits on a sloped, waterproofed base, every piece has to follow the slope with no low spots, and the cuts at the drain and curb are on display. Glass and polished marble are the least forgiving of all. If you're hiring, ask how the installer hides sheet lines and which mortar and grout they plan to use.
Frequently asked questions
What trowel size should I use for mosaic tile?
A 3/16 inch V-notch is a common starting point for small mosaics. Check coverage by lifting a sheet, and adjust if pieces aren't fully bedded or mortar fills the joints.
How do you keep mosaic sheet lines from showing?
Make the gap between sheets the same as the joints inside each sheet. Snap control lines every few sheets, check from standing height while the mortar is soft, and cut sheets instead of stretching them.
Can you use mosaic tile on a shower floor?
Yes, it's the classic choice. Small pieces follow the slope to a centre drain, and the many grout joints add grip. Check that the mosaic and its backing are rated for shower floors.
What mortar should I use for glass mosaic tile?
A white mortar formulated or approved for glass, so the mortar colour doesn't show through. Flatten the trowel ridges so they don't show through clear glass.
Should marble mosaic be sealed before grouting?
Often, yes, especially with a contrasting grout, to limit staining at the edges of each piece. Seal again after grouting, using a sealer suited to the stone.
Is sanded or unsanded grout better for mosaics?
Mosaic joints are usually narrow, so unsanded or a fine high-performance grout is common, and it's safer on polished stone and glass. Epoxy is a strong choice in showers. Follow the grout maker's joint-width range.