Short answer
A vanity backsplash protects the wall behind a bathroom sink from splashes and finishes the joint where the counter meets the wall. The options run from a 4" stone splash cut from the countertop, to a few rows of tile, to tile up to the mirror or the full wall to the ceiling. Centre the layout on the sink and mirror, bring outlets forward with box extenders, finish exposed edges with trim or bullnose, and fill the joint at the counter with flexible sealant, not grout.
A vanity backsplash is a small piece of tile with a big effect. It sits at eye level, under the brightest light in the bathroom, right where you look every morning. It also takes more water than people think: hand washing, tooth brushing and a dripping faucet all splash the wall behind the sink. A good bathroom vanity backsplash keeps that water off the drywall and makes the vanity look built in rather than pushed against a painted wall.
This guide covers the choices for tile behind a vanity, from height and layout to outlets, edges and timing. The installation steps are much the same as a kitchen backsplash, which our guide on how to install a backsplash covers in detail. Here the focus is on what is different in a bathroom.
Vanity backsplash options, from a stone splash to a full wall
A stone or quartz splash. Many vanity tops come with a matching splash, a strip of the same stone or quartz, usually about 4" tall, glued to the wall along the back of the counter. It is simple and easy to clean, and the countertop company supplies and installs it. On its own, though, it protects only a narrow band of wall. Splashes above it still land on paint.
A few rows of tile. A short tile backsplash, a few rows above the counter, gives more protection and adds colour or texture. It works well with a small vanity and a framed mirror hung above it.
Tile up to the mirror. The tile runs from the counter to the bottom of the mirror, or wraps around it. This is a common choice in a renovation, and it ties the vanity and the mirror together as one wall.
Tile to the ceiling. A full-height vanity wall is the most dramatic option, and it works as a feature wall. The mirror then hangs on the tile. It uses more tile and more cuts, but it suits primary ensuites and powder rooms, where the vanity wall is the main thing you see. See feature wall tile for patterns and materials.
You can also combine a stone splash with tile above it. Stone splashes are usually thicker than wall tile, so the tile above leaves a small ledge at the top of the stone. Some people like that line; others prefer to skip the stone splash and run the tile down to the counter for a cleaner look. Decide before the counter is templated, so the fabricator knows whether to make a splash.
Vanity backsplash height
There is no standard vanity backsplash height. The right height depends on the mirror, the lights, the faucet and the rest of the wall. A few practical rules help.
Stop the tile at a line that means something: the top of the stone splash, the bottom of the mirror, the underside of a medicine cabinet, the height of the wall tile elsewhere in the room, or the ceiling. A backsplash that stops at a random height looks unfinished. If the shower wall tile or a tiled wainscot already sets a height in the room, matching it often looks best.
Think about the mirror before choosing. If the tile stops at the bottom of the mirror, the mirror's size and position are fixed for good. A larger mirror later covers tile; a smaller one leaves bare wall showing between the tile and the mirror. Tiling the full wall behind the mirror avoids that problem and leaves room to change the mirror. Settle the height before ordering, because it decides the tile quantity.
For a vessel sink or a tall faucet, go higher. Water splashes from a higher point and reaches further up the wall, so a few rows may not be enough.
Layout behind the bathroom sink, faucet and mirror
A vanity wall is symmetrical, so the eye notices anything off-centre. Find the centre line of the sink and faucet. Decide whether a grout line or the middle of a tile falls on it, then lay the tile out from that line. Both work, but uneven cuts at each end of the backsplash will stand out.
When the sink isn't centred on the vanity, or the mirror isn't centred on the sink, choose the most visible line. Usually that is the sink and faucet, because that is where you stand. For a double vanity, centre the tile on the vanity as a whole, and check where the joints fall behind each faucet and each mirror. Our ensuite bathroom renovation guide covers planning a double vanity wall.
Check the ends too. Where the vanity sits between two walls, the tile runs wall to wall, and the cut at each end should be even and generous, not a sliver. Where one side of the vanity is open, the tile usually stops in line with the edge of the counter or the side of the cabinet.
The bottom row needs care. Counters are not always level. If the counter is out, set a level line one row up and cut the bottom row to fit the counter, so the error doesn't carry up the wall. Large wall tile is planned the same way; see how to tile a wall.
Outlets, switches and lights in a vanity backsplash
Bathroom vanity walls often have an outlet, a light switch and wall lights or a mirror light. Each one has to be worked into the tile.
Turn off the power at the breaker before removing any cover plates, and test that each device is dead. Tile adds thickness to the wall, so the electrical boxes end up recessed. Box extenders bring the device and its plate out to the finished surface so the plate sits flush. The cuts only have to be neat enough for the plate to hide them, but they must clear the box and the extender.
Bathroom outlets need ground-fault protection, and outlets near water have code rules about their placement. Moving, adding or rewiring an outlet, a switch or a wall light is work for a licensed electrician, with an ESA permit where required. If you are adding sconces beside the mirror, have the boxes placed at the right height before tiling, ideally where they land on a grout line or a centred tile. The tile installer works around the boxes; the electrician does the wiring.
Moisture behind a vanity
A vanity backsplash is a splash zone, not a shower. Sound, flat drywall is a suitable base, as it is for a kitchen backsplash. Our guide to tiling over drywall explains where drywall works and where it doesn't. If the drywall is soft or stained from an old leak behind the sink, find the cause and replace that section first.
Cement-based thin-set suits almost every vanity backsplash tile, and a non-sag mortar holds wall tile in place while it cures. Premixed adhesives are only for the tile types and sizes their maker allows, generally small, light wall tile in dry areas. Glass tile and light natural stone go in white mortar. Our guide on which thin-set to use covers the choice.
Grout behind a bathroom sink sees toothpaste, makeup, hair products and soap. A stain-resistant grout helps keep it clean, and epoxy and high-performance grouts resist stains best; see epoxy vs cement grout. Marble and other natural stone are porous and are usually sealed. A working exhaust fan helps the wall dry after every shower.
The joint at the counter is sealant, not grout
The joint where the tile meets the vanity top is the most important joint in the backsplash. The counter and the wall move slightly differently, and the vanity can shift a little as people lean on it. Rigid grout in that joint cracks, and water then gets behind the bottom row of tile.
Leave a small gap at the counter, about the width of a grout joint, and fill it with a flexible sealant colour-matched to the grout after the grout has cured. The same applies to inside corners where the backsplash turns onto a side wall, and to joints against a stone splash, a mirror or a cabinet. Our guide to tile movement joints explains why these joints are soft. Water tends to sit along the back of the counter, especially behind the faucet, so this sealant joint does real work. Replace it if it splits or turns dark.
Finishing the edges with trim or bullnose
Wherever a vanity backsplash ends in mid-wall, the edge of the tile shows: along the top, at an open end of the vanity, and around a medicine cabinet or a window. The cut edge of glazed tile shows the clay body and chips easily, so it needs a finish.
A metal edge profile, such as a square or rounded aluminum trim, is set into the mortar as the edge tiles go on. A finish that matches the faucet, such as brushed nickel or matte black, looks deliberate. Many ceramic wall tile lines include bullnose or pencil trim pieces, and colour-body porcelain can be mitred at outside corners. Choose the method before tiling, because a profile goes in with the tile. Our tile edge trim guide compares the options.
Matching the shower or floor tile
In a small bathroom, using the same tile on the vanity wall as in the shower makes the room feel larger and more unified. The rows can line up from the shower walls across to the vanity wall, at the same height, so the lines run around the room. Our small bathroom tile ideas guide covers this approach.
The vanity wall is also a good place for a contrast. Because it is small, it can carry a more expensive or more decorative tile: a handmade-look zellige, a vertical stack, a herringbone or a mosaic. See zellige tile and subway tile patterns for ideas. Check the tile thickness if it will meet the shower tile or a stone splash, because two thicknesses side by side need a trim or a planned edge.
Running the floor tile up the vanity wall is another option, especially with large-format porcelain. It gives a continuous look from floor to wall. The rows on the wall should line up with the joints on the floor where they meet.
Vessel sinks, wall-mounted faucets and a vanity swap
Doing it with a vanity swap. The best time for a new vanity backsplash is when the vanity is replaced. The old vanity, its splash and its counter come out, and the wall behind them is often damaged or unpainted. The new vanity and counter go in first, connected by the plumber, and the backsplash is tiled after, because the tile sits on the finished counter. A new vanity can be taller or wider than the old one, which moves where the backsplash starts and ends, so measure after the new vanity is in. Agora tiles the backsplash; the cabinet, the counter and the plumbing are done by those trades.
Vessel sinks. A vessel sink sits on top of the counter, and its faucet is tall or wall-mounted. Water splashes from higher up, so the backsplash usually goes higher too. Plan the tile layout around the faucet's base or its wall plate.
Wall-mounted faucets. A wall-mounted faucet has its valve and supply lines inside the wall. The plumber sets them during rough-in, at a height and depth that suit the sink, the spout length and the finished wall: drywall or backer, mortar and tile. Tell the plumber which tile you are using before the wall is closed. The tile is drilled cleanly around the faucet with a diamond hole saw, and the penetration is sealed so splashes can't get behind the tile. Our guide on cutting porcelain tile covers drilling holes.
A wall-hung vanity leaves the wall below the counter visible, so decide whether the tile continues down to the floor. It also needs blocking or a carrier in the wall, set during framing.
DIY or hire a pro for a vanity backsplash
A short ceramic backsplash on a flat wall with one outlet is one of the friendlier DIY tile jobs. The keys are a level line, a centred layout, finished edges and sealant at the counter. A full-height vanity wall, glass or stone tile, a wall-mounted faucet or a double vanity with mirrors and sconces is more demanding. Mistakes there are very visible, at eye level under bright light.
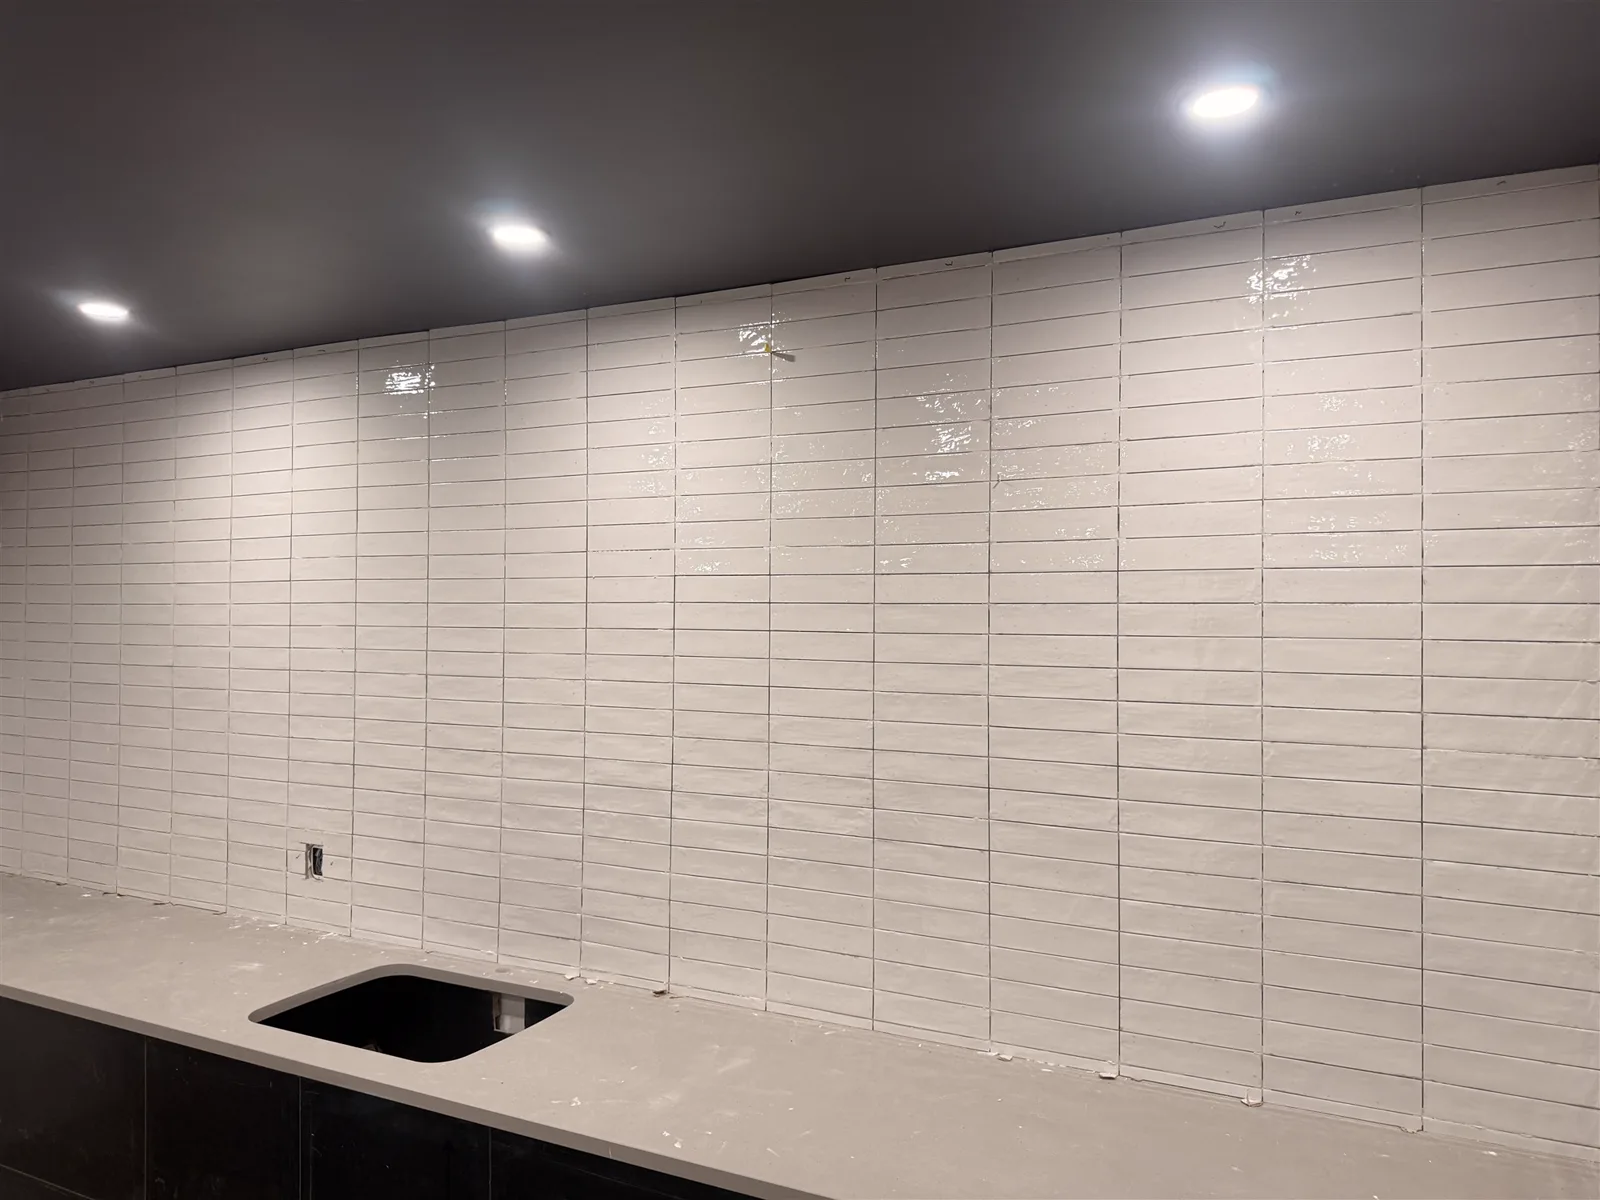
Agora tiles vanity walls as part of bathroom projects, and set the wall tile above the counter in an amenity room at Hintonburg Rentals. For what drives the price of a small tile job, see backsplash installation cost in Ottawa.
Frequently asked questions
How high should a vanity backsplash be?
There is no standard height. Common choices are a 4" stone splash, a few rows of tile, tile up to the bottom of the mirror, or the full wall to the ceiling. Stop at a line that makes sense in the room, such as the mirror or the height of other wall tile.
Do you need a backsplash behind a bathroom sink?
It is strongly recommended. Water splashes the wall behind the sink every day, and the joint between the counter and the wall needs to be sealed so water doesn't get into the drywall.
Should tile go behind the bathroom mirror?
Tiling the full wall behind the mirror lets you change the mirror later without leaving a gap. Stopping at the mirror uses less tile, but it fixes the mirror's size and position.
Do you grout or caulk where the vanity top meets the tile?
Use a flexible sealant, colour-matched to the grout. The counter and the wall move slightly differently, so grout in that joint cracks and lets water in.
Can you tile over a stone splash on a vanity?
Tile is usually set above the stone splash rather than over it, leaving a small ledge because the stone is thicker. If you want tile down to the counter, the splash is removed, which can damage the drywall behind it.
Do I need cement board behind a vanity backsplash?
No. A vanity backsplash is a splash area, not a shower, so sound, flat drywall is a suitable base. Replace any drywall that is soft or water-damaged first.