Short answer
A tile feature wall is one wall finished in a tile that stands out from the rest of the room: behind a vanity, a bed, a TV or a reception desk. It needs a flat, sound wall rated for the tile's weight, a layout centred on the wall with balanced cuts, and a planned finish where the tile stops. Big or glossy tile also needs levelling clips and full mortar coverage, because light raking across a wall shows every uneven edge.
A feature wall is one of the most effective ways to use tile outside a shower. A single tile accent wall can give a bathroom, living room or entry a focal point without tiling the whole room. Because the wall is the centre of attention, though, every detail shows: a sliver at one end, an edge that steps out, an outlet sitting crooked in the tile. This guide covers where tile feature walls work, what goes behind them, and how the layout, edges and lighting are planned so the wall looks built in.
Where a tile feature wall works
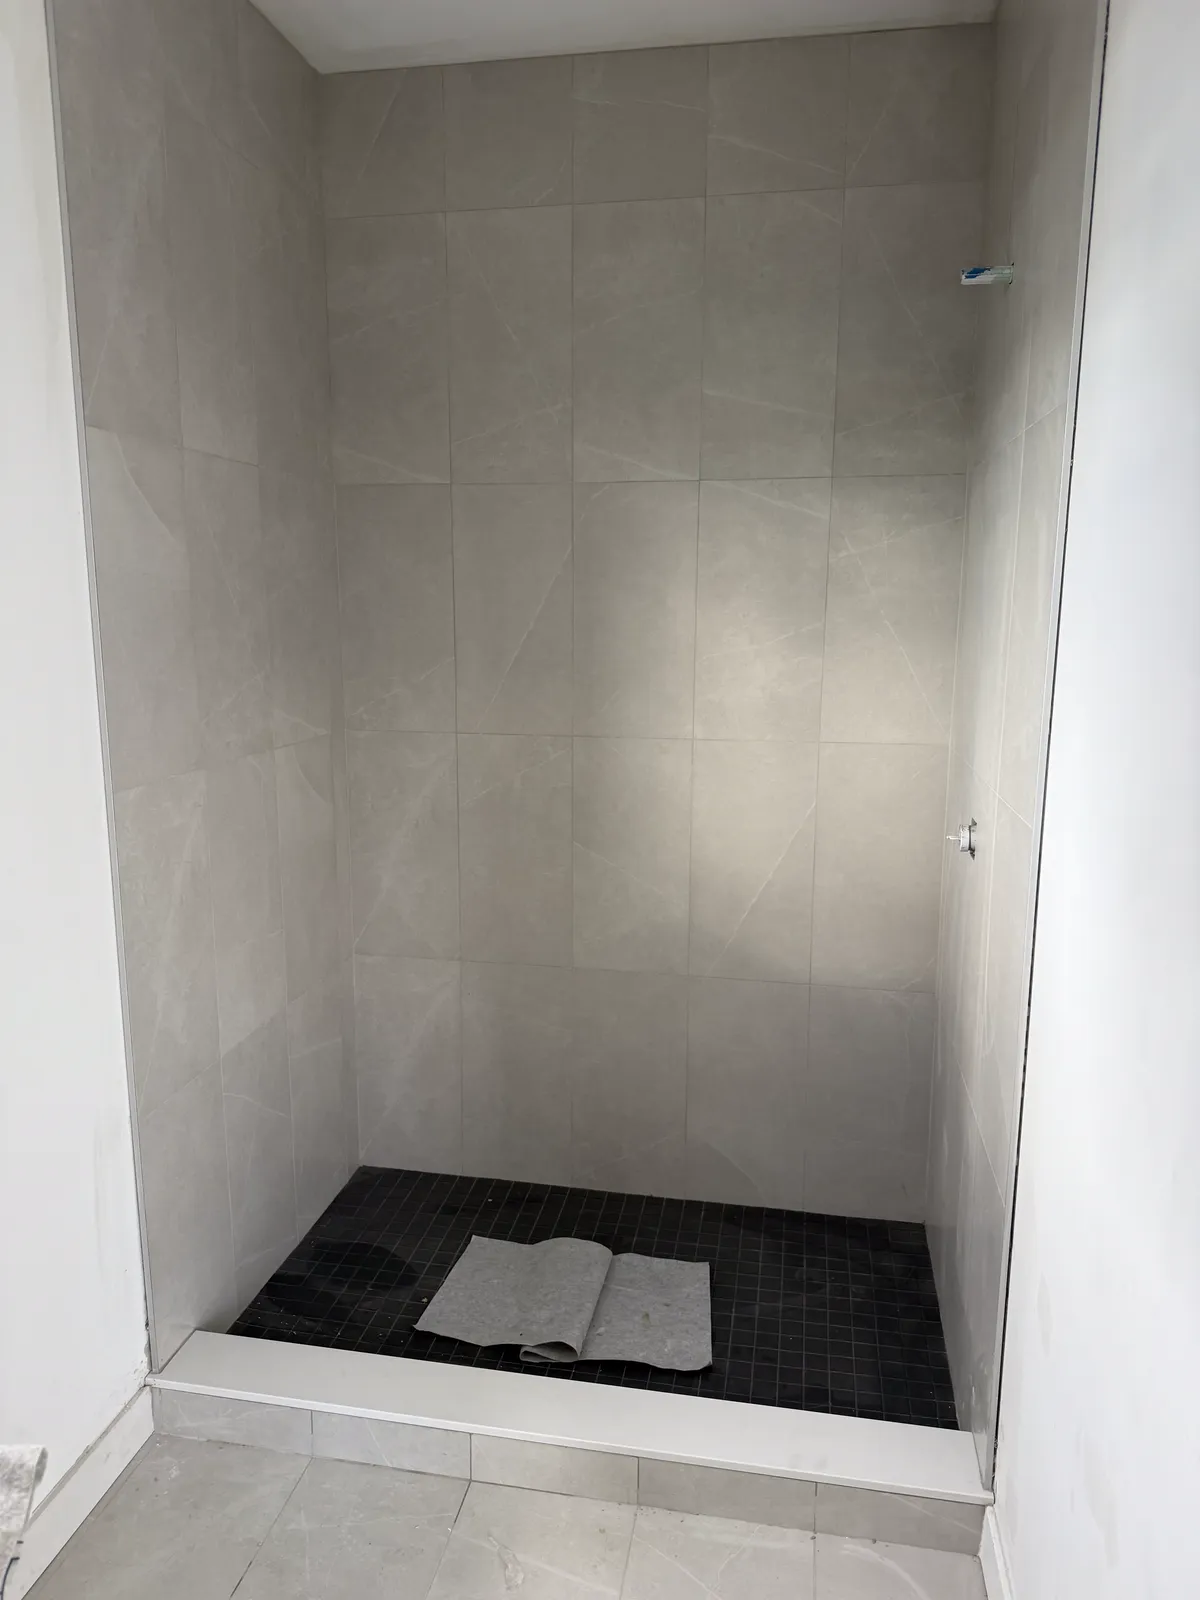
In a bathroom, the classic feature wall is the wall behind the vanity, or the back wall of the shower, the one you see from the door. A bathroom feature wall can also be the wall behind a freestanding tub or the toilet. Our guide to shower tile ideas covers feature walls inside the shower.
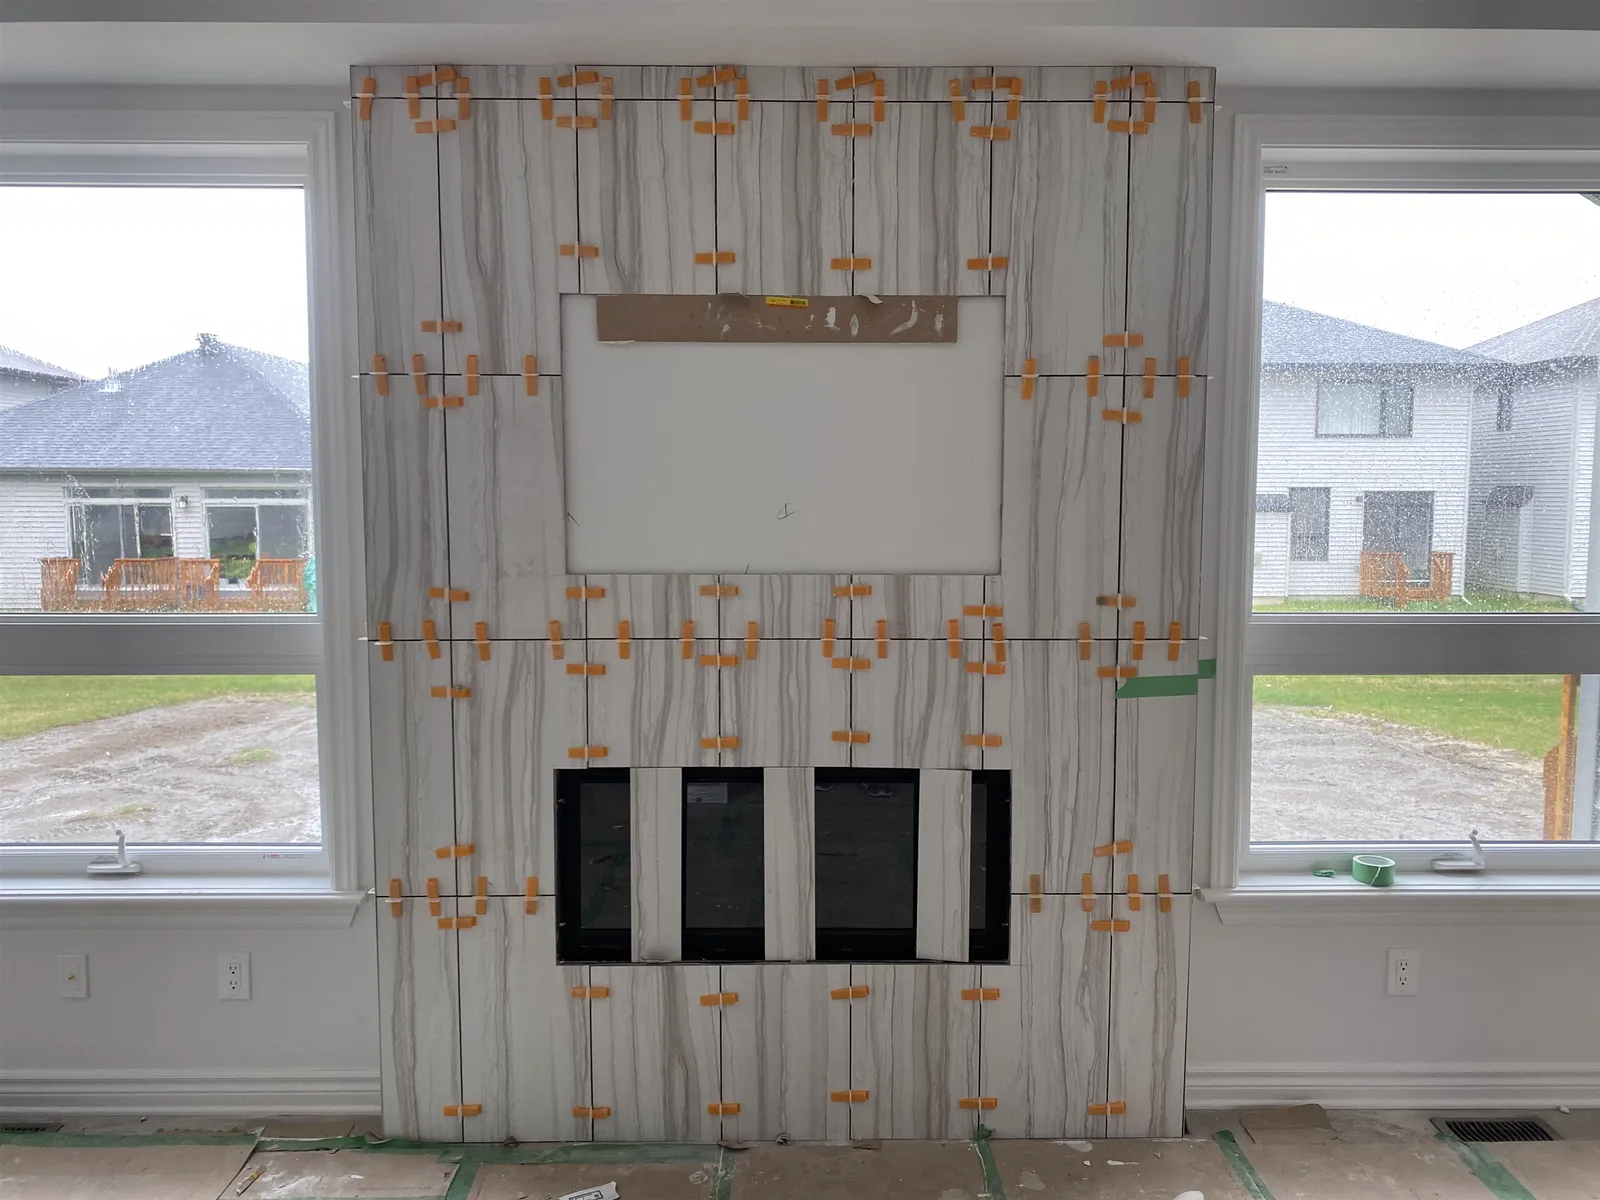
In a living room, the feature wall is usually the TV wall or the fireplace. A tiled TV wall in large marble-look or concrete-look porcelain is popular in open-concept homes. Where there is a fireplace, its heat rules come first; see our guide to fireplace tile.
In an entry or hallway, a tiled wall beside the door or along a stair takes bumps and wet coats better than paint. In a bedroom, a textured tile behind the headboard works like a built-in headboard.
In commercial spaces, lobbies, corridors and reception areas use feature walls to set the tone for the building. At Hintonburg Rentals, a 270-unit building, the lobby and corridor feature walls include copper-finish panels and a grey brick feature wall. Commercial walls also need to resist impact at corners, frequent cleaning and heavy traffic, which affects the tile and trim chosen; see our commercial flooring page.
The wall behind the tile: substrate, weight and flatness
Most feature walls are dry, so the question is whether the wall can carry the tile. Sound, flat, clean drywall is a good base for most wall tile. The limit is weight: the bond really depends on the drywall's paper face, and board, mortar and tile makers each publish what their products allow. Thick porcelain, natural stone and large panels add up quickly. Where the tile is heavy or the wall is doubtful, careful installers replace the drywall with a backer board rated for it. Our guide to tiling over drywall covers preparation, painted walls and weight in detail.
A feature wall inside a shower is a wet area. It needs a waterproofing system behind the tile, the same as the rest of the shower; see how to waterproof a shower.
Flatness is the bigger challenge. Walls are rarely as flat as they look. Taped seams leave humps, studs bow, and old walls can be out by a lot over their height. Small tile can follow a gentle curve. A large tile bridges it, leaving a hollow behind and an edge that sits proud of its neighbour. For tile with an edge of 15" or longer, industry guidance calls for a very flat surface, typically no more than 1/8" of variation over 10 feet. Check with a long straightedge in several directions. Where the wall is open, fix the framing. Where it isn't, flatten it with a suitable patch or skim coat, or re-board it. Thick mortar is not a way to straighten a wall.
Large format feature walls and levelling
A large format feature wall, in 24 × 48 tile or bigger porcelain panels, gives the calm, almost seamless look many people want. It is also the least forgiving version. The pieces are heavy and awkward to handle. They go in a non-sag, large-and-heavy-tile mortar, are back-buttered and set on a straight ledger board so they can't slide. The aim is full coverage with edges and corners supported, because hollow spots behind a wall tile sound hollow when tapped and are weak spots for impact.
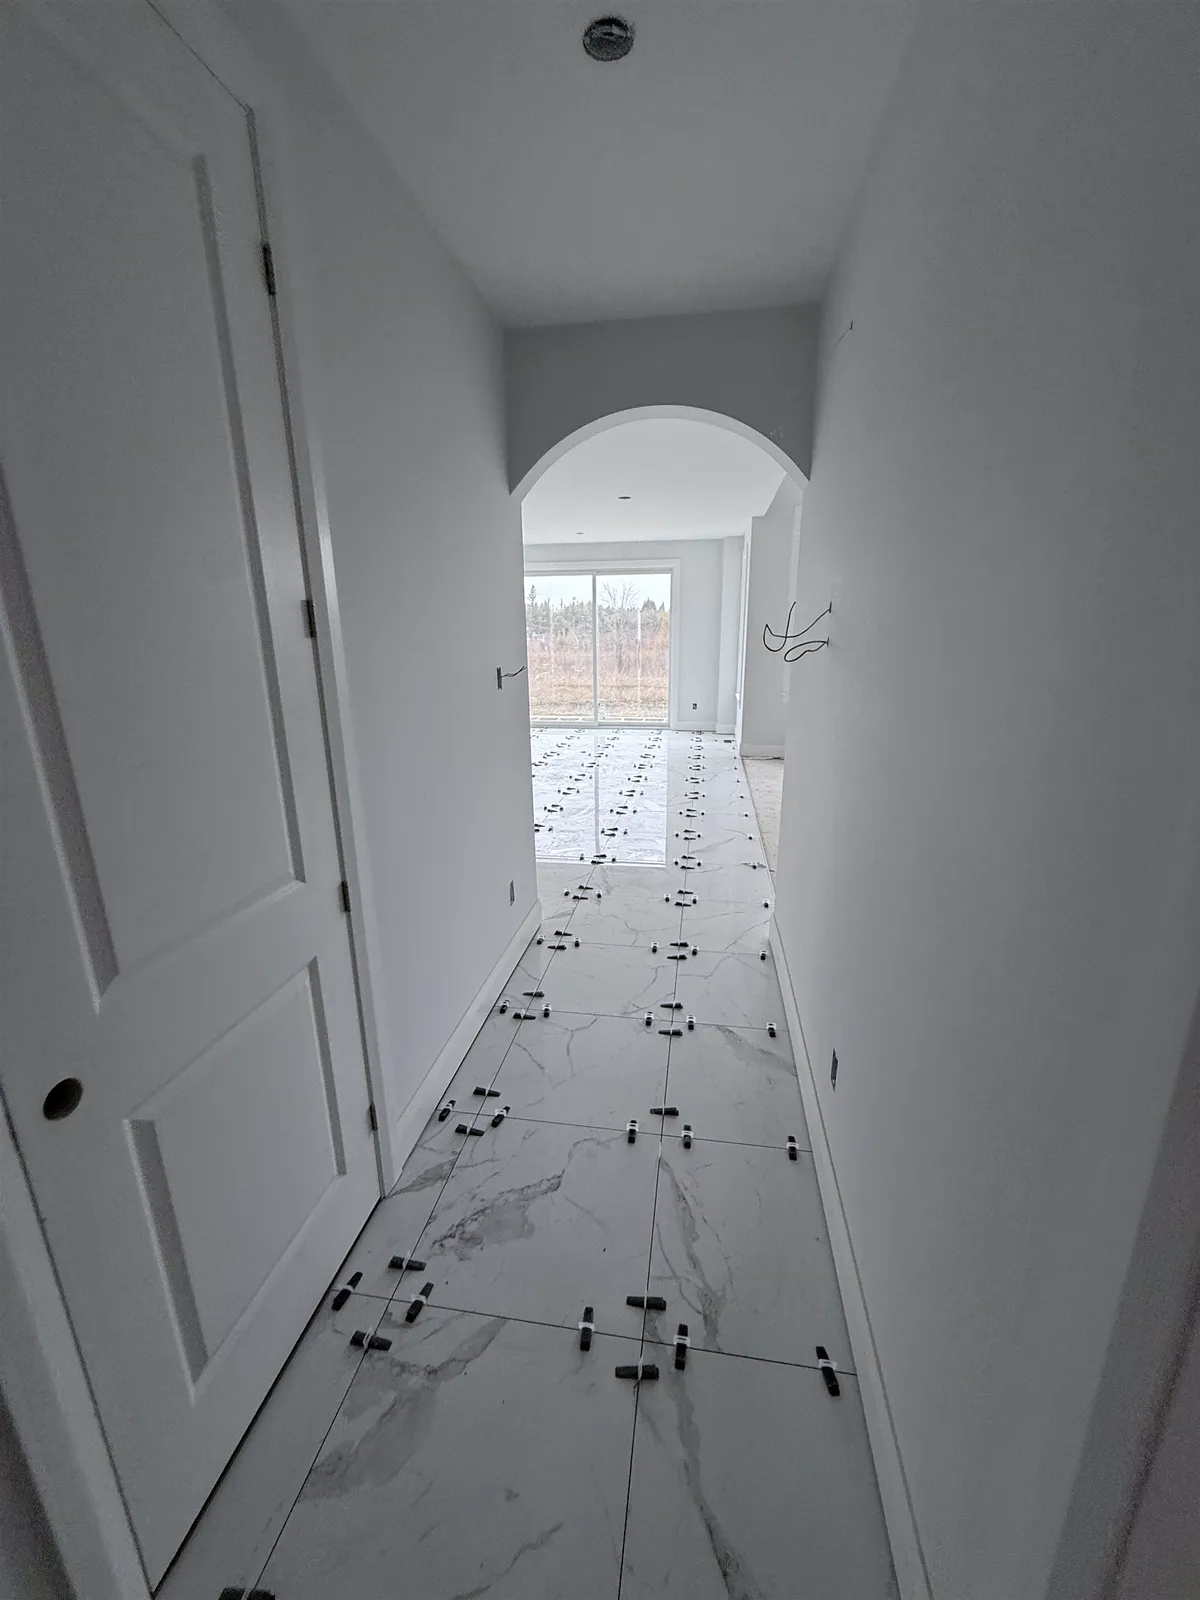
Levelling clips hold the edges of neighbouring tiles flush while the mortar cures. On a wall, they matter even more than on a floor, because people look at walls straight on and in side light. Clips are one tool, not a cure: they can't flatten a wavy wall or fix a bowed tile. Large tiles often have a slight bow, so long rectangles are typically offset by no more than one-third of their length. Our large-format tile guide and tile lippage and levelling systems explain both in more depth.
Layout: centred on the wall, balanced at both ends
A feature wall is usually seen whole, from across the room, so its layout has to look balanced. The starting point is the centre of the wall, or the centre of what sits in front of it: the vanity, the bed, the TV or the fireplace. From that centreline, the installer works out to both ends so the cut pieces at each end are the same width. Many installers aim for end pieces of at least half a tile.
The rows are planned the same way, from the floor to the ceiling. Floors and ceilings are rarely level, so the first row is set from a level line, not from the floor. A story pole, a board marked with each row, shows where the joints will land at the top of the vanity, the mirror, the light fixtures and the ceiling. The goal is to avoid a thin strip at the top, and to have joints land cleanly at the things the eye goes to.
Before ordering tile, draw the wall to scale with every opening, outlet and fixture marked. That drawing shows the cuts, the waste and whether a slightly different tile size would avoid slivers. If you want to see a few options in 3D first, we offer design consultations. For pattern choices, from stacked to herringbone, see tile patterns and layouts.
Where the tile stops: corners, trim and ceilings
The edges decide whether a tile accent wall looks designed or added on. There are a few common situations.
Ending at an inside corner. The cleanest option. The tile runs into the corner where two walls meet, and the joint is filled with flexible sealant rather than grout, because inside corners move. A feature wall that fills one wall from corner to corner needs no trim at the sides.
Wrapping an outside corner. Where the wall ends at an outside corner, such as a bump-out or a hallway opening, the edge is either mitred or finished with a metal profile. A mitre makes the tile look like a solid block and suits slab-look porcelain, but it needs square corners and more labour. Trim is quicker and protects the edge, which matters in busy halls and lobbies. Our tile edge trim guide compares profiles and mitres.
Stopping in the middle of a wall. A half-height wainscot or a panel behind a vanity stops mid-wall, leaving the top and side edges exposed. Those edges get a metal profile, bullnose pieces if the tile line has them, or a finished edge on suitable through-body porcelain.
At the ceiling. Ceilings are rarely level, so tile run to the ceiling usually stops with a small gap filled with flexible sealant. A full row at the top looks best, which is why the story pole matters. Where the ceiling is badly out of level, stopping the tile at a trim line a little below it can look cleaner.
At the floor. Tile on a wall usually runs to the floor without a baseboard, with a sealant joint at the bottom. Where the floor is hardwood or floating vinyl, that floor needs an expansion gap at the tile. Plan how the gap will be covered before either goes in. Thicker tile also changes how door casings and existing baseboards meet the wall, which is part of our baseboards and trim work.
Lighting that shows every edge
Light coming across a wall at a low angle, called raking light, exaggerates every bump and uneven edge. Feature walls are often lit exactly that way: a window at one end, wall-washer downlights close to the wall, or LED strips at the ceiling or behind a mirror. Lippage that is within normal limits can look like a step under that light.
That doesn't mean avoiding wall lights. It means planning them with the tile. A very flat wall, full coverage and levelling clips keep the edges tight. A matte or textured tile hides small differences better than a high-gloss one. Wider grout joints soften the edges a little. If the wall will be washed with light, mention it to the installer at the quoting stage, so preparation is planned for it.
Outlets, switches and TV mounts
Outlets and switches on a feature wall need to sit square and flush in the finished tile. Tile adds thickness, so the electrician either sets boxes at the right depth before tiling or fits box extenders afterwards. The tile is cut neatly around each box, and the cover plate hides a small margin. Plan the layout so outlets fall in the middle of a tile or on a joint, not just off a joint. Electrical changes, including moving or adding outlets and wiring a TV or lighting, are done by a licensed electrician with an ESA permit where required. Agora tiles around the boxes; the electrician does the wiring.
Before a TV wall is boarded, solid blocking goes in the framing where the mount will be. Large tile on drywall alone is not a mounting surface. The mount is then fastened through the tile into the blocking, using a diamond or tile bit and the right anchors. Turn the power off at the breaker before drilling near any wiring. Cables for a wall-mounted TV run inside the wall through conduit or in-wall-rated cable, placed before the wall is closed.
Textured, 3D and fluted tile
Dimensional tile, with raised waves, ribs, flutes or geometric faces, makes a strong feature wall because light plays across the surface. It installs differently from flat tile. Levelling clips often can't grip a profiled face, so flatness depends on the wall and on careful setting. Some 3D tiles are made to be set with tight joints or no visible grout, as their maker specifies, and the pattern has to line up exactly from piece to piece.
Edges are harder too. A fluted or wavy tile can't be mitred cleanly in most cases, so outside corners are usually finished with trim, or the wall is planned to end at inside corners. Deep textures collect dust, which matters in kitchens and bathrooms. Ask for a sample and look at it under the wall's real lighting before deciding.
Contrast stripes and other accent wall tile ideas
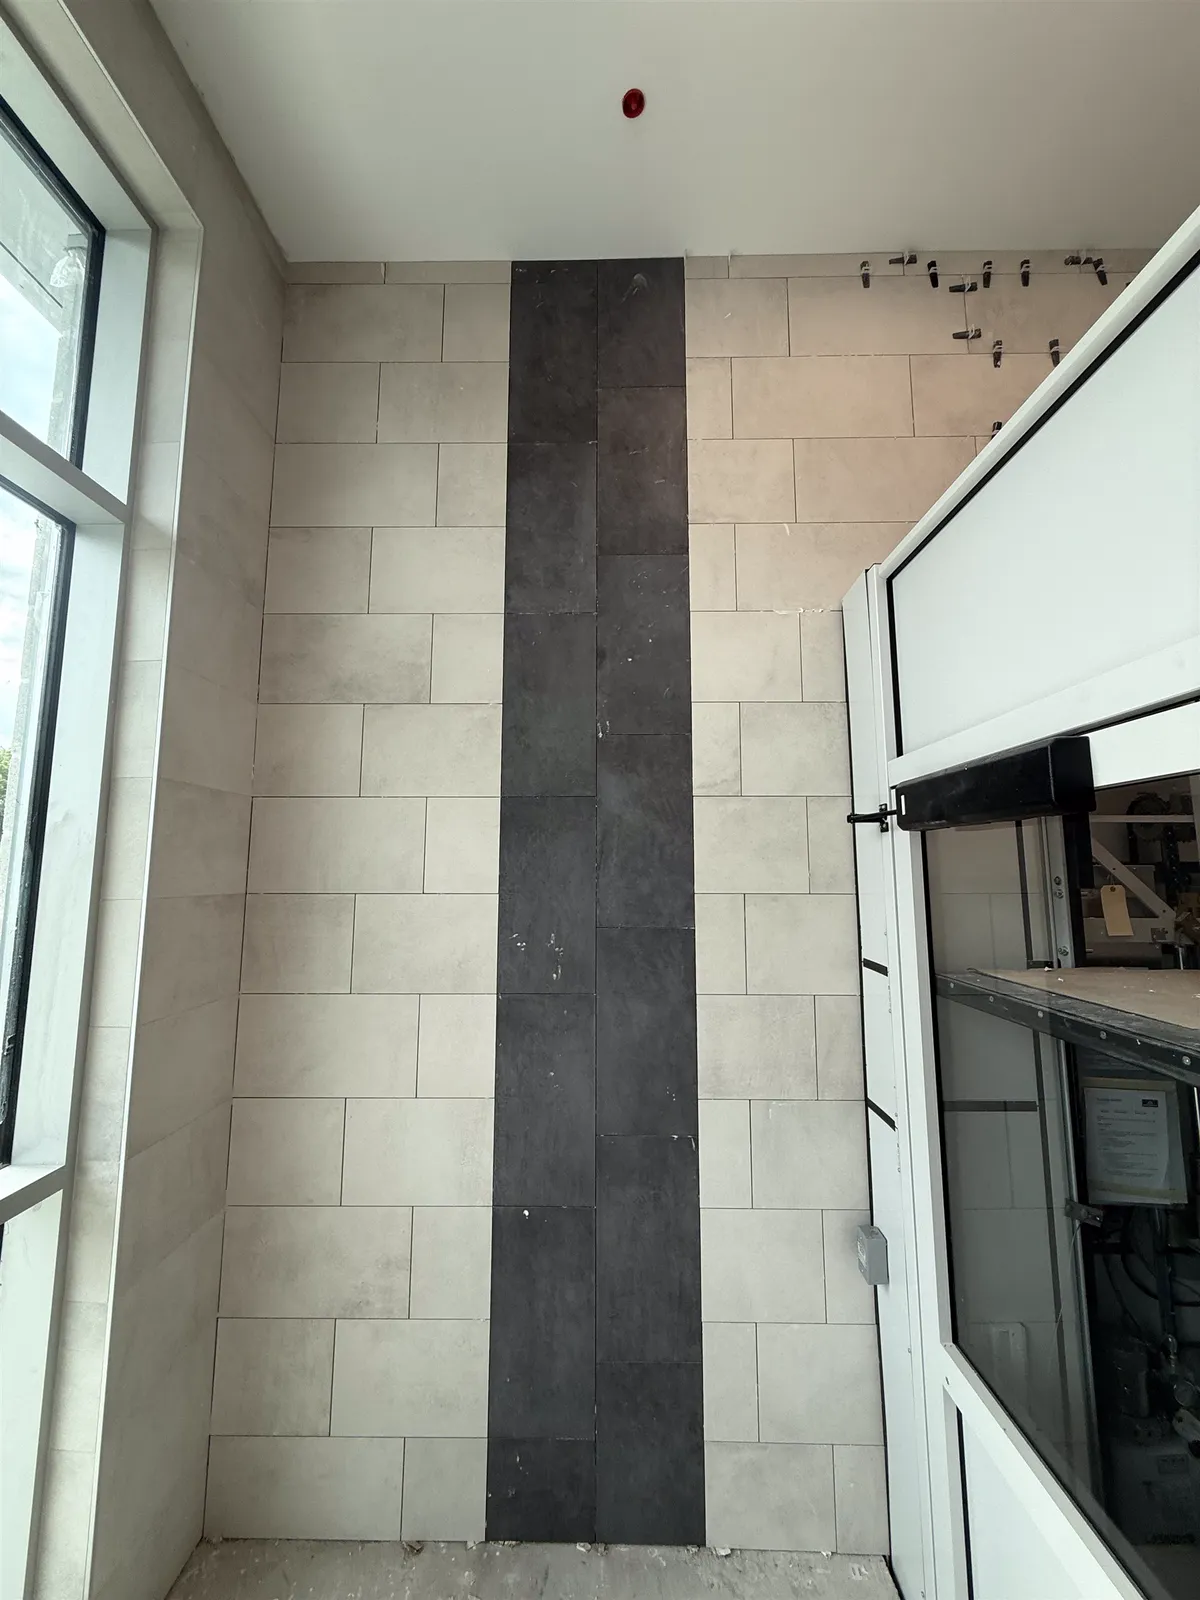
A feature doesn't have to be a whole wall. A vertical stripe of a contrasting tile, like the charcoal stripe in the photo above, adds height and draws the eye to one spot. Stripes work best when they are centred on something, such as a vanity, a shower valve or a niche, and sized to full tile widths so there are no thin cuts beside them. The stripe tile should match the field tile's thickness, or the difference has to be planned with the mortar bed.
A few other accent wall tile ideas that work well:
- One tile, two directions: the same tile on the feature wall in a vertical stack or herringbone, and in a simple layout elsewhere.
- Handmade or zellige tile behind a vanity, where its uneven glaze catches the light; see zellige tile.
- Mosaic panels or a mosaic band at eye level, which fit neatly into a small area.
- Brick-look or stone-look tile in an entry or a lobby, where it stands up to bumps.
Most rooms look best with one star. A bold feature wall pairs well with a quieter floor and plain walls around it.
Cost, DIY and hiring
A small accent wall in light tile on sound drywall is one of the more DIY-friendly tile jobs. Large-format panels, floor-to-ceiling walls, mitred corners and textured tile are better left to an experienced installer, because the wall is on display and mistakes are hard to undo. What drives the price is mostly labour: wall preparation, tile size and weight, the number of cuts around outlets and openings, mitres or trim, and the height of the wall. See tile installation cost in Ottawa for what affects the figure, and our project gallery for finished walls.
Frequently asked questions
Can you tile a feature wall over drywall?
Yes, on a dry wall, if the drywall is sound, flat and clean and the tile is within the weight the board and mortar makers allow. For heavy stone or large panels, a rated backer board is often the safer base.
What tile is best for a feature wall?
Any wall-rated tile can work. Large-format porcelain gives a calm look, zellige and textured tile add depth, and mosaics suit smaller areas. Choose matte or textured finishes if the wall will be lit from the side.
Should a tile accent wall end at a corner or with trim?
Ending at an inside corner is the cleanest. Where the tile stops at an outside corner or mid-wall, it needs a metal profile, bullnose or a mitre.
Can I mount a TV on a tiled wall?
Yes, if solid blocking was installed in the framing before the wall was boarded. The mount is fastened through the tile into the blocking with a tile bit and suitable anchors.
Why do the tile edges on my feature wall look uneven?
Raking light from a window or nearby lights exaggerates even small lippage. A flat wall, full mortar coverage and levelling clips during setting keep it to a minimum.
Does a bathroom feature wall need waterproofing?
Only if it is inside the shower or gets running water. A wall behind a vanity or toilet is a dry area and can go on sound drywall.