Short answer
A basement bathroom renovation is different because everything sits on a concrete slab, and the drains may be close to or below the main sewer line. The plumbing decides the plan: an existing rough-in is easiest; otherwise a licensed plumber cuts the slab to reach the drain, or installs an upflush or ejector system where gravity won't work, with a permit. After that, check the slab for moisture, set the tile over an uncoupling membrane, consider floor heat with a thermal break, waterproof the shower as one system and duct the fan outside.
A basement bathroom renovation is one of the most useful upgrades in an Ottawa house. It adds a second or third bathroom for a rec room, a guest suite or a teenager's bedroom. It also comes with problems an upstairs bathroom doesn't have. The floor is concrete on the ground. The drains run under that concrete. The slab is cold and can release moisture, and the ceiling is often low and crossed by ducts.
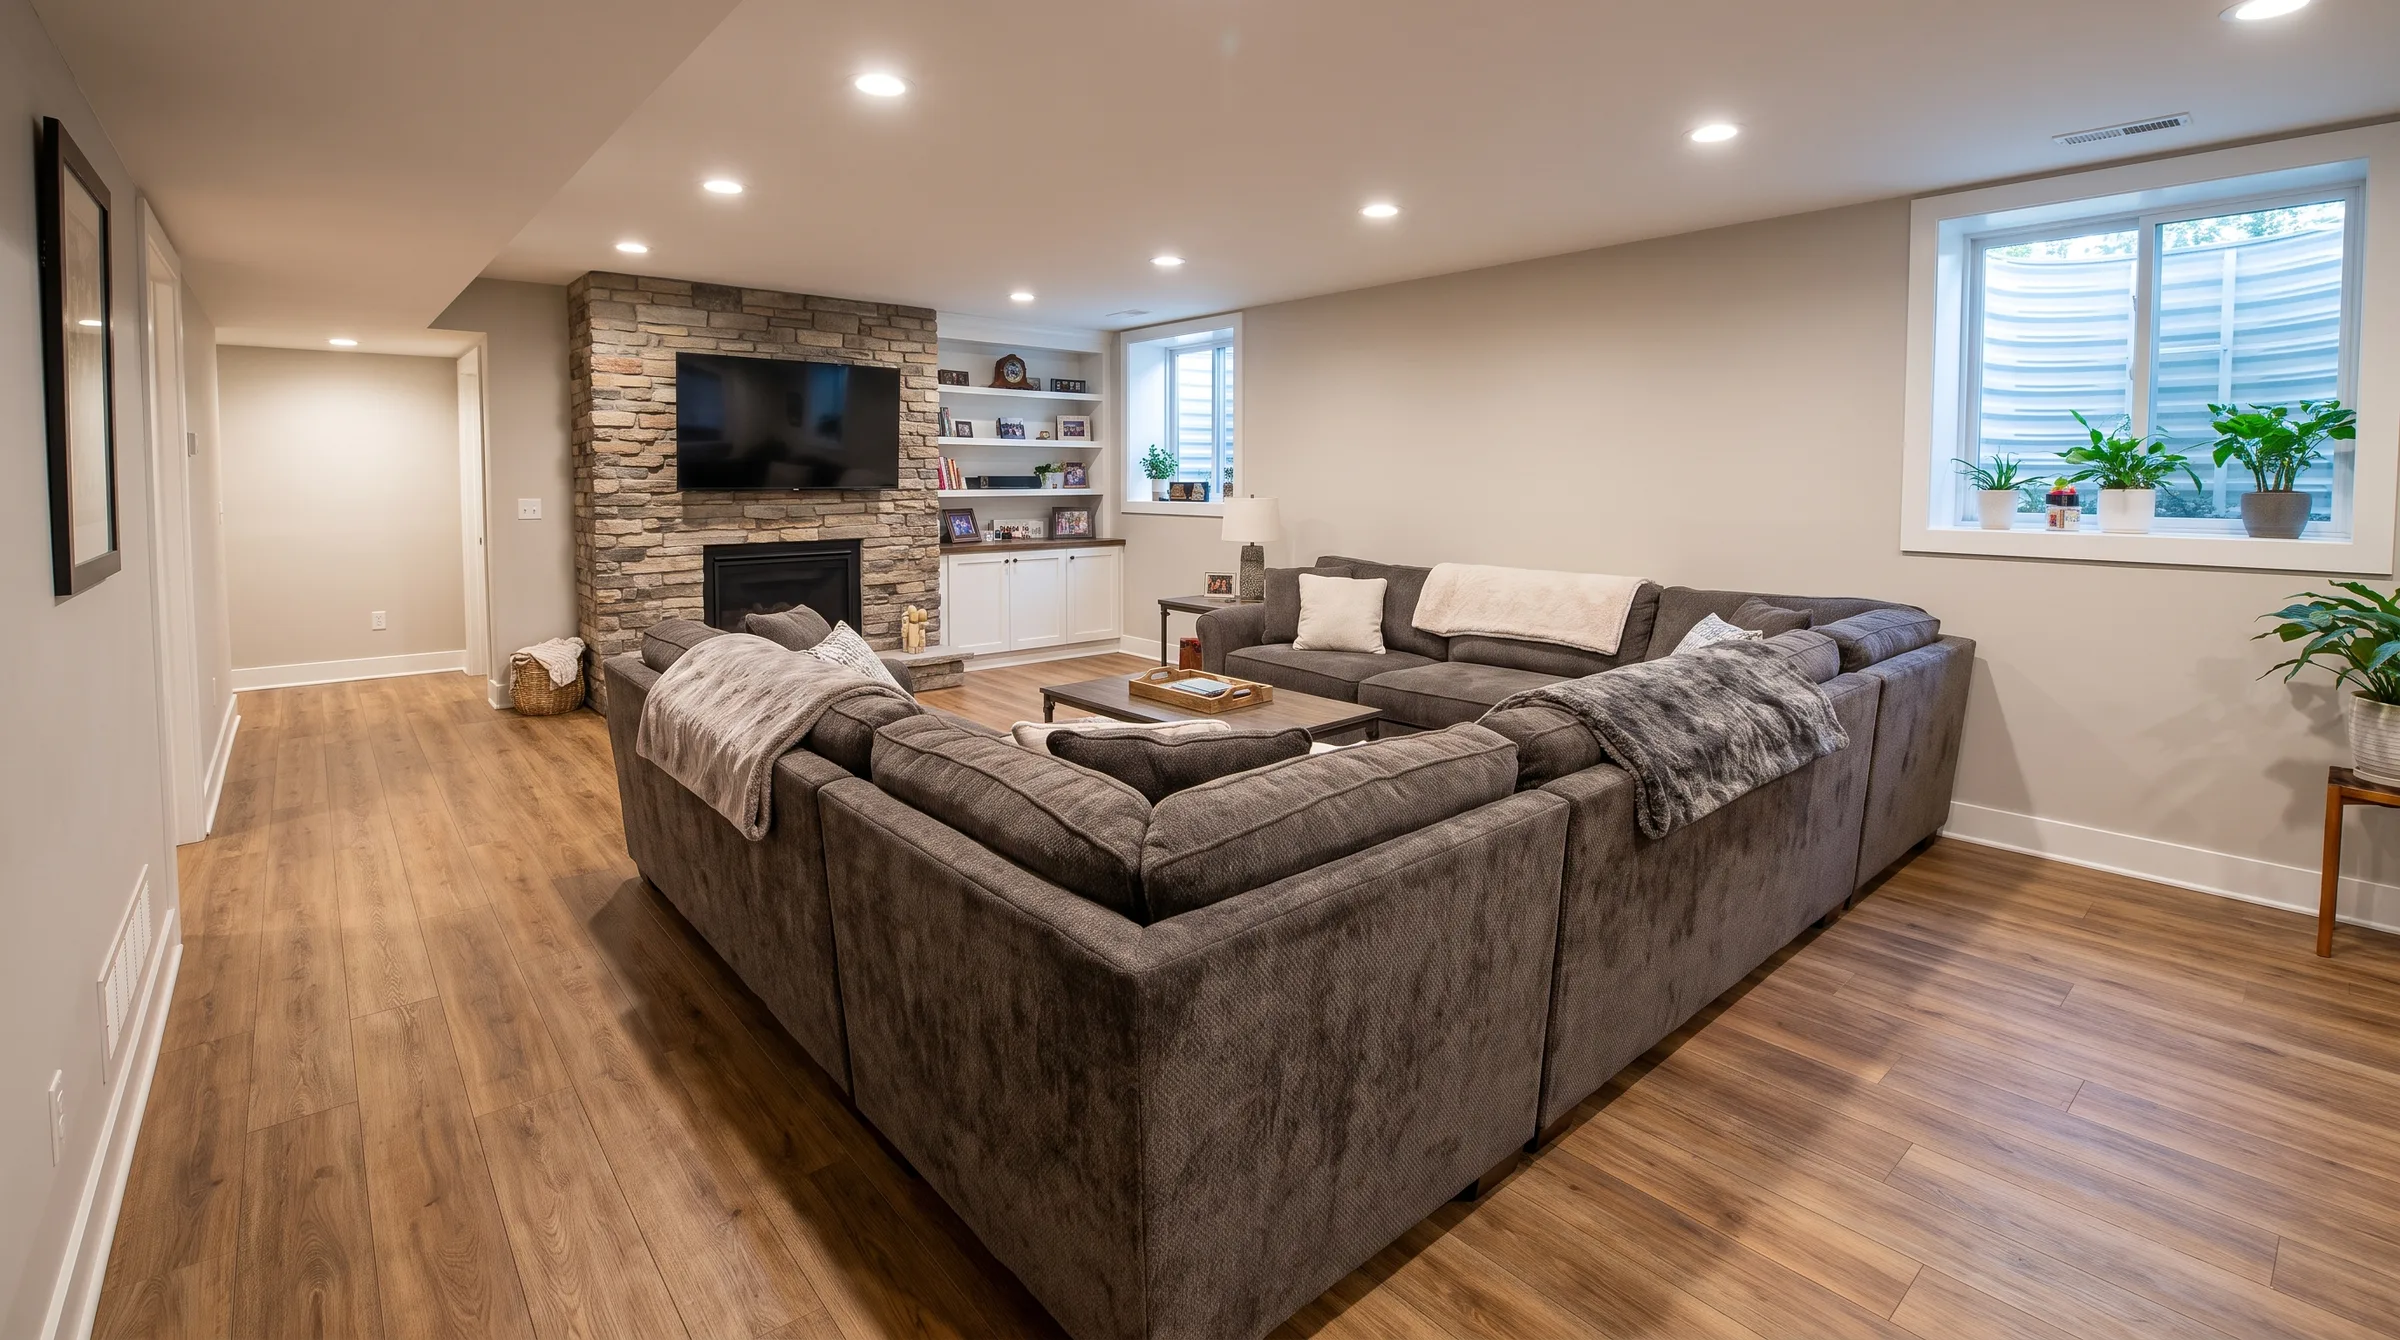
This guide covers what changes below grade, in the order the decisions come up. It is written from the tile and flooring side. For the general sequence of any bathroom job, see our guide to a bathroom renovation in Ottawa. For flooring choices in the rest of the basement, see the best basement flooring.
Why a basement bathroom is different
Upstairs, a bathroom floor is wood framing. Pipes run between the joists, and a plumber can usually reach them from below or from the room itself. In a basement, the floor is a slab poured on gravel or soil. Every drain is buried in or under it. Moving a drain means cutting and removing concrete, digging, laying pipe at the right slope and patching the slab.
The slab affects the finishes too. It stays cool all year, so tile on it feels cold. It may carry moisture up from the ground. It often has shrinkage cracks and control joints, and it is rarely flat. None of this rules out a good basement bathroom. It just means the floor, the shower and the plumbing have to be planned around concrete, not wood.
Basements also have less air movement and more humidity than the floors above. A bathroom adds daily steam to that. Ventilation matters more here than anywhere else in the house.
Adding a basement bathroom: rough-in, cutting concrete or an upflush system
The first question is how the toilet, shower and sink will drain. There are three common situations, and the plumber decides which one applies.
An existing rough-in. Many newer Ottawa houses were built with a basement bathroom rough-in. These are capped drain pipes left in the slab for a toilet, a shower or tub and a sink, usually with a vent pipe nearby. If the rough-in suits your layout, it saves the most work. The catch is that the fixtures go where the pipes are. A shower drain in the wrong spot for the shower you want is a common surprise, so check its position before you design the room.
Cutting the slab. If there is no rough-in, or the fixtures need to move, the plumber cuts a trench in the concrete, ties into the building drain and lays new pipe at the slope the code requires. The trench is then backfilled and patched with new concrete. This is noisy, dusty work. The patch also has to be level with the old slab and fully cured before tile goes over it, as the tile and membrane makers require.
Upflush and ejector systems. In some homes, the main drain leaves the house too high for basement fixtures to drain by gravity. Then the waste has to be pumped up. A sewage ejector pit is set into the slab, or an upflush (macerating) unit sits behind or under the toilet. Each has its own maker's rules for venting, access and power. Plan where the unit sits before tiling, because it needs to stay reachable for service.
All of this is plumbing, done by a licensed plumber. Adding a bathroom usually needs a City of Ottawa building permit, with inspections before the trench is closed and before walls are covered. Ask the plumber about a backwater valve while the floor is open as well. It helps stop sewer backup into the basement, and it is far easier to add now than later.
Moisture and vapour from the slab
Before any finishes go down, make sure the basement is dry. A bathroom can't fix water coming through the foundation. If there is seepage at the walls, puddles after rain or a musty smell, fix the source first. Our basement flooring guide covers the warning signs, the simple plastic-sheet test and radon testing, which Health Canada recommends for all homes.
Even a dry-looking slab can release moisture vapour. Tile itself doesn't mind. Some of the layers under it do. Membranes, levelling compounds, adhesives and heating systems can each have moisture limits, and constant moisture can carry salts up into the grout as white deposits. When there is any doubt, the slab can be tested with the method the product maker asks for.
The walls matter too. Foundation walls are cold and can be damp. A shower should not be tiled straight onto a concrete foundation wall. The usual approach is a framed, insulated wall with the air and vapour barrier the building code requires, then the shower's backer and waterproofing. Where a shower sits on an exterior wall, follow the waterproofing maker's instructions on how its membrane works with the vapour barrier, so moisture isn't trapped between two layers.
Basement bathroom flooring: tile on concrete
Porcelain tile is the natural choice for a basement bathroom floor. Water doesn't harm it, it lasts for decades and it is easy to clean. LVP is a reasonable option in a powder room. In a room with a shower, porcelain is the safer floor.
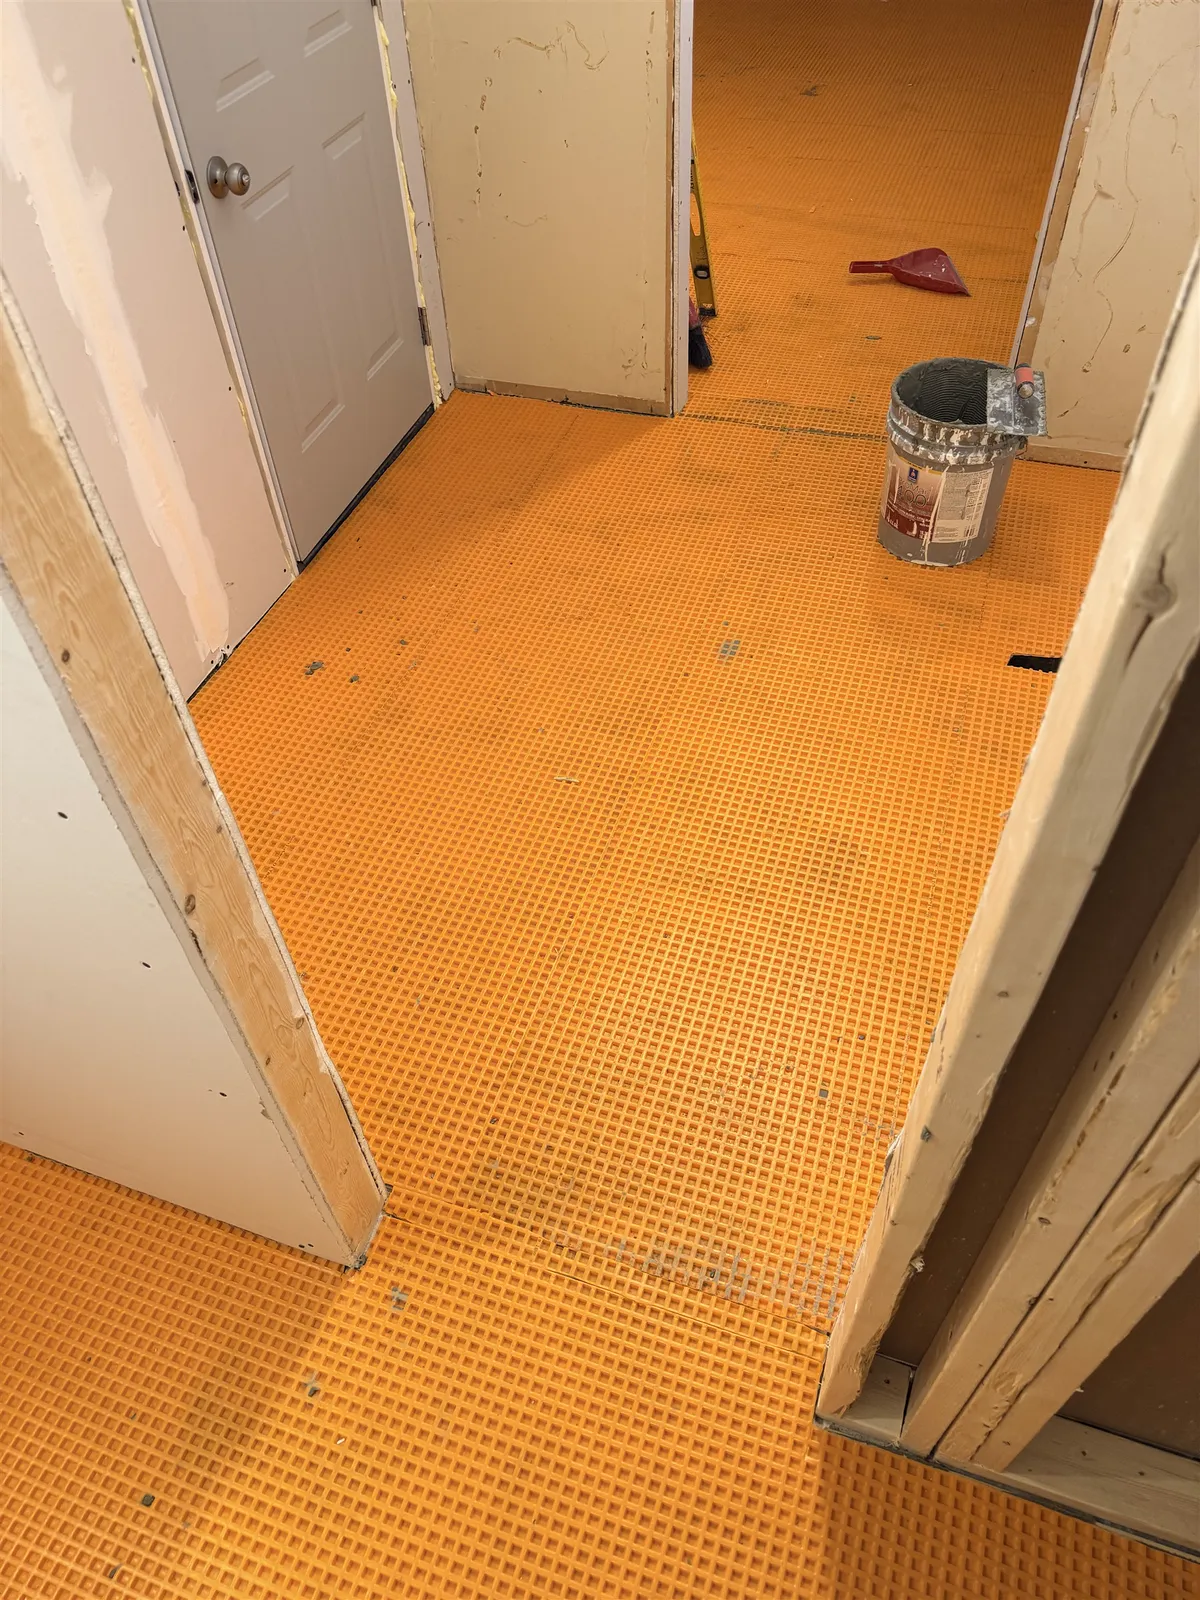
Concrete is stiff, which tile likes, but it shrinks and cracks. Most basement slabs have hairline shrinkage cracks, and a new trench patch adds two more joints in the concrete. Bonded straight to the slab, tile can crack along those lines. An uncoupling membrane such as Schluter-DITRA sits between the slab and the tile and absorbs that small in-plane movement. With its seams sealed, it also gives the bathroom floor a waterproof layer. Cracks where one side has lifted or dropped are a different problem, and they need to be assessed before tile goes down.
The slab also has to be clean and flat. Old carpet glue, paint and sealers are ground off so the thin-set can bond. Dips are filled and humps ground down; larger low areas get a self-levelling compound. Control joints in the slab are carried up through the tile as flexible sealant joints, not tiled over. Our guide to the right subfloor for tile explains each check in detail.
Plan the floor height early. Membrane, mortar and tile add height at the door. If the next room gets LVP over an underlay, the two floors may finish close together. If it gets carpet, a transition strip makes up the difference. See floor transition strips for the options.
Heated floors on a cold slab
Of all the rooms in a house, a basement bathroom gains the most from a heated floor. Bare feet on tile over a cold slab is the common complaint, and floor heat fixes it. Electric heating cable under the tile suits a single room and a renovation well.
On concrete, the slab pulls heat down and away from the tile. A thermal break under the cable helps the floor warm up faster and use less energy. DITRA-HEAT-DUO, for example, adds a thin fleece under the heating membrane for this reason, and it still uncouples the tile. The full process is in our DITRA-HEAT guide, and whether heated floors are worth it covers running cost and comfort.
Decide on heat before the floor is started. The electrician runs the circuit and thermostat box during rough-in. The tile installer lays the cable and tests it before, during and after tiling, and the licensed electrician makes the final connection. Agora installs electric heated floors under tile, with a licensed electrician making the final connection; see our heated floor installation page.
The basement shower: floor, walls and waterproofing
A basement shower can be a tiled shower or a shower base. A one-piece base is quicker and suits a standard size. A tiled floor can be any size and can take a linear drain. Both are compared in shower pan vs tiled shower floor.
On a slab, the drain location is set by the plumber and fixed once the concrete is patched. The tiled shower floor is then built up from the slab to the drain: a sloped mortar bed or a pre-sloped foam tray, typically sloped about 1/4" per foot, with the membrane bonded to the drain flange. Because the floor builds up from the slab, a basement shower usually has a curb. A curbless shower means recessing the slab around the drain, which is heavy work and is best decided before the plumber patches the trench.
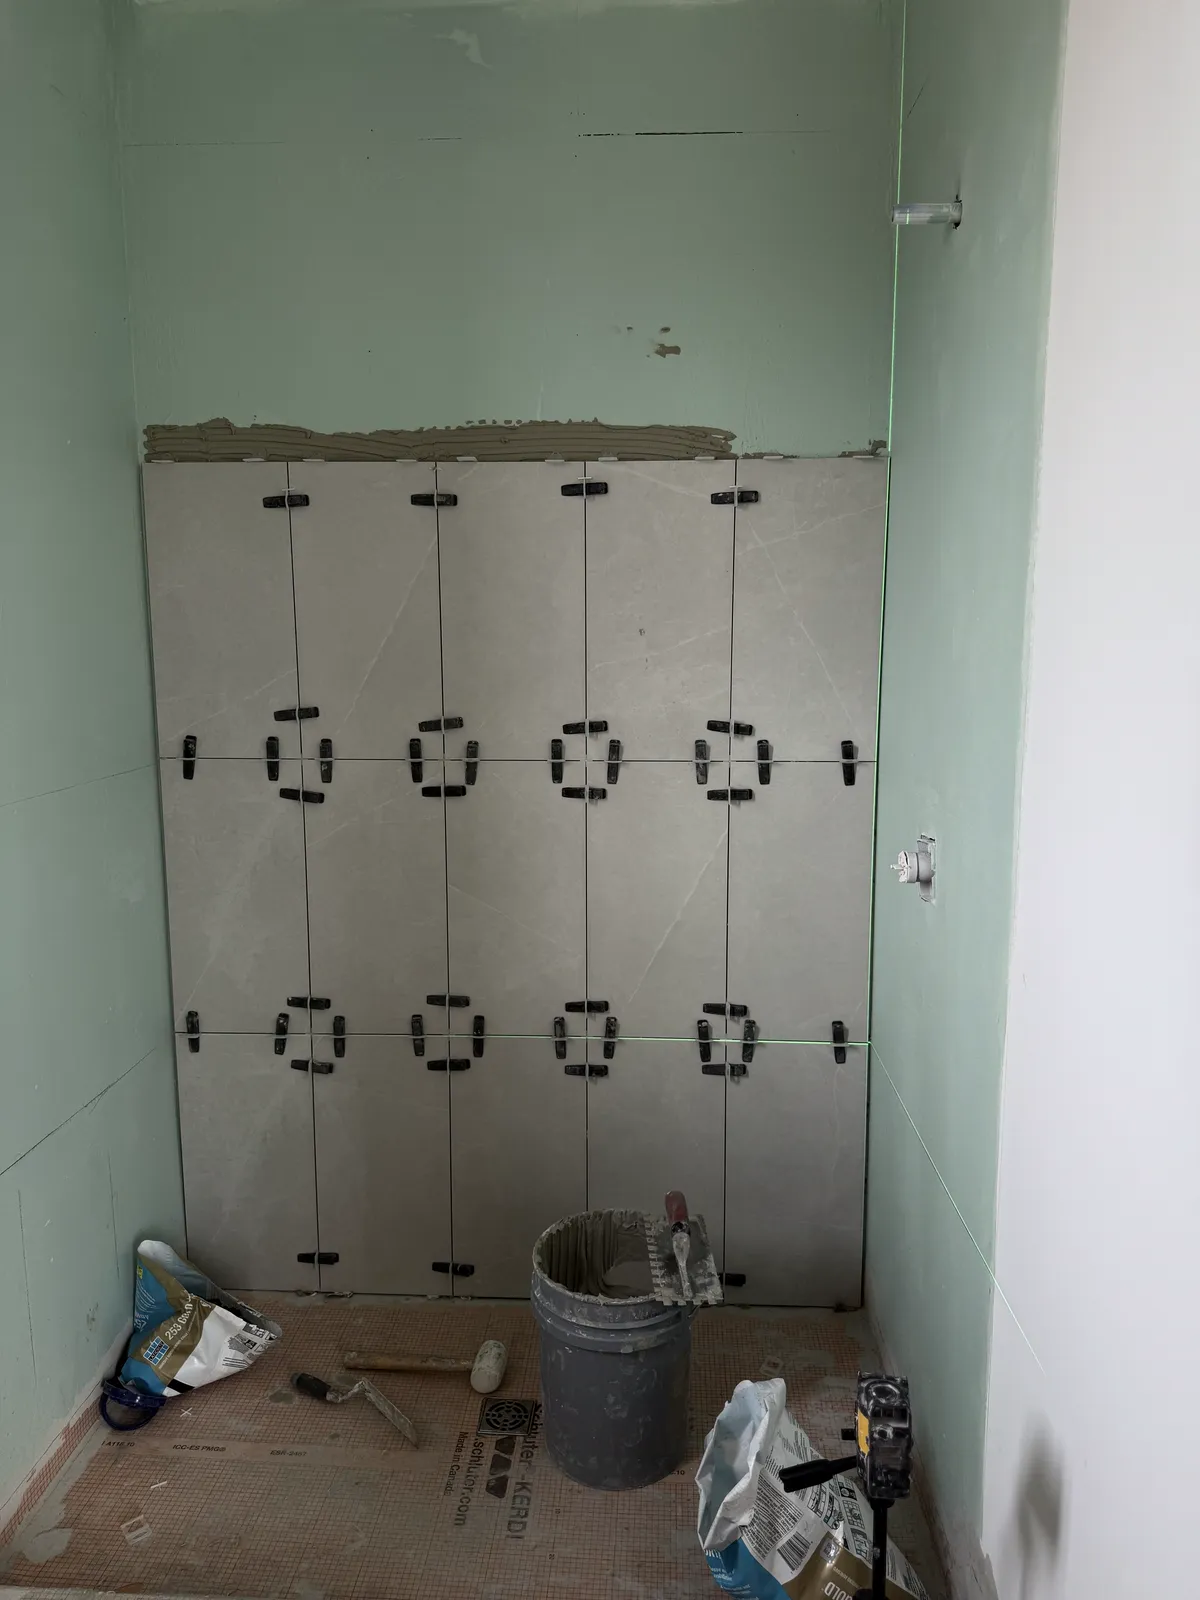
Waterproofing is the same as upstairs, and just as important. Walls, floor, curb, niche and any bench are covered by one system, such as Schluter-KERDI or a liquid membrane, with every seam, corner and pipe sealed. The floor is flood tested before tile. A leak in a basement doesn't drip through a ceiling where you can see it. It soaks into framing, insulation and drywall at floor level, where it can go unnoticed for a long time. Our guide to waterproofing a shower covers the process.
Ventilation and humidity in a basement bathroom
A basement bathroom needs an exhaust fan ducted to the outside, usually through the rim joist above the foundation wall. Don't vent it into the ceiling space or a joist bay. Moist air left in a basement ends up in the framing, the insulation and the drywall, and mould follows.
Choose a quiet fan with a timer or a humidity control, because people actually run a quiet fan. Keep the duct run short and sealed, with as few bends as practical. The fan is wired by a licensed electrician, with an ESA permit, and the duct is run by whoever is doing the framing or HVAC. In summer, a dehumidifier in the rest of the basement helps the bathroom dry between showers.
Good ventilation also protects the tile. Grout, sealant and paint all last longer in a room that dries out after every shower.
Ceiling height, light and tile choices
Basement ceilings are often low, and they are crossed by ducts, beams and drain lines in bulkheads. Check the finished height over the shower early, after the shower floor build-up and any ceiling finish. A shower head needs to sit high enough for the tallest user, and the plumber sets the shower arm to suit.
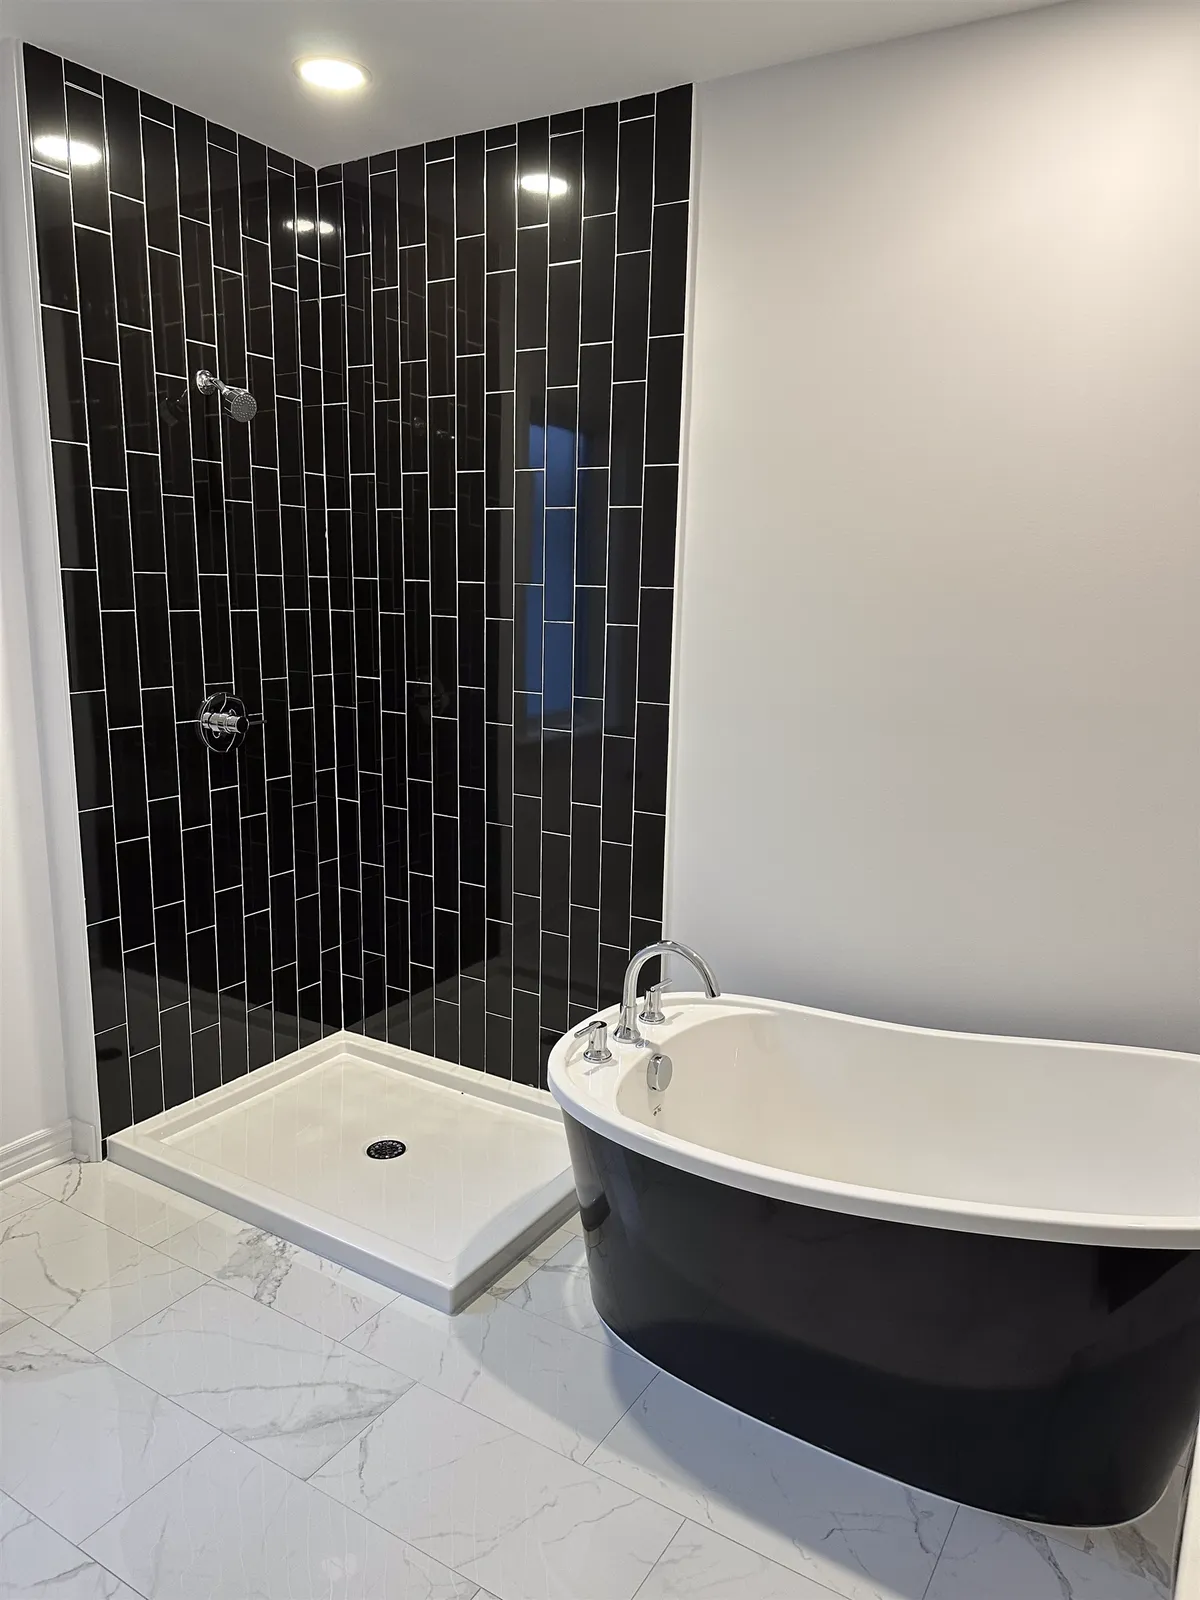
Tile can make a low room feel taller. Running the wall tile to the ceiling removes the line that cuts the wall in half. Vertical stacked or long rectangular tile draws the eye up. Large-format tile with few grout lines keeps the walls calm. If the ceiling has a bulkhead over the shower, decide early whether it is tiled and waterproofed with the walls. The top edge of the tile then needs a clean finish; see tile edge trim.
Most basement bathrooms have little or no daylight. Light, warm colours and a matte or satin finish help. Very dark tile can feel heavy in a small, low room, though it can work as a feature wall with good lighting. Glossy tile shows every pot light as a bright spot, which some people like and others don't. For more on compact rooms, see small bathroom tile ideas. For the floor, choose a tile the maker rates for wet areas, with good grip.
The order of work for a basement bathroom renovation
The sequence follows any bathroom renovation, with the plumbing in the slab at the front. A typical order looks like this:
- Permits, design and ordering tile, fixtures and any pump unit.
- Plumbing under the slab: trenching, drains, any ejector pit, inspection and concrete patch.
- Framing and insulating the walls, with blocking for grab bars, a vanity and glass.
- Plumbing and electrical rough-in in the walls, the fan and its duct, and any floor heat circuit.
- Drywall outside the wet areas, taped and sanded.
- Slab prep, membrane, heating cable, shower floor, backer board and waterproofing.
- Flood test, then tile, grout and sealant.
- Paint, then the vanity, toilet, fixtures and glass.
The patched trench needs time to cure before tile. Ask the plumber and the tile installer to agree on that timing, and the drain positions, before the concrete is poured. The full trade sequence is in our bathroom renovation guide, linked at the top of this page.
In an older house, old basement floor tile, sheet vinyl and the black mastic under them can contain asbestos. Have suspect materials tested before anything is broken up, and use qualified abatement if needed. See our asbestos floor tile guide.
What drives the cost of a basement bathroom
The plumbing under the slab is usually the biggest variable. A clean rough-in in the right place costs far less than a long trench, and an ejector system adds equipment and electrical work. Framing, insulation, drywall, ventilation and the electrical circuits add to that before any tile goes on.
On the tile side, the drivers are the same as upstairs: the shower floor type, waterproofing, tile size and pattern, a niche or bench, edge trim and how high the tile goes. Slab prep and a heated floor add to the floor. For typical tile prices, see what it costs to tile a shower in Ottawa and bathroom renovation cost in Ottawa. Agora does the tile, waterproofing and heated floor; the plumber, electrician and general contractor price their own parts.
Frequently asked questions
Can you add a bathroom to a basement without a rough-in?
Usually, yes. A licensed plumber cuts a trench in the slab and ties into the building drain, or installs an upflush or ejector system if the drains can't flow by gravity. Both need a permit and inspections.
Do I need a permit for a basement bathroom in Ottawa?
Adding a bathroom usually involves new plumbing, which generally needs a City of Ottawa building permit. Electrical work needs an ESA permit. Check with the City before work starts.
What is the best flooring for a basement bathroom?
Porcelain tile over an uncoupling membrane is the most durable choice, because water doesn't harm it and the membrane protects it from slab cracks. Adding floor heat with a thermal break deals with the cold.
Can you tile directly on a basement concrete floor?
Tile can be bonded to clean, sound, flat concrete. Most basement slabs have cracks, though, so an uncoupling or crack isolation membrane is the safer base. Slab joints are carried up through the tile as sealant joints.
Are heated floors worth it in a basement bathroom?
For most people, yes. A slab stays cool all year, and a basement bathroom is where cold tile is most noticeable. A thermal-break layer under the cable helps the floor warm up faster.
Can a basement shower be curbless?
It can, but the slab has to be recessed around the drain so the shower floor can slope below the bathroom floor. That is heavy work, so decide before the plumber patches the trench. Most basement showers have a curb.
Where does a basement bathroom fan vent?
Outside, usually through the rim joist, with a short sealed duct. Venting into the ceiling space leaves moisture in the framing and invites mould.