Short answer
Floor transition strips cover the joint where one floor meets another. Use a T-moulding between two floors at the same height and a reducer to step down from a higher floor to a lower one. Use an end cap against a fixed edge such as a sliding door, and a threshold across a doorway. Tile edges get a metal profile. With a floating floor, the strip covers the expansion gap but is never fastened through the floor itself.
Floor transition strips are small, but they are often the first thing you notice in a doorway. A good one looks deliberate and sits flat. A poor one stands up like a speed bump, rattles, or leaves a gap you can catch a toe on. This guide explains why transitions exist, what each type does, and how to plan floor heights so the transitions stay small. It also covers the common pairs, such as the transition between tile and hardwood, and how strips are installed.
Why floor transition strips are needed
Transitions solve four problems. The first is movement. Floating floors such as laminate, click vinyl plank and floating engineered wood expand and contract with the seasons, so they need a gap at their edges. Where one floor ends in a doorway, that gap has to be covered without pinning the floor down.
The second is height. Different floors have different thicknesses. Tile on a membrane, hardwood, vinyl on an underlay and carpet on a pad all finish at different heights, and the strip bridges the difference. The third is edge protection. The cut end of a plank or tile is its weakest point, and a transition covers it so it doesn't chip or peel. The fourth is a clean break between rooms or materials, usually in a doorway, where a change of floor looks natural.
Types of floor transition strips
Here are the main types and what each one is for. Names vary between makers, but the shapes are much the same.
| Type | What it does | Typical use |
|---|---|---|
| T-moulding | Joins two floors at about the same height and covers the gap between them | Laminate to laminate in a doorway; expansion breaks; vinyl to tile at equal height |
| Reducer | Slopes down from a higher floor to a lower one | Hardwood or laminate down to vinyl, sheet flooring or concrete |
| End cap or square nose | Finishes a floor against a fixed vertical edge | Sliding door tracks, fireplace hearths, exterior thresholds, step-downs |
| Threshold or saddle | A wider piece across the whole doorway, often with sloped edges | Bathroom doors, exterior doors, between two different floors |
| Carpet edge | Holds the carpet edge and meets the hard floor | Carpet to tile, vinyl or wood |
| Metal tile profile | Protects the tile edge, sometimes with a ramp | Tile to wood, vinyl or carpet |
| Flush transition | Two floors at the same height with a slim strip or joint | Tile to hardwood, planned in advance |
T-moulding
A T-moulding is shaped like the letter T. The stem drops into the gap between two floors, and the top covers the edge of each one. It is the standard way to join two floating floors in a doorway, or to finish an expansion break in a long run. Many people search for it as T-molding, the American spelling, but the product is the same.
A T-moulding only works when the two floors are at about the same height. If one floor is noticeably higher, the moulding rocks or leaves a gap on the low side. In that case a reducer is the right piece. With a floating floor, the T-moulding sits over the expansion gap on both sides. It is held by a track or adhesive on the subfloor in the gap, so neither floor is pinned.
Reducers, end caps and thresholds
A reducer strip has a sloped top that ramps down from a higher floor to a lower one. It is used where laminate or hardwood meets thinner vinyl, sheet flooring or bare concrete. The sloped face avoids a square edge that you could trip on. The high side covers the edge of the thicker floor and, if it floats, its expansion gap.
An end cap, also called an end moulding or square nose, finishes a floor against something fixed and vertical. Typical spots are a sliding patio door track, a fireplace hearth, an exterior door threshold or the edge of a step-down. It covers the cut end and expansion gap, and its square side butts against the fixed edge.
A threshold, or saddle, is a wider piece that spans the whole doorway, often sloped on both sides. Exterior doors usually have their own threshold as part of the door. Inside the house, a stone threshold is the classic finish at a bathroom door, where the bathroom tile meets the hall floor. Our guide to the marble threshold covers when to use one and how it is set.
Carpet edges and metal tile profiles
Carpet needs its own edge. Where carpet meets a hard floor, it is either stretched onto a tack strip set back from the edge and tucked into the gap, or held by a metal edge strip. One common strip is the Z-bar, a hidden metal strip fixed to the subfloor at the edge of the hard floor, which grips the carpet and holds it tight against the tile. Others are visible carpet-to-tile strips that grip the carpet on one side and cover the hard-floor edge on the other. Carpet sits higher than most hard floors, so the edge strip also has to handle the height. Our guide to carpet installation cost in Ottawa covers carpet itself.
If the carpet is being replaced at the same time, plan its edge together with the hard floor.
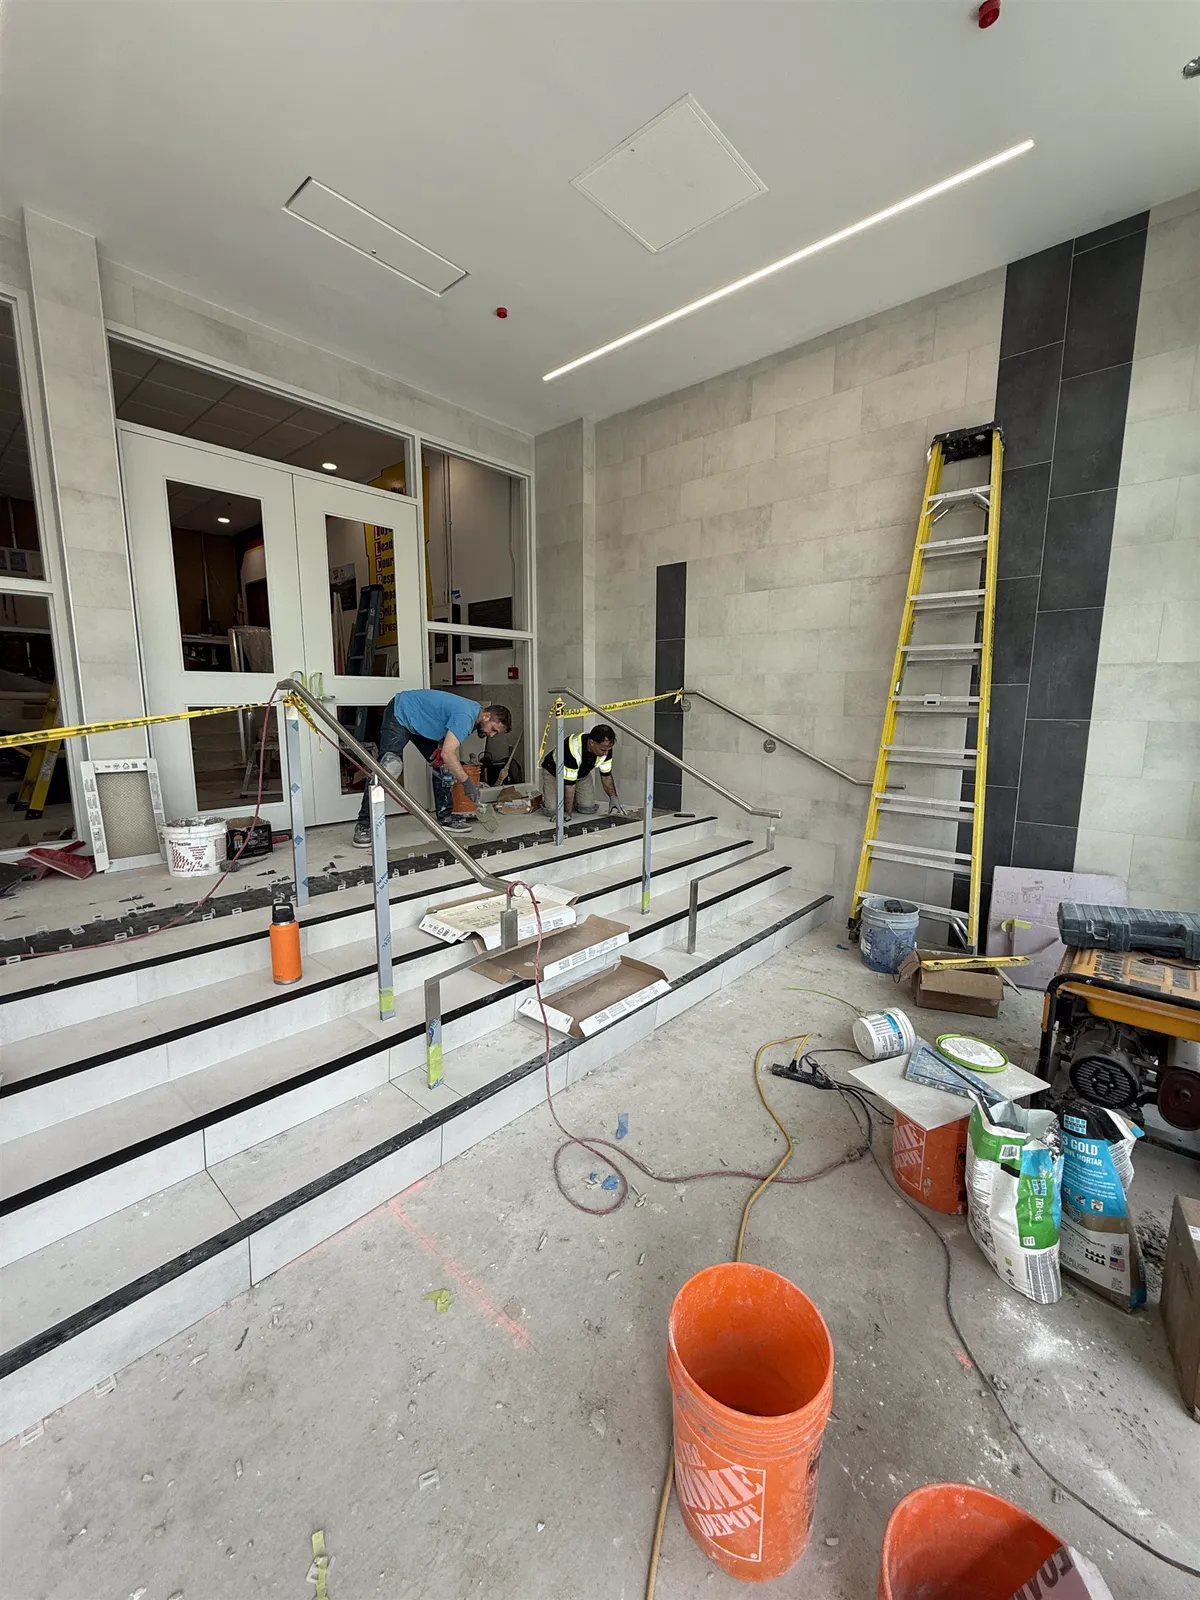
Tile edges are usually finished with metal profiles. These are set into the mortar as the tile goes down, so they are anchored under the tile. Some are simple edge protectors. Others have a sloped face to ramp down to a lower floor, or a shape made to meet carpet. Schluter and other makers offer profiles in aluminum, stainless steel and brass for exactly these joints. Our guide to tile edge trim covers the profiles in detail.
Flush transitions
The neatest transition is one you barely notice. When two floors are planned to finish at the same height, they can meet with only a slim metal strip or a narrow flexible joint between them. Tile meeting hardwood in an open-plan home is the classic case. The tile edge gets a low metal profile, the hardwood keeps its expansion gap, and a colour-matched flexible filler or a slim strip covers the joint.
A flush transition has to be planned before either floor goes in. The subfloor under the thinner floor may need building up, or the tile build-up adjusted, so both surfaces end up level. It can't be added at the end.
Transition strip materials
The best match is usually the transition the flooring maker sells for that product. Most laminate and vinyl collections offer matching mouldings in the same colour and finish as the planks, including T-mouldings, reducers, end caps and stair nosings. Hardwood floors use wood transitions in the same species, finished to match.
Aluminum strips are durable, thin and come in several finishes, and they are common around tile and in commercial spaces. Stainless steel and brass are used where a premium or very hard-wearing edge is wanted. PVC and vinyl strips are economical and resist moisture, which suits basements and laundry rooms. Stone is used for thresholds. Choose by the floors on both sides, the height difference and how much traffic the doorway sees.
Plan floor heights before installation
Most ugly transitions come from floors that were chosen without thinking about their height. Every floor has a build-up, the total thickness from the subfloor to the finished surface. Tile has the membrane, the mortar and the tile itself. Heated tile adds the heating membrane. Vinyl plank adds any underlay or attached pad (see underlayment for vinyl and laminate). Hardwood is thick on its own, and carpet sits on a pad.
Before ordering, add up the build-up of each floor and compare it with the floors it meets. This is one of the details on our checklist for preparing for a flooring installation. If the difference is large, you have choices. You can level or build up the lower subfloor, choose a different underlay or membrane, or accept a reducer and decide where it goes. The aim is a small, bevelled change, not a step. Our guides to the right subfloor for tile and to whether heated floors are worth it explain where tile and heated-floor height comes from. Remember the doors, too. A thicker floor can make doors rub, so casings are undercut and doors trimmed where needed.
Open-plan homes: continuous floors and expansion breaks
In an open-plan home, many people want one floor to run through without any strips. Whether that is possible depends on the flooring. Floating floors move as one piece, and every maker sets limits. Many set a maximum run length in each direction, and beyond it the floor needs an expansion break, usually covered with a T-moulding. Some also require a break at doorways or where rooms meet through a narrow opening, because a narrow neck concentrates the movement. Others allow longer continuous runs. The installation instructions decide, and ignoring them can void the warranty.
Glue-down vinyl and nail-down hardwood are fixed in place, so they can usually run further without breaks. Tile can run continuously too, but large tile floors still need movement joints at the perimeter and at intervals; see tile movement joints. Our guides on how to install vinyl plank flooring and how to install laminate flooring explain expansion gaps and breaks for each product.
Where the transition goes in a doorway
In a doorway, the transition normally sits directly under the door slab when the door is closed. That way, with the door shut, each room sees only its own floor, and the strip is hidden under the door. If the strip sits on the room side or the hall side instead, the wrong floor shows through when the door is closed, and it looks like a mistake.
Plank direction matters too. Where a floor runs through a doorway into the next room, check that the rows stay straight across the opening. Where two floors meet at a transition, cut both cleanly and parallel to the door, so the strip sits straight.
How transition strips are installed
Most mouldings for floating floors are held by a track, a metal or plastic channel fixed to the subfloor in the gap between the two floors. The track is screwed down, or glued and anchored on concrete. The moulding then snaps into it. Other mouldings are glued straight to the subfloor in the gap with a construction adhesive. Either way, the moulding is fixed to the subfloor, never through a floating floor. Fastening a floating floor down at a doorway stops it moving and can cause gaps or buckling elsewhere.
Hardwood transitions are often glued and nailed to the hardwood side, because that floor is already fastened down (see how to install hardwood flooring). Tile profiles go in with the tile, set into the mortar. Stone thresholds are set in mortar like tile. Carpet edges are fixed before the carpet is stretched. In every case, cut the strip to fit the doorway exactly, tight to the door casings on both sides.
Common pairs: tile to hardwood, vinyl to carpet and more
Transition between tile and hardwood. The best result is planned for a near-flush finish, with a metal profile on the tile edge and the hardwood's expansion gap covered by a slim strip or flexible filler. If the heights differ, a wood reducer from the hardwood side down to the tile is the common choice.
Tile to vinyl. Vinyl plank is often thinner than tile. A metal tile profile with a sloped face, or the vinyl maker's reducer, bridges the step. With click vinyl, the strip also covers its expansion gap.
Vinyl to carpet. Carpet usually sits higher. The vinyl maker's end cap or reducer finishes the vinyl edge, and the carpet is tucked tight against it, or a carpet edge strip is used.
Hardwood to carpet. Often no strip is needed. The tack strip is set back from the edge, and the carpet is tucked neatly against the hardwood. Where the carpet is much lower, a reducer may be used.
Accessibility, tripping and stairs
Any change in floor height is a potential trip point, especially for older people, children and anyone using a walker or wheelchair. Keep changes small and bevelled rather than square. Make sure every strip is firmly fixed with no rocking, and replace any that have come loose. In homes planned for accessibility, the floors are chosen and the subfloors prepared so that rooms meet nearly flush.
Stairs and landings have their own edge pieces. Where a floor meets the top of a staircase, the edge is finished with a stair nosing rather than a reducer or end cap. See our guide to stair nosing. Transitions are part of our baseboards and trim work.
Frequently asked questions
What is the difference between a T-moulding and a reducer?
A T-moulding joins two floors at about the same height. A reducer has a sloped side and steps down from a higher floor to a lower one.
Do you need a transition strip between rooms?
Between two different floors, yes. With the same floating floor, it depends on the maker's run limits and doorway rules; some floors can run through, others need a T-moulding at doorways.
Where should a transition strip go under a door?
Directly under the door slab when the door is closed, so each room shows only its own floor with the door shut.
Can you glue a transition strip to laminate or vinyl plank?
No. The strip is fixed to the subfloor in the gap, with a track or adhesive, and only rests on the floating floor. Gluing or nailing it to the planks pins the floor and stops it moving.
What is an end cap used for?
An end cap finishes a floor against a fixed vertical edge, such as a sliding door track, a fireplace hearth or an exterior door threshold, while covering the expansion gap.
Can tile and hardwood be installed flush?
Yes, if it is planned before either floor goes in. The build-ups are matched so the surfaces finish level, with a slim metal profile or flexible joint between them.