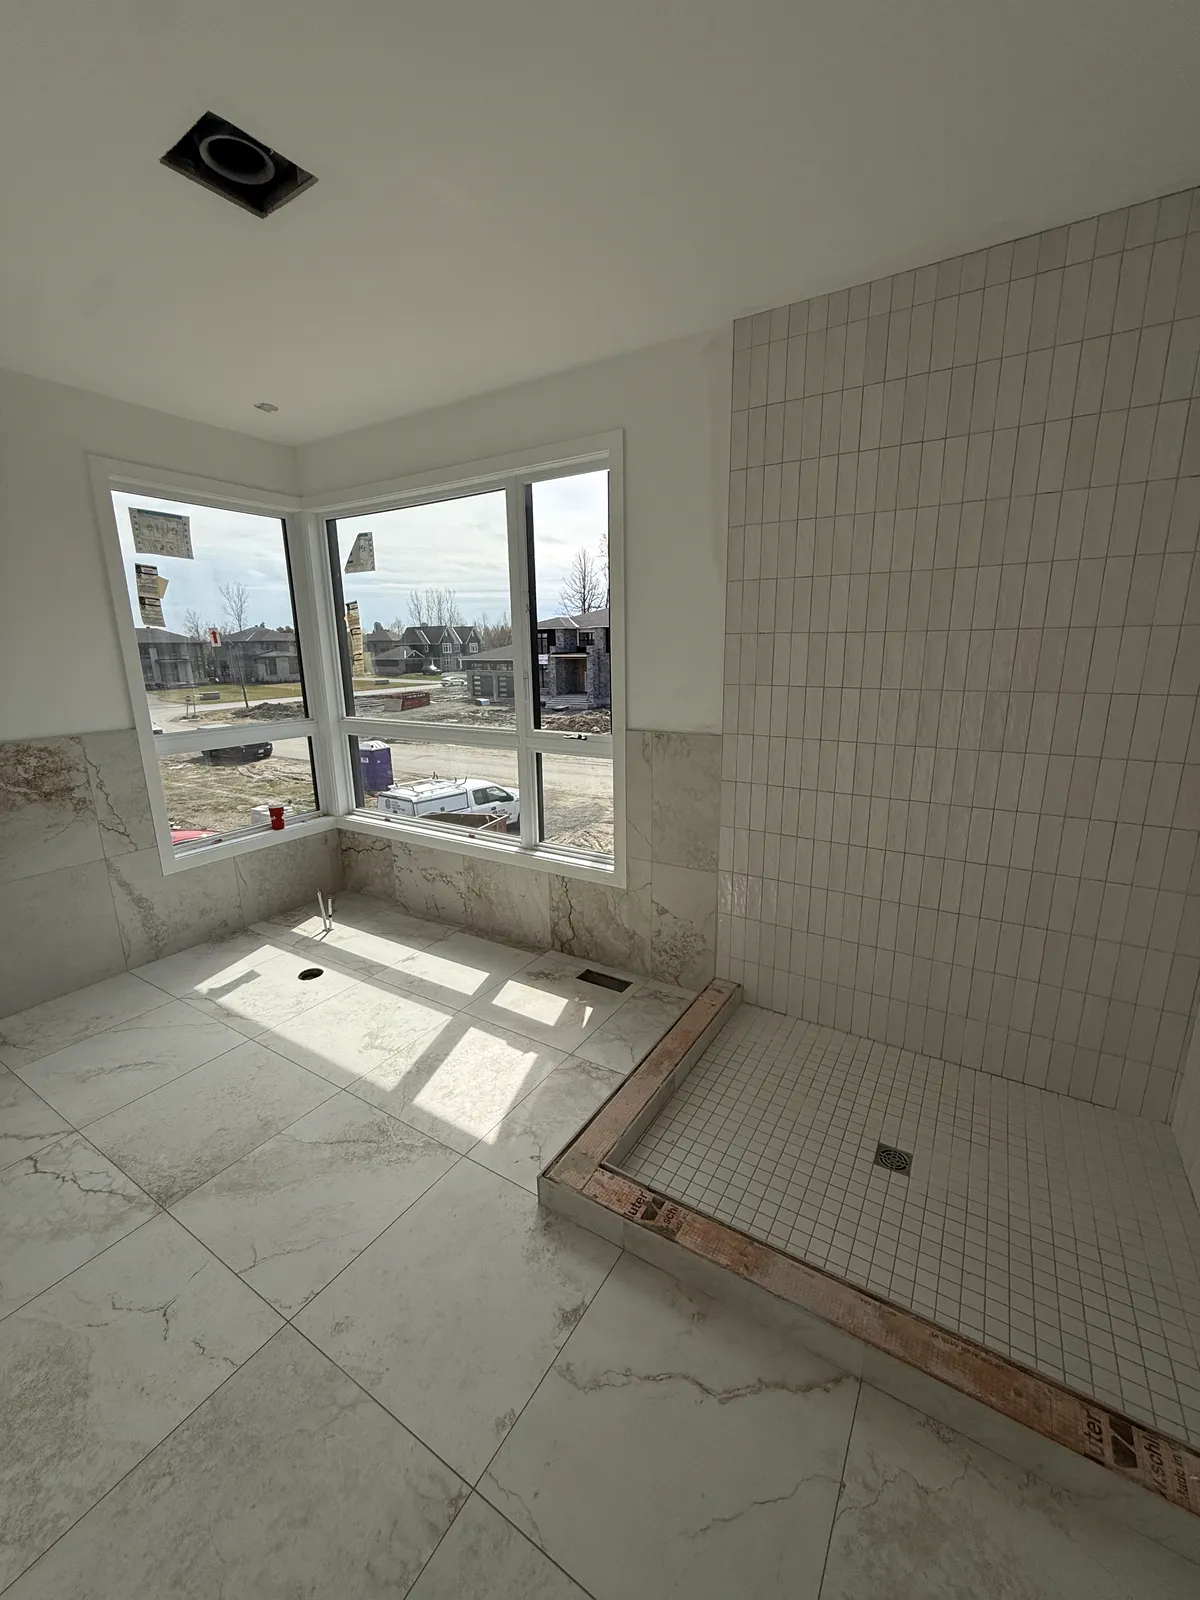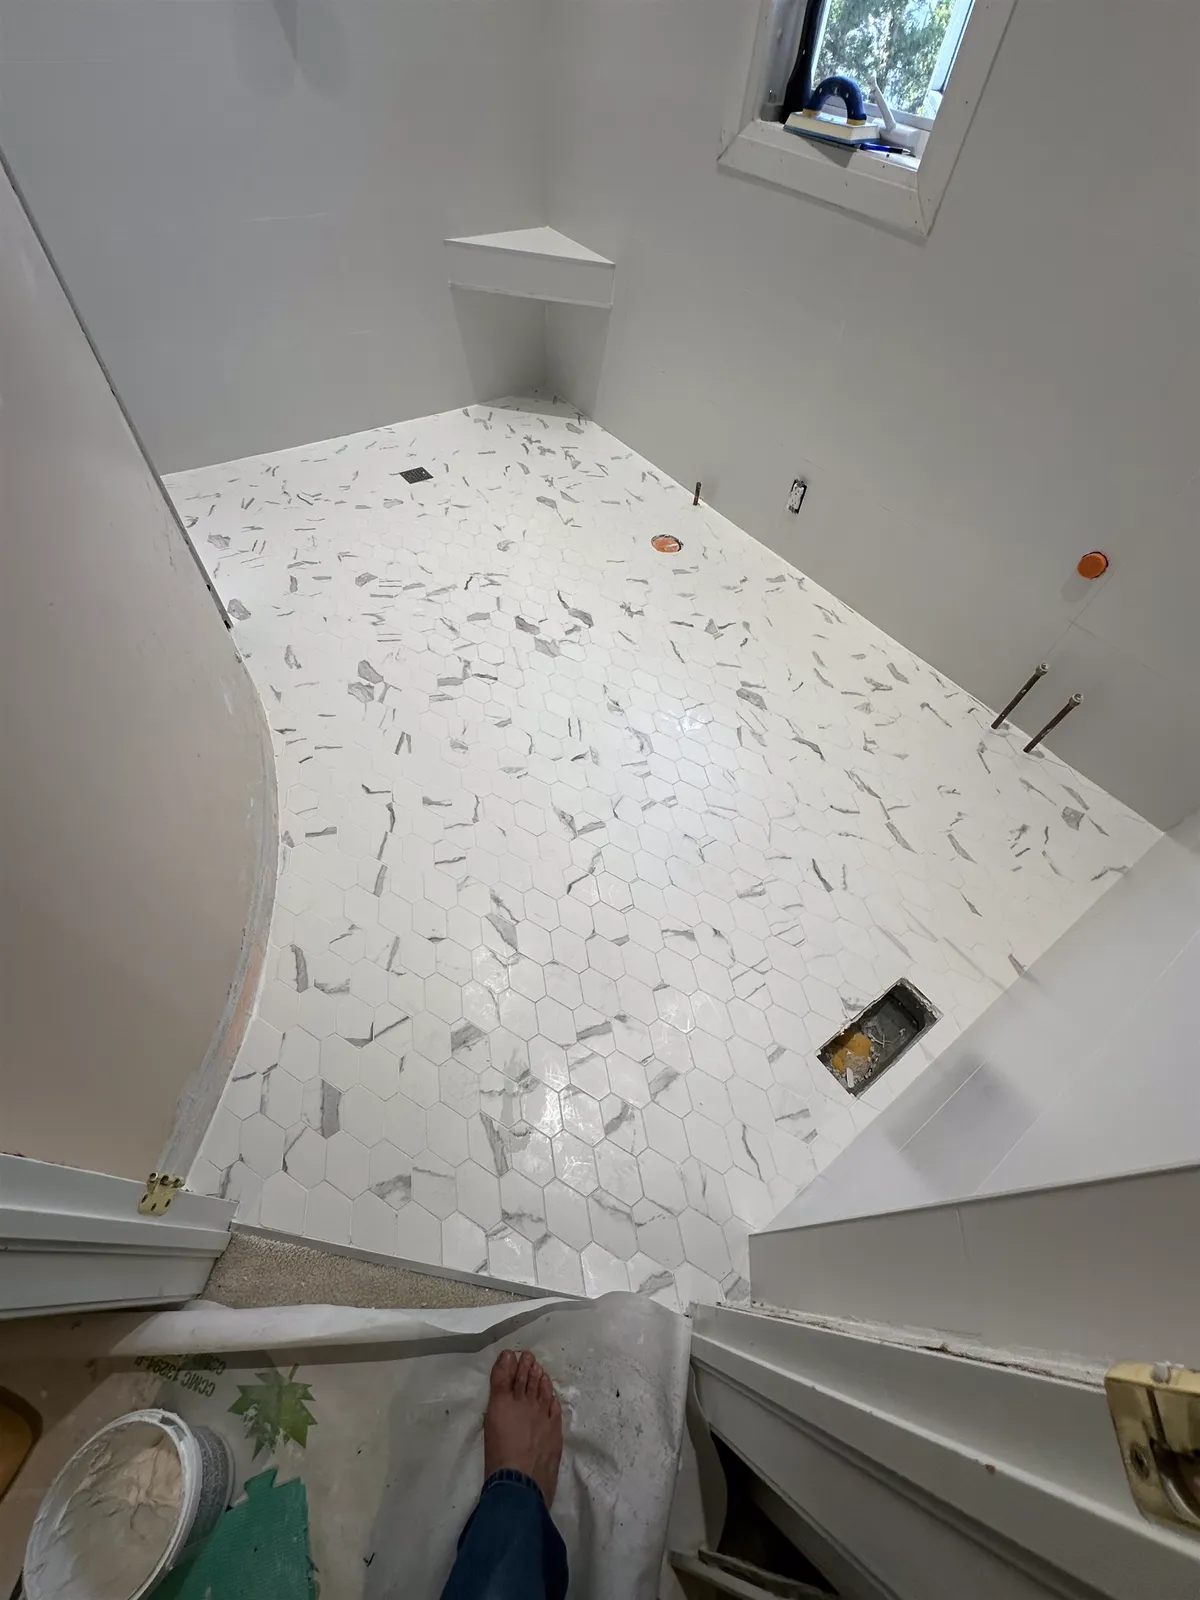

Short answer
DITRA-HEAT is Schluter's uncoupling membrane with a pattern of studs that hold an electric heating cable. The membrane is bonded to the subfloor, the cable is pressed between the studs where you want heat, a floor sensor goes in between two cable runs, and tile is set directly on top. A thermostat wired by an electrician controls it. DITRA-HEAT-DUO adds a thin fleece underneath that acts as a thermal break, which suits concrete slabs and basements.
Heated floors are one of the most-requested upgrades in Ottawa bathrooms. Cold tile in January is a big part of why, and DITRA-HEAT is one of the most common systems for it. Here is what is involved, and what to decide before installation day.
What DITRA-HEAT does
- Heats the floor: the cable sits just under the tile, so the floor warms up relatively quickly.
- Uncouples the tile: like regular DITRA, it lets the subfloor move slightly without cracking the tile (see what DITRA does).
- Waterproofs: with the seams sealed with KERDI-BAND, it forms a waterproof layer over the floor.
- Flexible layout: the cable can be placed only where you'll stand, kept out from under the vanity and toilet, and run closer near cold exterior walls within the maker's limits.
DITRA-HEAT vs DITRA-HEAT-DUO
DITRA-HEAT-DUO is the same membrane with a thin fleece bonded underneath. The fleece slows heat loss into the floor below, so a cold slab warms up faster, and it also reduces impact sound. It is the usual choice over concrete, in basements and in condos. Both versions add a little height (DUO slightly more), so plan transitions to neighbouring floors.
How it's installed
- Plan the heated area. Measure the open floor where people walk, leaving out spaces under cabinets, the vanity, the tub and the toilet. Cable comes in fixed lengths and cannot be cut, so the length is chosen to fit the area.
- Electrical rough-in. A dedicated circuit and a box for the thermostat. In Ontario, electrical work needs an ESA permit and is done by a licensed electrical contractor (or a homeowner under their own permit).
- Prepare the subfloor. It must be solid and flat. Wood subfloors must be stiff enough for tile. Low spots get patched or levelled first (see self-leveling compound).
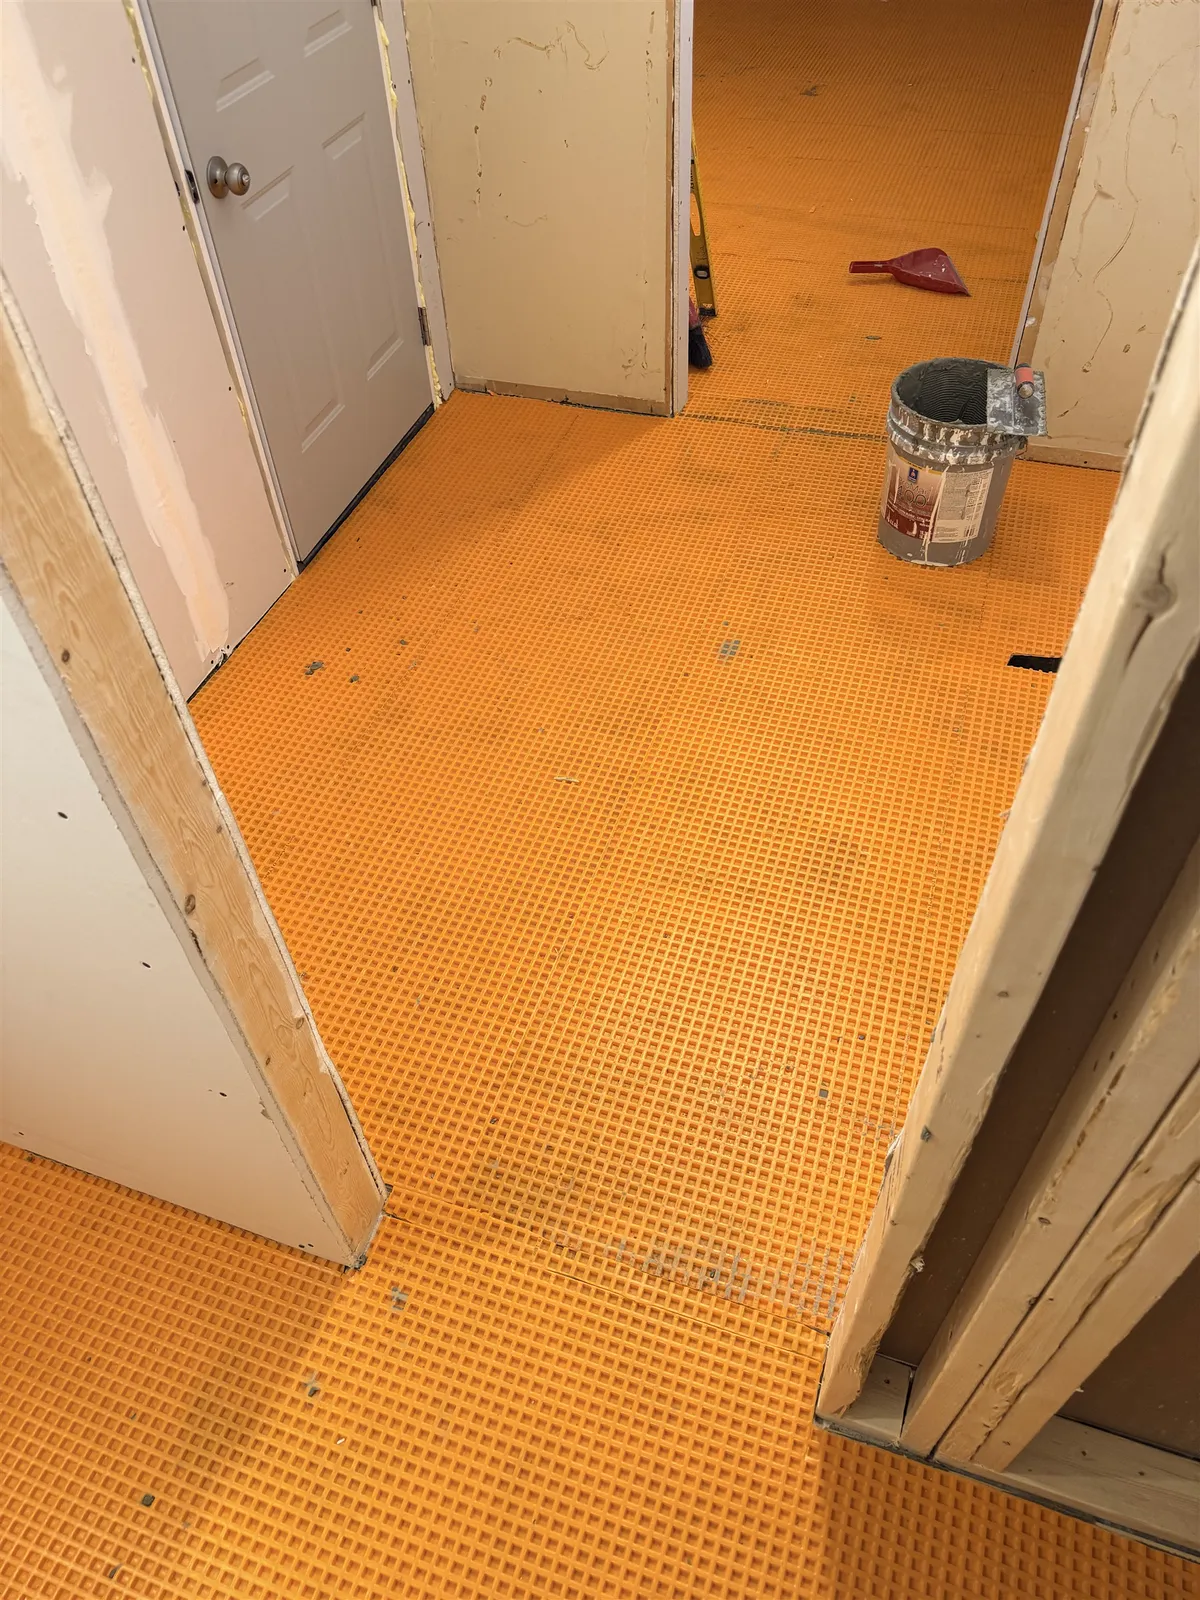
- Bond the membrane. Thin-set is spread with the trowel Schluter specifies, and the membrane is pressed in and rolled for full contact.
- Test the cable. Its resistance is measured with an ohmmeter out of the box, after installing it and after tiling, and recorded for the warranty.
- Install the cable. It is pressed between the studs at the spacing Schluter specifies (typically every third stud) and never crossed, overlapped or cut.
- Place the floor sensor between two cable runs. Many installers lay a spare, because a sensor can't be replaced once it's tiled over.
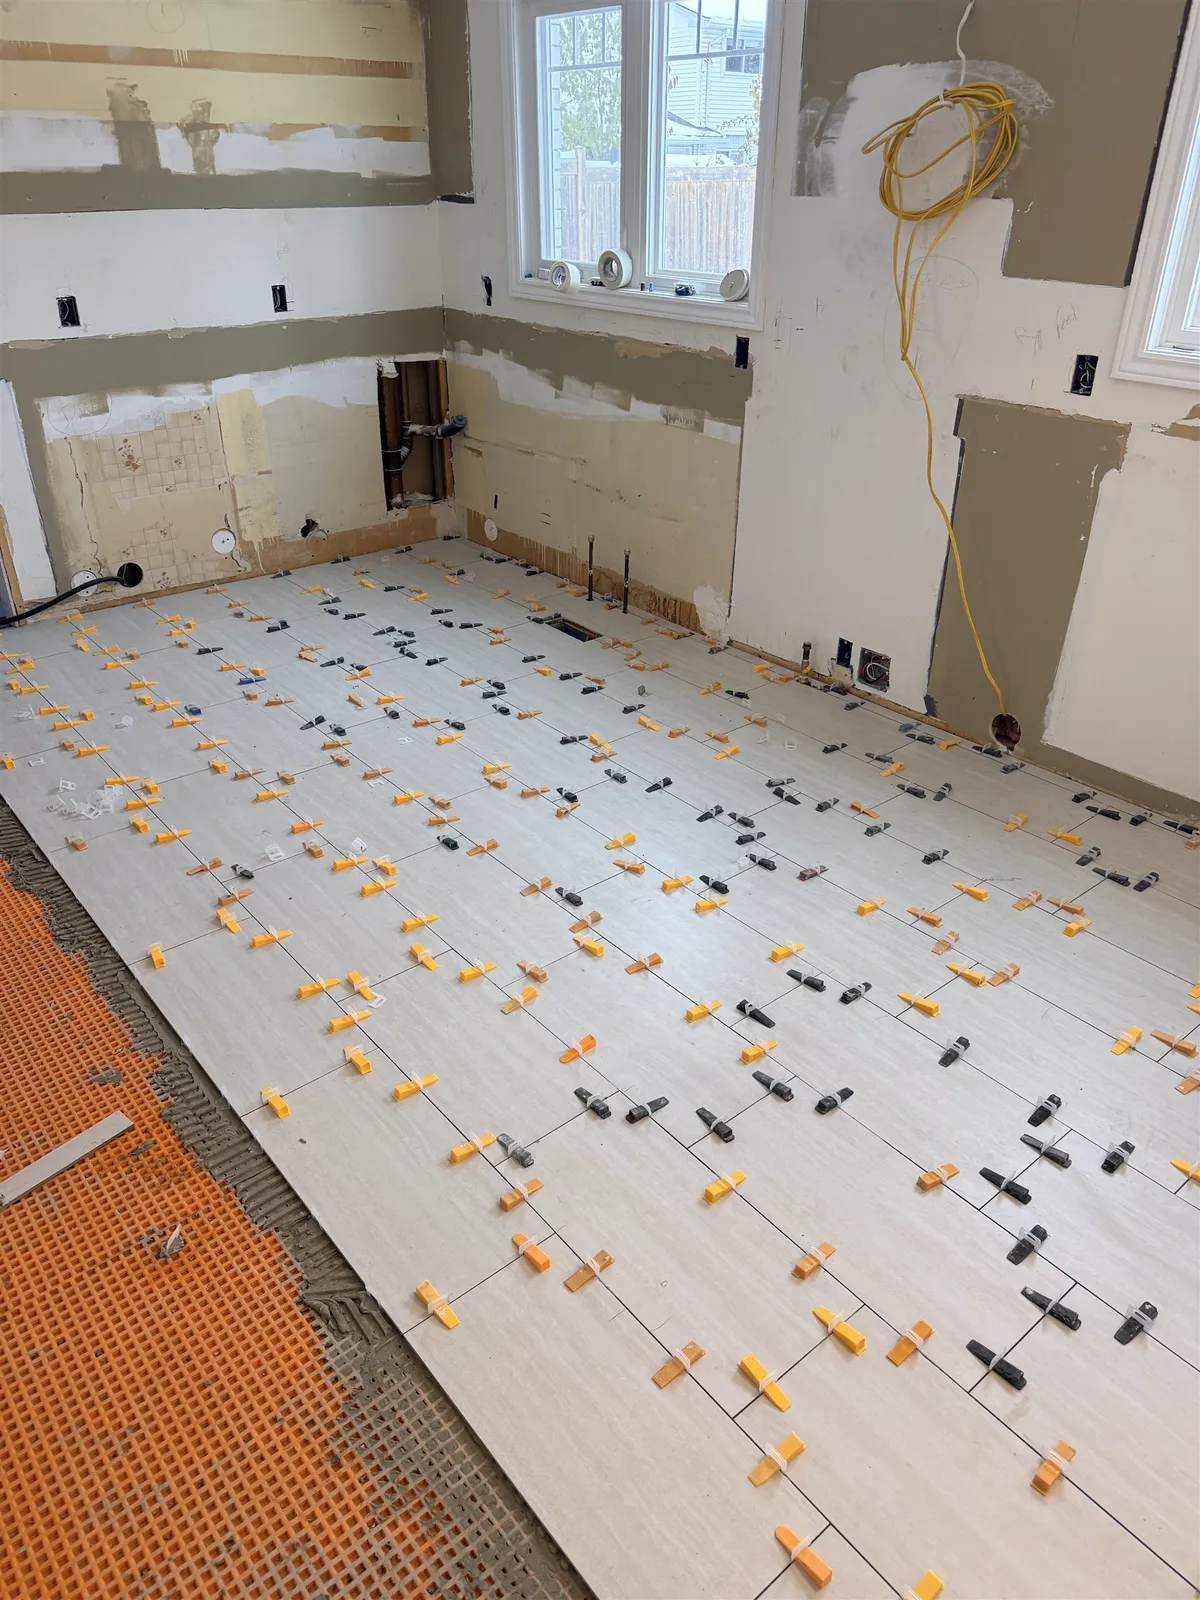
- Tile. Thin-set fills the membrane cavities and the tile is set as on any DITRA floor, using a mortar Schluter approves.
- Connect and wait. The electrician connects the thermostat. The heat stays off until the mortar has fully cured.
Thermostats
Schluter's DITRA-HEAT thermostats include ground-fault protection, which heated floors in bathrooms need. Programmable and Wi-Fi models let the floor warm up before you wake and switch off when you're out. A schedule makes a big difference to running cost (see are heated floors worth it?).
Can heated floors go under vinyl or laminate?
DITRA-HEAT is designed for tile and stone. Some luxury vinyl and laminate products allow certain heating systems underneath, with limits on floor temperature. Check the flooring maker's instructions before planning heat under anything other than tile.
Mistakes to avoid
- Cable under the toilet or vanity, where the heat is trapped.
- Skipping the resistance tests, which makes a damaged cable hard to prove or find.
- Turning the heat on early to "dry" the thin-set.
- Not planning for the added floor height at doors and transitions.