
Short answer
As a starting point: 3/16 inch V-notch for small mosaics, ¼ × ¼ inch square for tile up to about 6 inches, ¼ × ⅜ inch for 8 to 13 inch tile, and ½ × ½ inch square (or a large-format notch) for 12 × 24 and larger, with the back of the tile buttered too. The trowel is only a guide. What counts is coverage: at least 80% of the tile bonded in dry areas, and 95% in showers, outdoors and on large tile.
Trowel size chart
| Tile size | Starting trowel | Notes |
|---|---|---|
| Mosaics (1–2″) | 3/16″ V-notch | Too much mortar squeezes into the joints |
| Subway and small tile (up to ~6″) | ¼″ × ¼″ square | 3/16″ V-notch for thin wall tile |
| 8″ to 13″ (e.g. 12 × 12) | ¼″ × ⅜″ square | Go up if the floor isn't perfectly flat |
| 12 × 24 | ½″ × ½″ square | Back-butter; LHT mortar |
| 24 × 24, 24 × 48 and larger | ½″ × ½″, ¾″ U-notch or a slant/euro notch | Back-butter; LHT mortar; flat substrate is critical |
| Natural stone, uneven backs | Larger notch than the size suggests | Back-butter to fill hollows |
| Bonding KERDI or DITRA | The notch Schluter specifies | Schluter sells trowels sized for its membranes |
Wall tile on a flat wall can often use one size smaller than floor tile of the same size. Uneven floors need a bigger notch, but a bigger notch doesn't fix a floor that isn't flat (see levelling a floor before tile).
Coverage: the rule that matters
Industry standards call for at least 80% mortar contact in dry interior areas and 95% in wet areas (showers), exterior installations and under large-format tile, with the edges and corners fully supported. Hollow spots under tile are what crack under a heavy load or a dropped pot, and in a shower they hold water.
The only way to know is to check. Set a tile, lift it right back up, and look at the back. Do this a few times at the start and whenever something changes, such as a new batch of mortar or a new area of the floor.
Technique beats trowel size
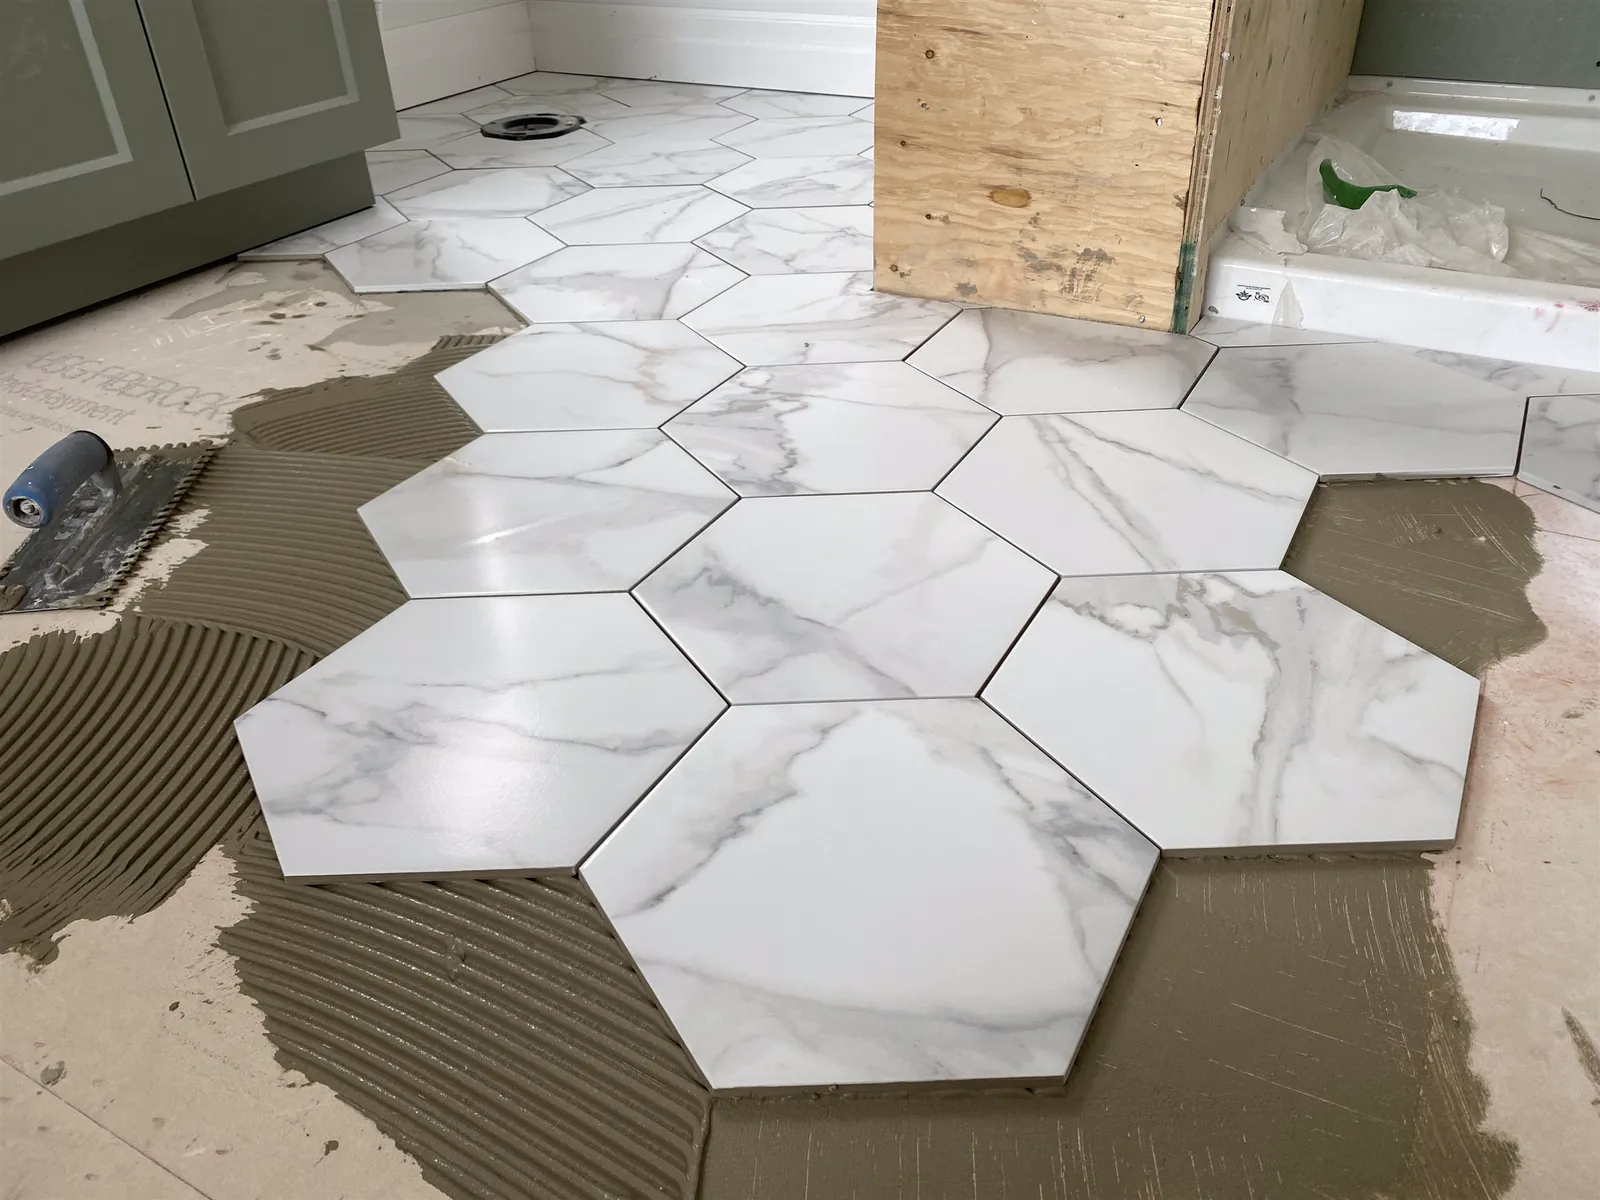
- Key in a thin layer first with the flat side of the trowel, then comb ridges with the notched side.
- Comb in straight lines, in one direction. On rectangular tile, run the ridges parallel to the short side, so air can escape as the tile is pressed down. Swirls trap air.
- Back-butter large tile with a thin, flat coat on the back.
- Move the tile across the ridges as you set it, about half a notch, to collapse them.
- Don't let the mortar skin over. Spread only what you can tile in its open time.
What size trowel for 12 × 24 tile?
It's the most-searched question here, so to repeat: start with a ½ × ½ inch square notch, back-butter each tile, use a large-and-heavy-tile mortar, and check coverage. Long tiles are often slightly bowed, so for planks and 12 × 24 tile, keep the offset to a third of the tile length or less to avoid lippage (see lippage and levelling systems).