Short answer
To tile a floor, start with a stiff, flat, clean subfloor, adding an uncoupling membrane over wood. Plan the layout from centre lines so the cuts are even at the walls. Set the tile in thin-set mortar with the right notched trowel, and lift a tile now and then to check that at least 80% of its back is covered (95% in wet areas). Leave a gap at the walls, let the mortar cure about 24 hours, then grout. A bathroom or entry floor usually takes three to five days including cure times.
Laying the tile is only one step of many. How to tile a floor well comes down to the preparation and the waiting between steps. This guide shows how to install floor tile in the order a careful installer works, with the reason for each step. Use it to plan your own floor, or as a checklist when you hire someone.
How to tile a floor: tools and materials
Most of the tools are inexpensive. The cutting tools are the exception, and they matter most with porcelain. Here is what a typical floor needs:
- Layout: tape measure, chalk line, a 4 ft level or long straightedge, a square, and a pencil or marker.
- Mixing: buckets, a slow drill with a mixing paddle, and a margin trowel.
- Setting: a notched trowel sized for the tile, spacers, and a levelling clip system for larger tile.
- Cutting: a score-and-snap cutter, a wet saw or angle grinder with a porcelain-rated diamond blade, and a diamond hole saw for pipes.
- Grouting: a rubber grout float, sponges, two buckets of clean water, and a microfibre cloth.
- Safety: knee pads, eye and hearing protection, and a respirator for any dry cutting or mixing.
Materials are the tile itself plus about 10% extra for cuts and breakage (more for diagonal and patterned layouts), the setting mortar, any membrane, grout and a colour-matched flexible sealant. Keep a few spare tiles from the same batch for future repairs.
Step 1: Check the subfloor before anything else
Tile is rigid, so it can only be as good as what is under it. A floor that flexes will crack grout and tile, and a floor with dips will show every one of them as uneven edges. Three checks come first.
Stiffness. Over wood, the joists and the subfloor panels together have to be stiff enough. Industry guidance limits deflection to L/360 for ceramic and porcelain and L/720 for natural stone. In practice, a floor that bounces when you walk on it needs structural work, not just a thicker layer on top.
Flatness. Flat matters more than level. A common standard for tile with all sides under 15 inches is no more than 1/4" of variation in 10 ft. Large-format tile needs about half that. Check with a long straightedge in several directions, then grind humps and fill dips. Larger low areas are usually corrected with self-levelling compound.
Condition. The surface must be clean and sound: no paint, drywall mud, old adhesive, sealers or loose panels. Basement slabs in Ottawa often have shrinkage cracks, which need planning too. Our guide to the right subfloor for tile covers each type of floor in detail.
Step 2: Add a membrane where the floor needs one
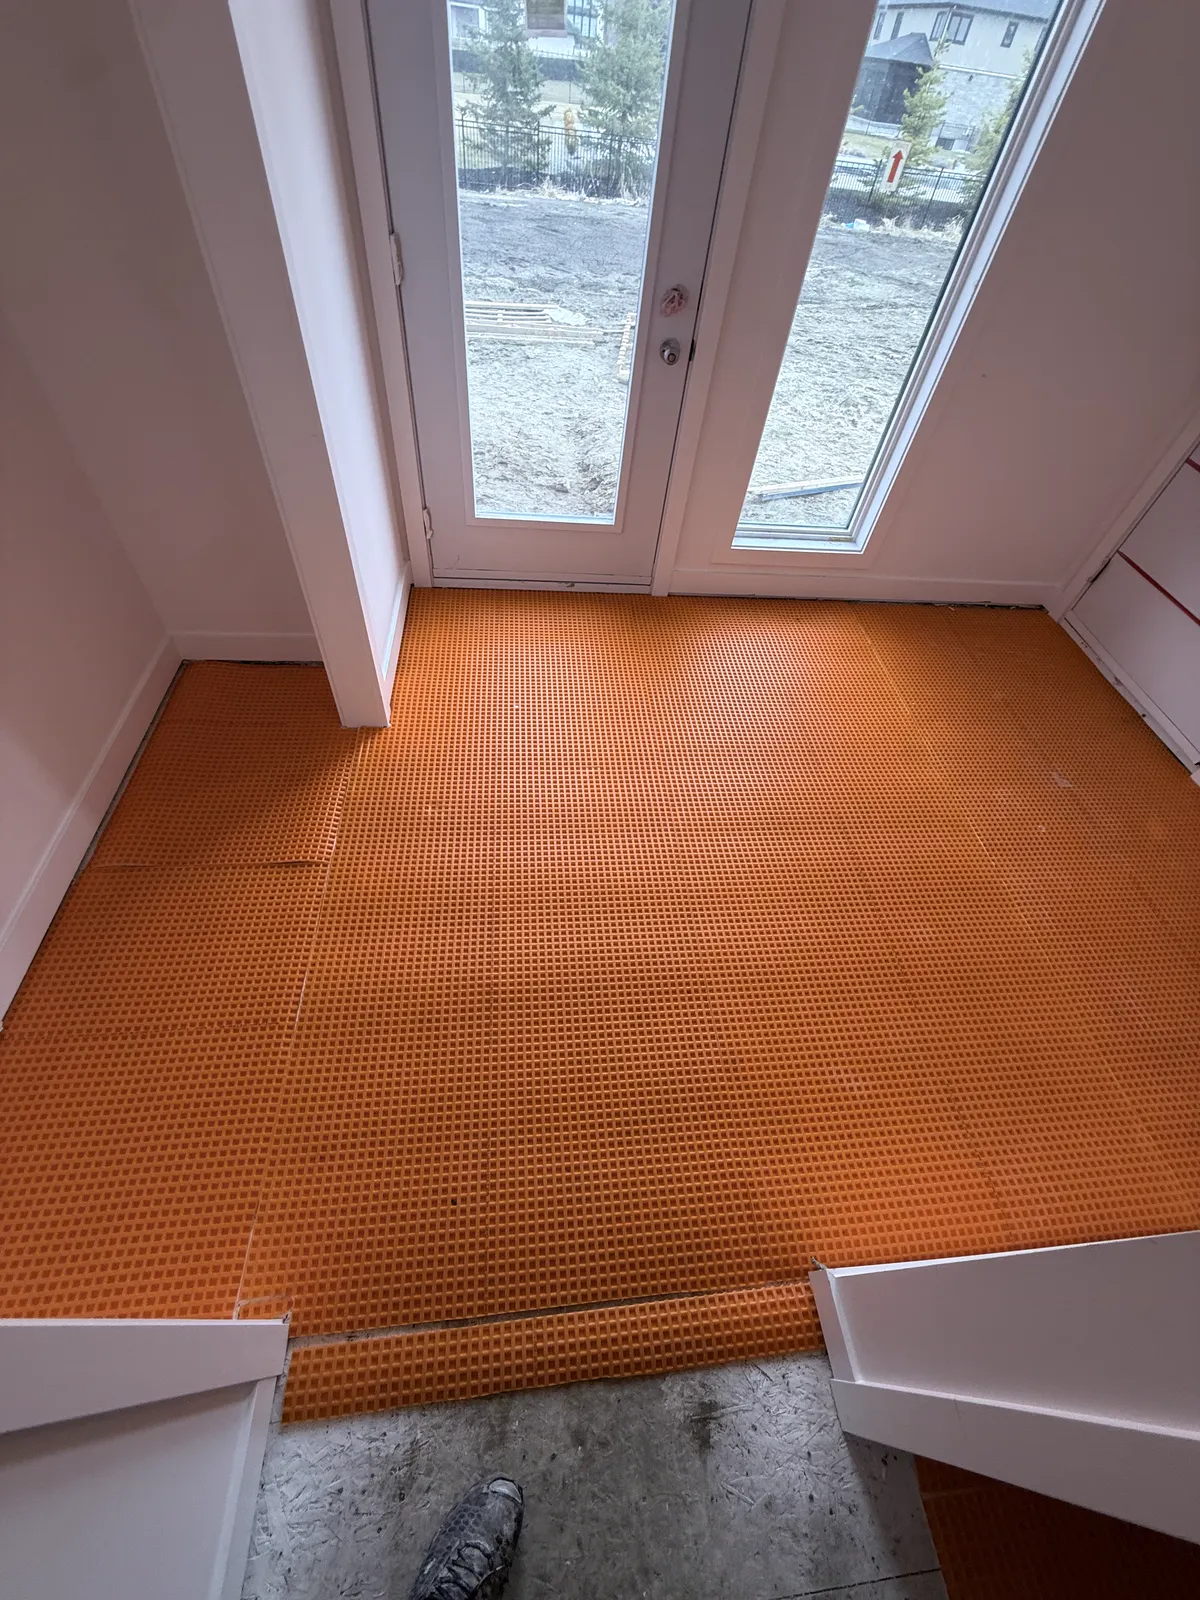
Wood subfloors swell and shrink with the seasons, and concrete shrinks and cracks. An uncoupling membrane sits between the subfloor and the tile and absorbs that small movement so it doesn't reach the tile. Over plywood or OSB it is strongly recommended. Over concrete it is used where the slab is cracked or may crack. Schluter-DITRA is the best-known example, and with its seams sealed it also waterproofs a bathroom floor.
The membrane is bonded in thin-set, and tile can usually be set on it the same day. It does not fix a bouncy or wavy floor. If you want a heated floor, decide now: the cable goes in before the tile.
Step 3: Plan the floor tile layout
Layout decides how the finished floor looks more than any other step. The goal is full or near-full tiles where people look, and even cuts where they don't.
- Find the centre lines. Measure the room and snap two chalk lines that cross at the centre, square to each other. In an irregular room, square the lines to the main doorway or the longest straight wall.
- Dry lay a row in each direction. Lay loose tiles with spacers along both lines to see where the cuts land.
- Shift to avoid slivers. If a wall or doorway ends with a strip under about half a tile, move the layout by half a tile. Two medium cuts at opposite walls look better than one sliver.
- Check the doorway and fixed points. The doorway is what everyone sees, so it gets a full tile or a clean, generous cut. Also check the toilet flange, floor drains and registers.
- Snap working lines. Mark grid lines every few tiles so the rows stay straight as you work across the room.
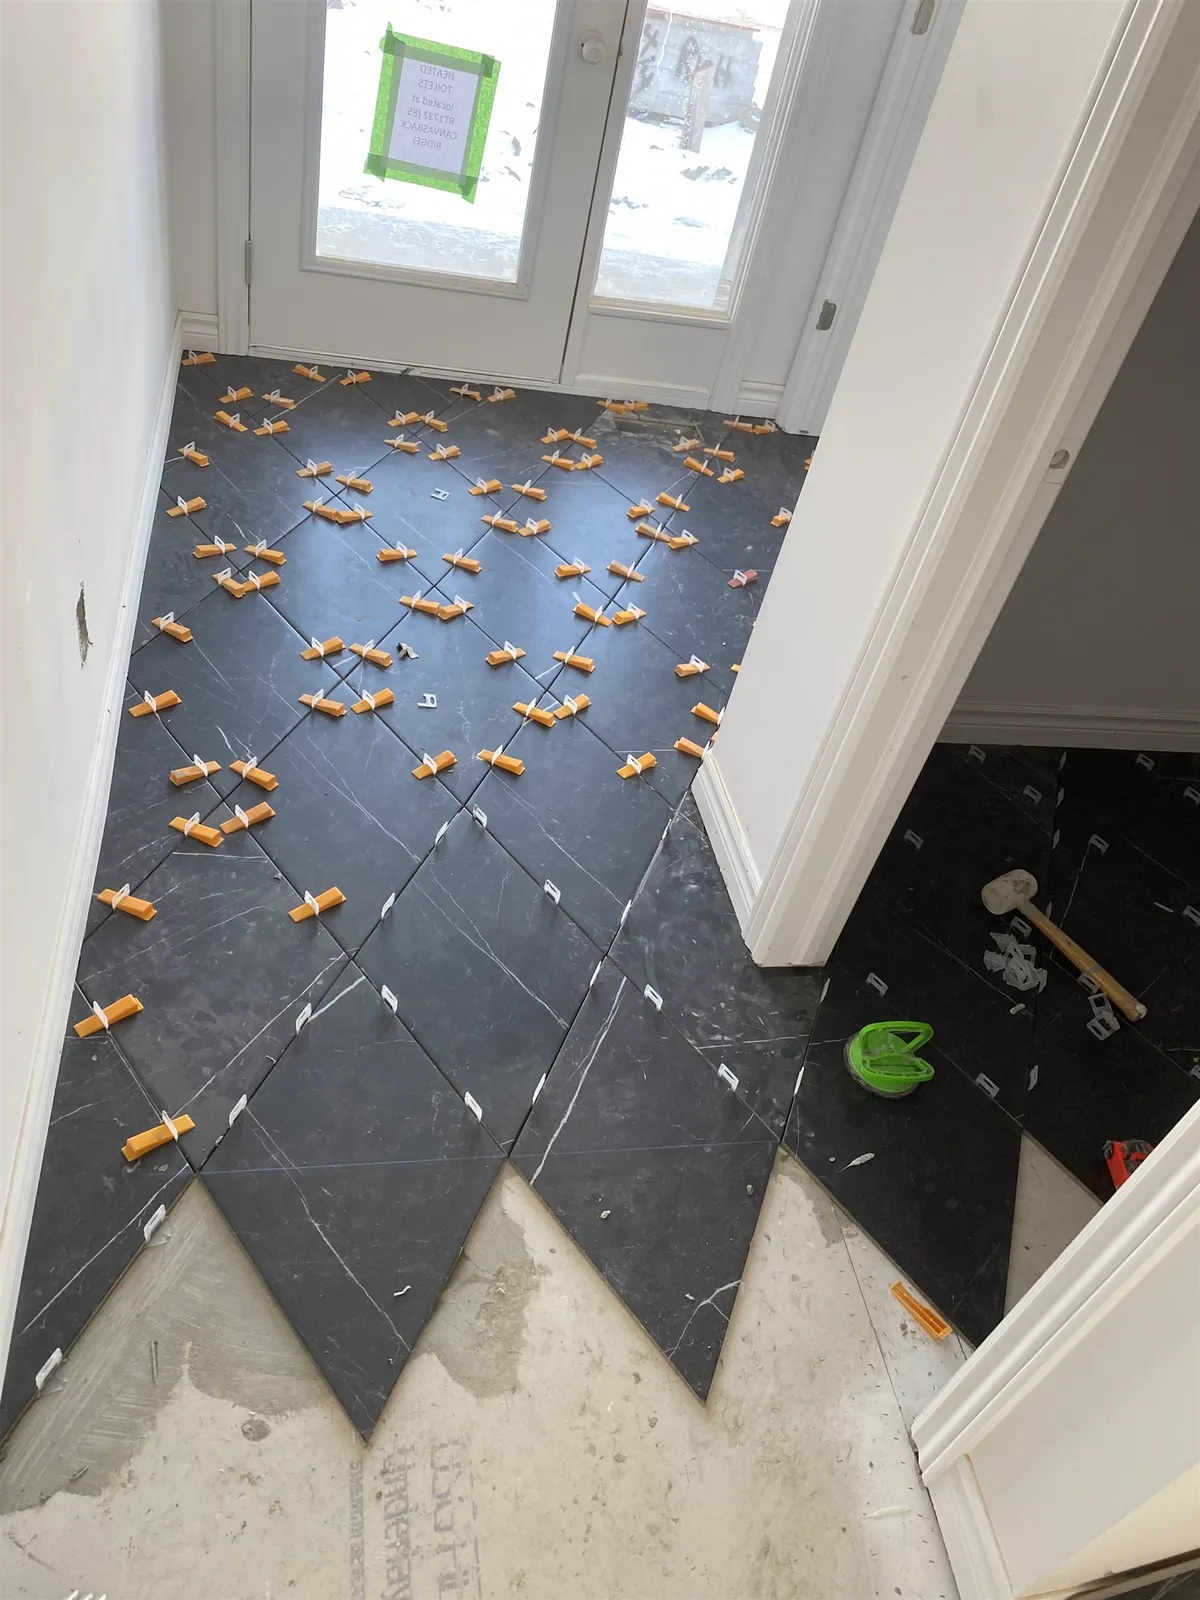
Cuts go under the vanity, along the least visible wall and where baseboard covers them. Long plank tiles are usually offset by no more than a third of their length to limit lippage. Diagonal and herringbone layouts follow the same rules but need more cutting; see tile patterns and layouts.
Step 4: Mix the thin-set correctly
Thin-set is a cement-based mortar. Most porcelain floors use a polymer-modified mortar, large tile needs a large-and-heavy-tile (LHT) mortar, and over a membrane you use what the membrane maker lists. Our guide on which thin-set to use explains the choice.
Mixing is where many DIY floors go wrong. The bag gives a water range for its weight. Measure the water, add the powder to it, and mix with a slow drill until smooth and lump-free. Then let it slake (rest) for the time on the bag, usually 5 to 10 minutes, and remix briefly without adding water. The right consistency holds a ridge without slumping, like thick peanut butter.
Two times on the bag matter. Pot life is how long the mixed batch stays usable. Open time is how long a spread layer stays sticky enough to bond. Never add water to mortar that has started to stiffen; mix smaller batches instead.
Step 5: Trowel the mortar and lay the tile
The notch size is chosen for the tile size and the flatness of the floor. As a starting point, small tile gets a 1/4" × 1/4" square notch and 12 × 24 tile gets a 1/2" × 1/2" notch. The full chart is in what size trowel for tile.
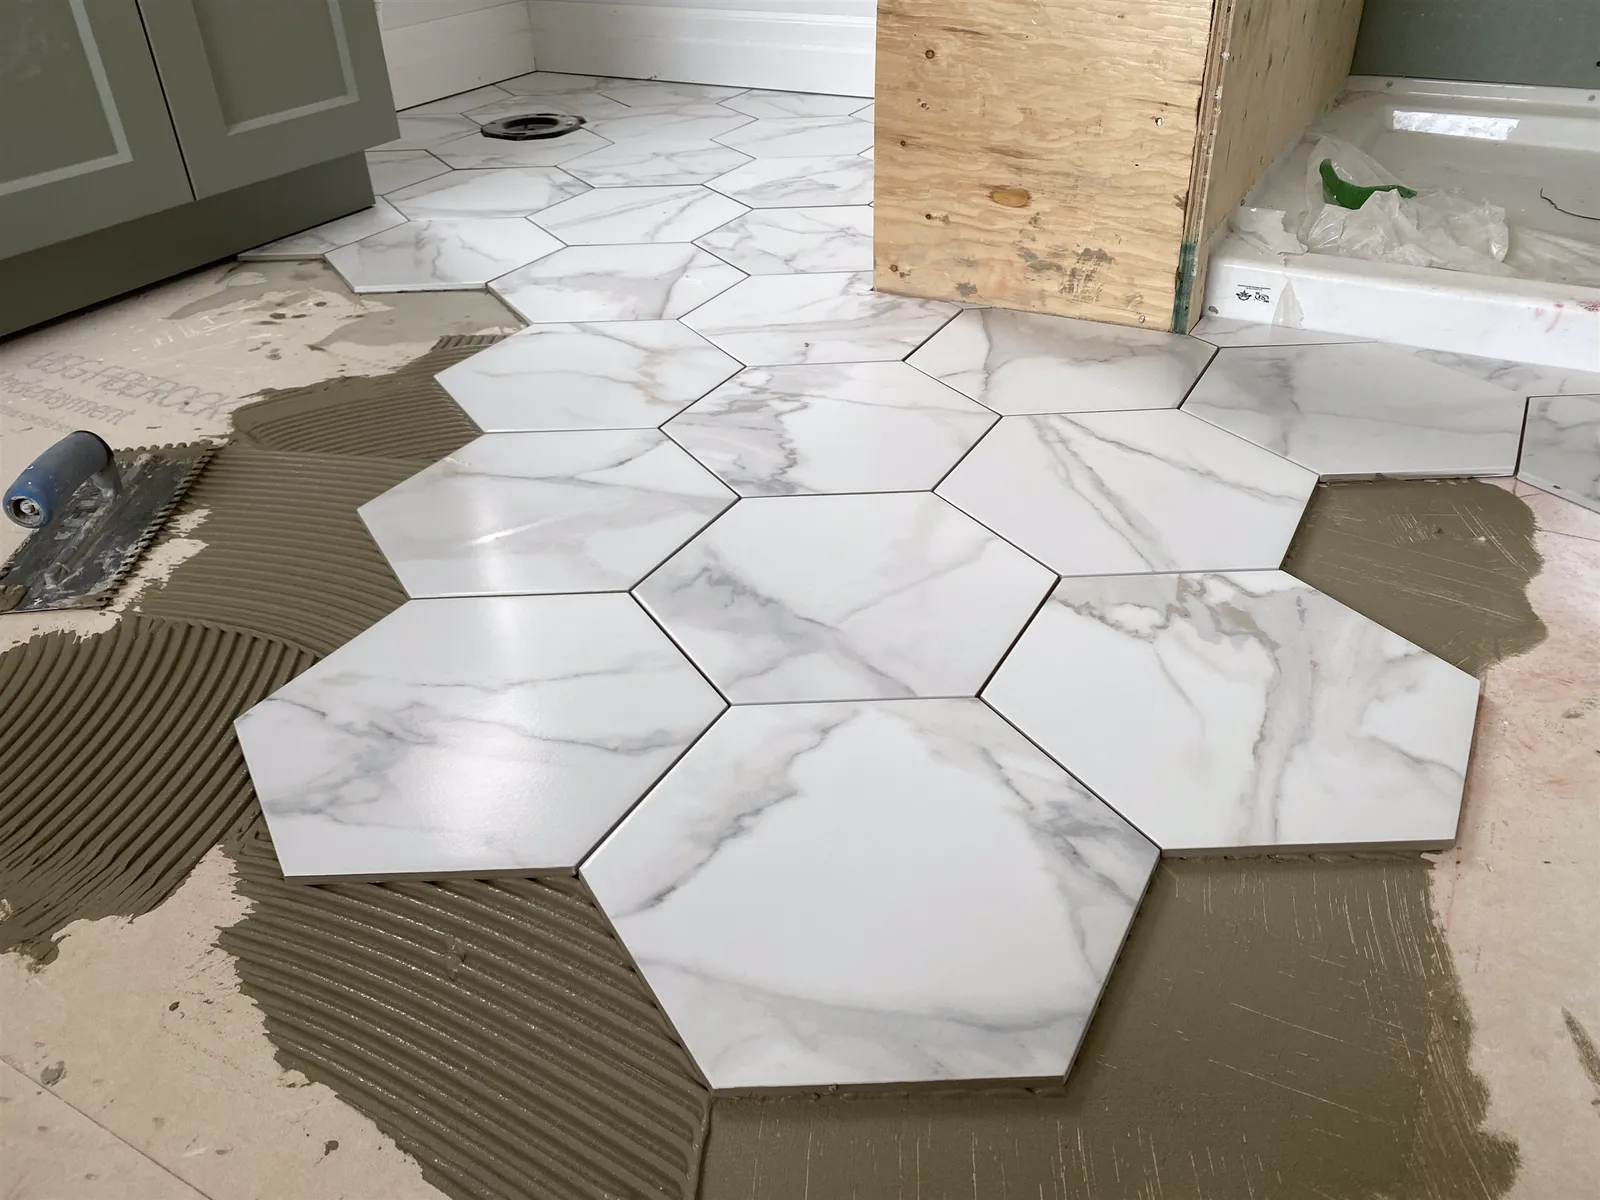
First, key a thin layer into the floor with the flat side of the trowel so the mortar grips. Then add more and comb it with the notched side, holding the trowel at a steady angle. Comb in straight, parallel lines, not swirls. On rectangular tile, run the ridges parallel to the short side, so air can escape when the tile is pressed down.
If you are learning how to lay tile, this is the step to slow down on. For tile 12 inches and larger, back-butter each tile with a thin, flat coat. Set the tile slightly off its final position, press it down and slide it about half a notch across the ridges, then into place. That movement collapses the ridges and fills the gaps. Spread only as much mortar as you can cover before it skins over. If you touch it and nothing sticks to your finger, scrape it off and spread fresh mortar.
Step 6: Check mortar coverage as you go
Coverage is the single biggest factor in whether a tile floor lasts. Hollow spots under a tile are where it cracks under a dropped pot or a fridge wheel. Industry standards call for at least 80% mortar contact in dry interior areas and 95% in wet areas, outdoors and under natural stone. Corners and edges must be fully supported, because that is where tiles chip and lift.
The only way to know is to look. Set a tile, lift it straight back up and check its back. The ridges should be fully collapsed, with mortar on both the tile and the floor. Bare stripes mean the notch is too small, the mortar skinned over, or the floor isn't flat enough. Check the first few tiles, then every so often.
Step 7: Keep the joints even and the edges flush
Spacers keep the joints a consistent width. The joint size comes from the tile. Rectified tile with precise edges can go as tight as about 1/16" to 1/8". Pressed tile varies more in size and needs wider joints. Our guide to tile spacers and grout joint width covers how to choose.
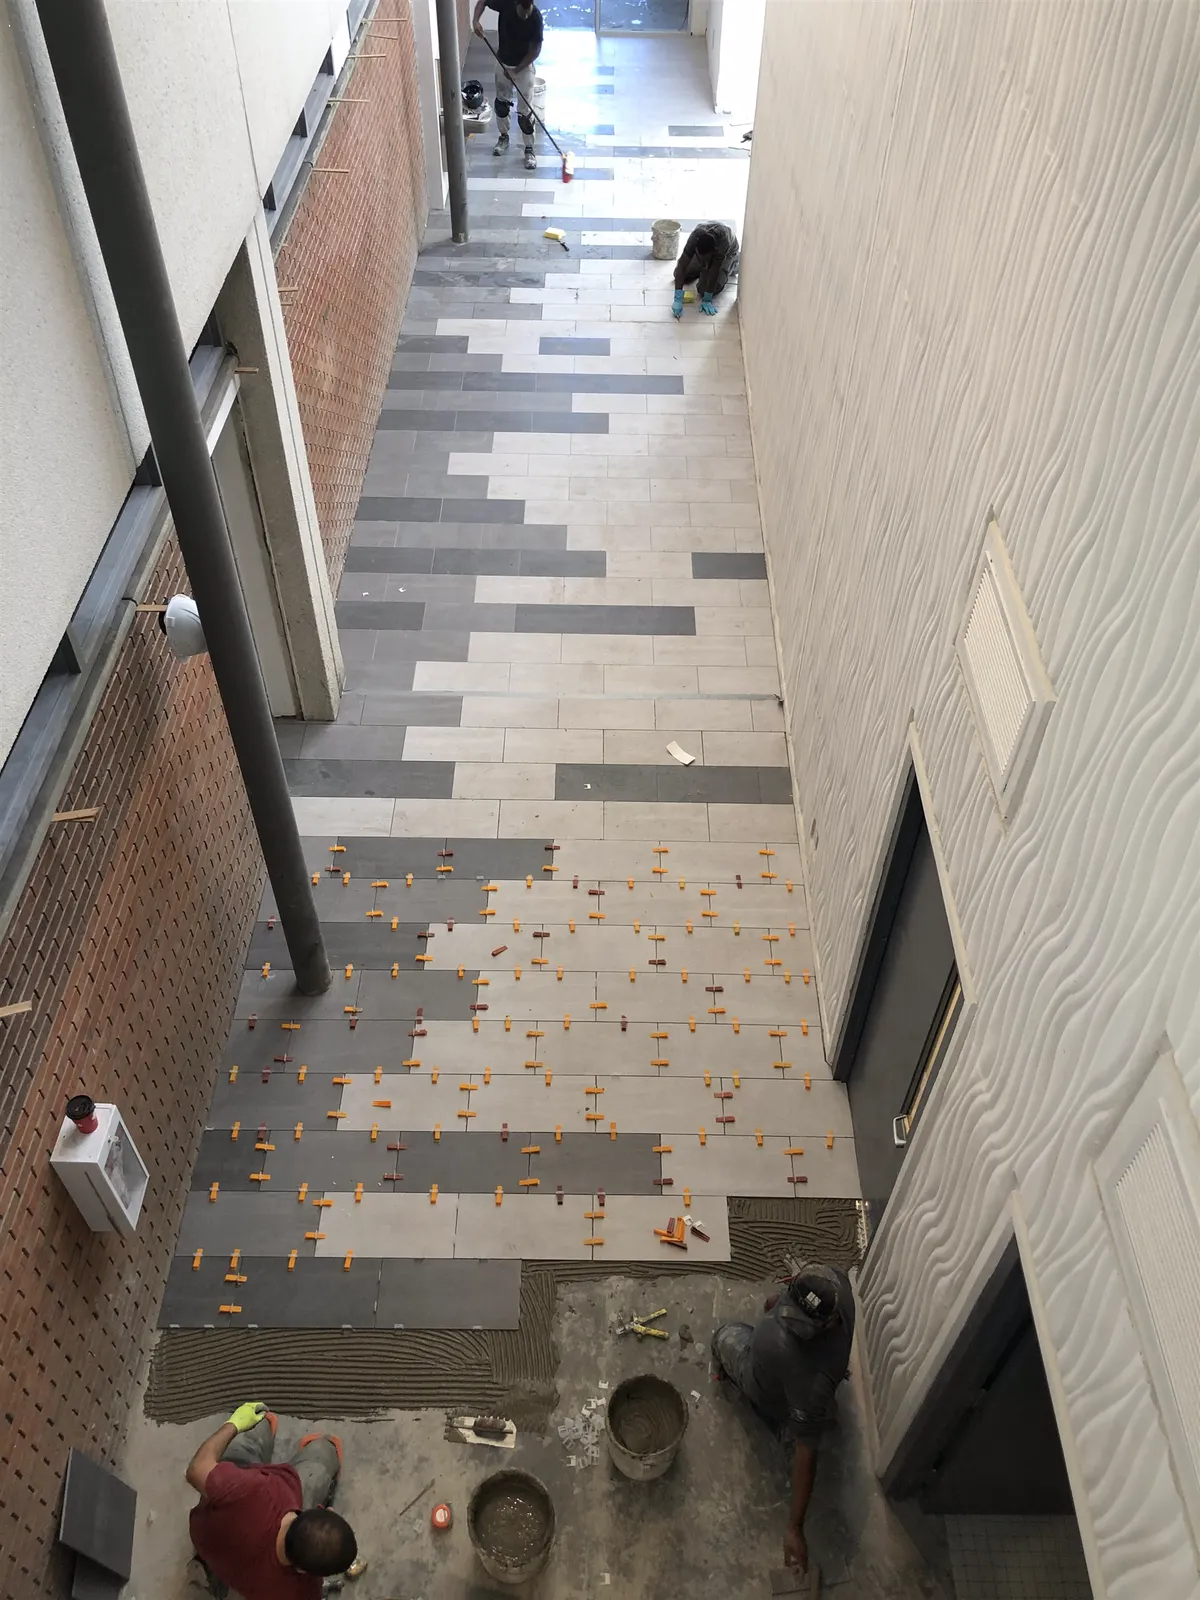
Levelling clips go under the edges of neighbouring tiles, and a wedge or cap pulls the faces into the same plane while the mortar cures. They are almost standard with large tile and long planks. They help control lippage, but they can't flatten a wavy floor or make up for missing mortar; see tile lippage and levelling systems. Check rows against your chalk lines every few tiles, because small errors add up across a room.
Step 8: Make the cuts
Most floors are set in two passes: full tiles first, then the cut pieces around the edges. Measure each cut piece where it goes rather than assuming the walls are straight. Allow for the perimeter gap in the measurement.
Straight cuts in porcelain are scored once and snapped on a manual cutter. Notches and L-cuts are done on a wet saw or with a grinder, and holes for pipes with a diamond hole saw. Our guide on how to cut porcelain tile covers each method and how to avoid chips. At doorways, undercut the door casing and jamb with a flush-cut saw so the tile slides underneath. That looks far cleaner than cutting tile around the trim.
Step 9: Leave the perimeter gap and movement joints
Tile, mortar and the floor below all expand and shrink a little with temperature and moisture. If the tile is locked tight against the walls, that movement has nowhere to go. The result can be cracked grout or tiles that lift and "tent" in a peak.
Stop the tile short of every wall, tub, cabinet base and column, and keep the gap free of mortar and grout. Baseboard covers it, or it is filled with a flexible sealant. Large floors and floors in strong sun or over heat also need joints in the field. Commonly cited guidance is every 20 to 25 feet in each direction indoors, and closer where tile gets direct sun. Any joint in the slab below is carried up through the tile at the same spot. See tile movement joints for the details.
Step 10: Clean the joints and let the mortar cure
Before the mortar sets, rake any squeeze-out from the joints with a margin trowel or a utility knife. Wipe mortar off the tile faces with a damp sponge. Mortar left in a joint means a thin, weak layer of grout on top of it, which cracks and shows a different colour.
Then leave the floor alone. Standard thin-set usually needs about 24 hours before grouting, longer in a cold room or under large tile. In an Ottawa winter, keep the room heated before, during and after the job. Fresh mortar must never freeze.
Step 11: Grout and seal the tile floor
Remove the spacers and the tops of the levelling clips first. Mix the grout to the consistency on the bag, then press it into the joints with a rubber float held at about 45 degrees, working diagonally across the tile. Pack the joints full, then scrape off the excess with the edge of the float.
When the grout firms up (the bag gives the timing), clean the surface with a damp, well-wrung sponge, shaping the joints without pulling grout out. Buff the haze off later with a dry cloth. Sanded grout suits joints of about 1/8" and wider, unsanded suits narrower joints, and epoxy resists stains best; see grout types explained. Joints at walls and cabinets get flexible sealant, not grout. Cement grout is usually sealed after it has cured, commonly after 48 to 72 hours, unless it is a type that doesn't need sealing.
When can you walk on a new tile floor?
With standard products, newly set tile can usually take light foot traffic after about 24 hours, and the same again after grouting. Heavy furniture and appliances wait several days. A heated floor stays off until the materials have cured. The product data sheets have the final word; see how long before using new tile for typical times.
How long does it take to tile a floor?
For a typical bathroom or entry floor, plan on three to five days from start to finish. A common sequence looks like this:
- Day 1: remove the old floor, fix the subfloor, patch or pour levelling compound.
- Day 2: membrane and tile, often the same day.
- Day 3: grout, once the mortar has cured.
- Days 4–5: sealant at the edges, baseboard and transitions, then light use.
Self-levelling compound, large-format tile and cold conditions can each add a day. Most of the elapsed time is waiting, not working.
Common mistakes when laying floor tile
Most failed tile floors trace back to a short list of causes. Tiling over a floor that bounces is the most serious, because no membrane or mortar fixes it. Poor coverage is next: mortar that skinned over, too small a notch, or no back-buttering on large tile.
Other common mistakes are adding water to stiffening mortar, grouting too soon, and packing grout into the perimeter gap. Starting the layout against a crooked wall leaves tapered joints across the room. The wrong mortar for the membrane can void the system warranty.
What is DIY-friendly, and when to hire a pro
A small, square room with 12 × 12 or smaller tile on a sound concrete floor is a reasonable first project for a patient DIYer. Layout, setting small tile, grouting and caulking are all learnable. Take your time with mixing, check coverage often, and rent a good wet saw rather than fighting porcelain with a cheap one.
Some floors are better left to a professional. These include large-format tile, which needs a very flat floor, and floors over wood that may need structural work. Heated floors, natural stone, herringbone and other patterns, and any floor that must be waterproof also fall in this group. Mistakes on these are expensive, because the only real fix is tearing the tile out. At Agora Flooring we have installed tile across Ottawa for 26+ years, including large-format tile throughout the 288-unit Rideau Registry. If you are comparing installers, our guide to hiring a tile installer lists the questions to ask, and our tile installation page explains how we work. For budgets, see tile installation cost in Ottawa.
Frequently asked questions
Where do you start when tiling a floor?
Usually from the centre of the room, working back toward the door so you don't tile yourself into a corner. In a small bathroom, installers often start at the most visible full-tile line, such as the doorway or the tub, and let the cuts fall under the vanity.
Can you lay tile directly on plywood?
Not usually. Tile is normally set over an uncoupling membrane or cement backer board on top of a plywood subfloor that is stiff and thick enough. Bonding tile straight to plywood risks cracks as the wood moves with humidity.
How long should thin-set dry before grouting?
Standard thin-set usually needs about 24 hours, longer in cold rooms or under large tile. Rapid-setting mortars can be grouted in a few hours. Follow the mortar bag.
Do you need to back-butter floor tile?
Back-butter large tile, natural stone, tiles with ridged or patterned backs, and any tile in a wet area. It is the most reliable way to reach the 80% to 95% coverage that standards call for.
How much extra tile should I order?
About 10% for a straight layout and 15% or more for diagonal and herringbone patterns. Small rooms with many cuts waste more. Keep a few spares for future repairs.
Is it better to use levelling clips?
For large-format tile and long planks, yes. They hold neighbouring edges flush while the mortar cures. They don't replace a flat floor or proper coverage.