Short answer
The most common tile patterns are a straight (stacked) grid, a running bond with a half offset, a 1/3 offset for long tiles, a diagonal layout and herringbone. Straight layouts are the fastest and waste the least tile, typically about 10% extra; diagonal and herringbone usually need about 15% or more and take more labour. Long rectangular tiles are usually offset by no more than one-third of their length to avoid uneven edges.
The same tile can look completely different depending on how it is laid. A plain 12 × 24 porcelain can read as calm and modern in a stacked grid, classic in a brick pattern, or bold in herringbone. The pattern also changes how much tile you buy, how long the job takes and how forgiving the result is. This guide compares the main tile layout patterns, explains which tile shapes suit each, and shows how an installer plans a tile layout so it looks right from the doorway.
Tile patterns compared
The table gives typical figures. Extra tile allows for cuts and breakage, and small or oddly shaped rooms need more. Labour is relative to a straight layout of the same tile.
| Pattern | Look | Best tile shapes | Extra tile (typical) | Labour |
|---|---|---|---|---|
| Straight, stack or grid | Clean, modern, calm | Squares; rectangles stacked | About 10% | Lowest |
| Running bond (1/2 offset) | Classic brick look | Subway and short rectangles | About 10% | Low |
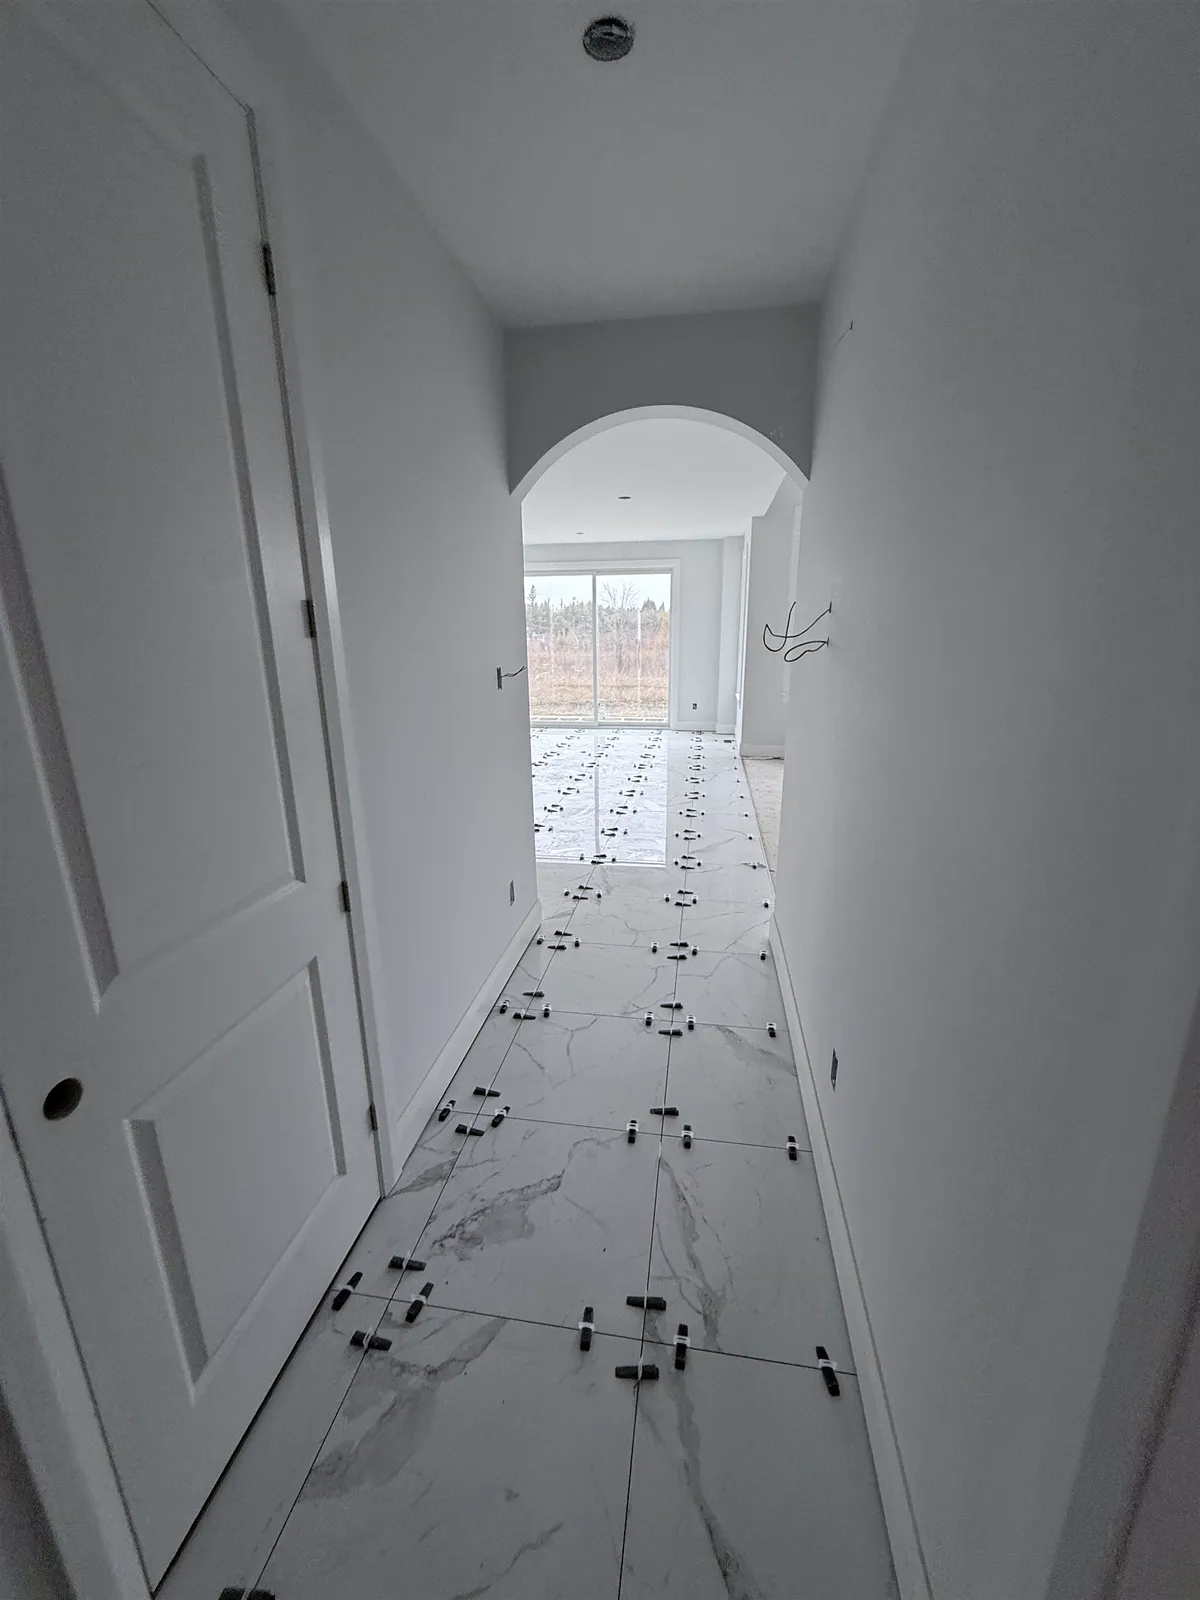
| 1/3 offset | Staggered, relaxed | Long rectangles and planks | About 10% | Low to medium |
| Diagonal (45°) | Widens a room; hides walls out of square | Squares | About 15% or more | Medium to high |
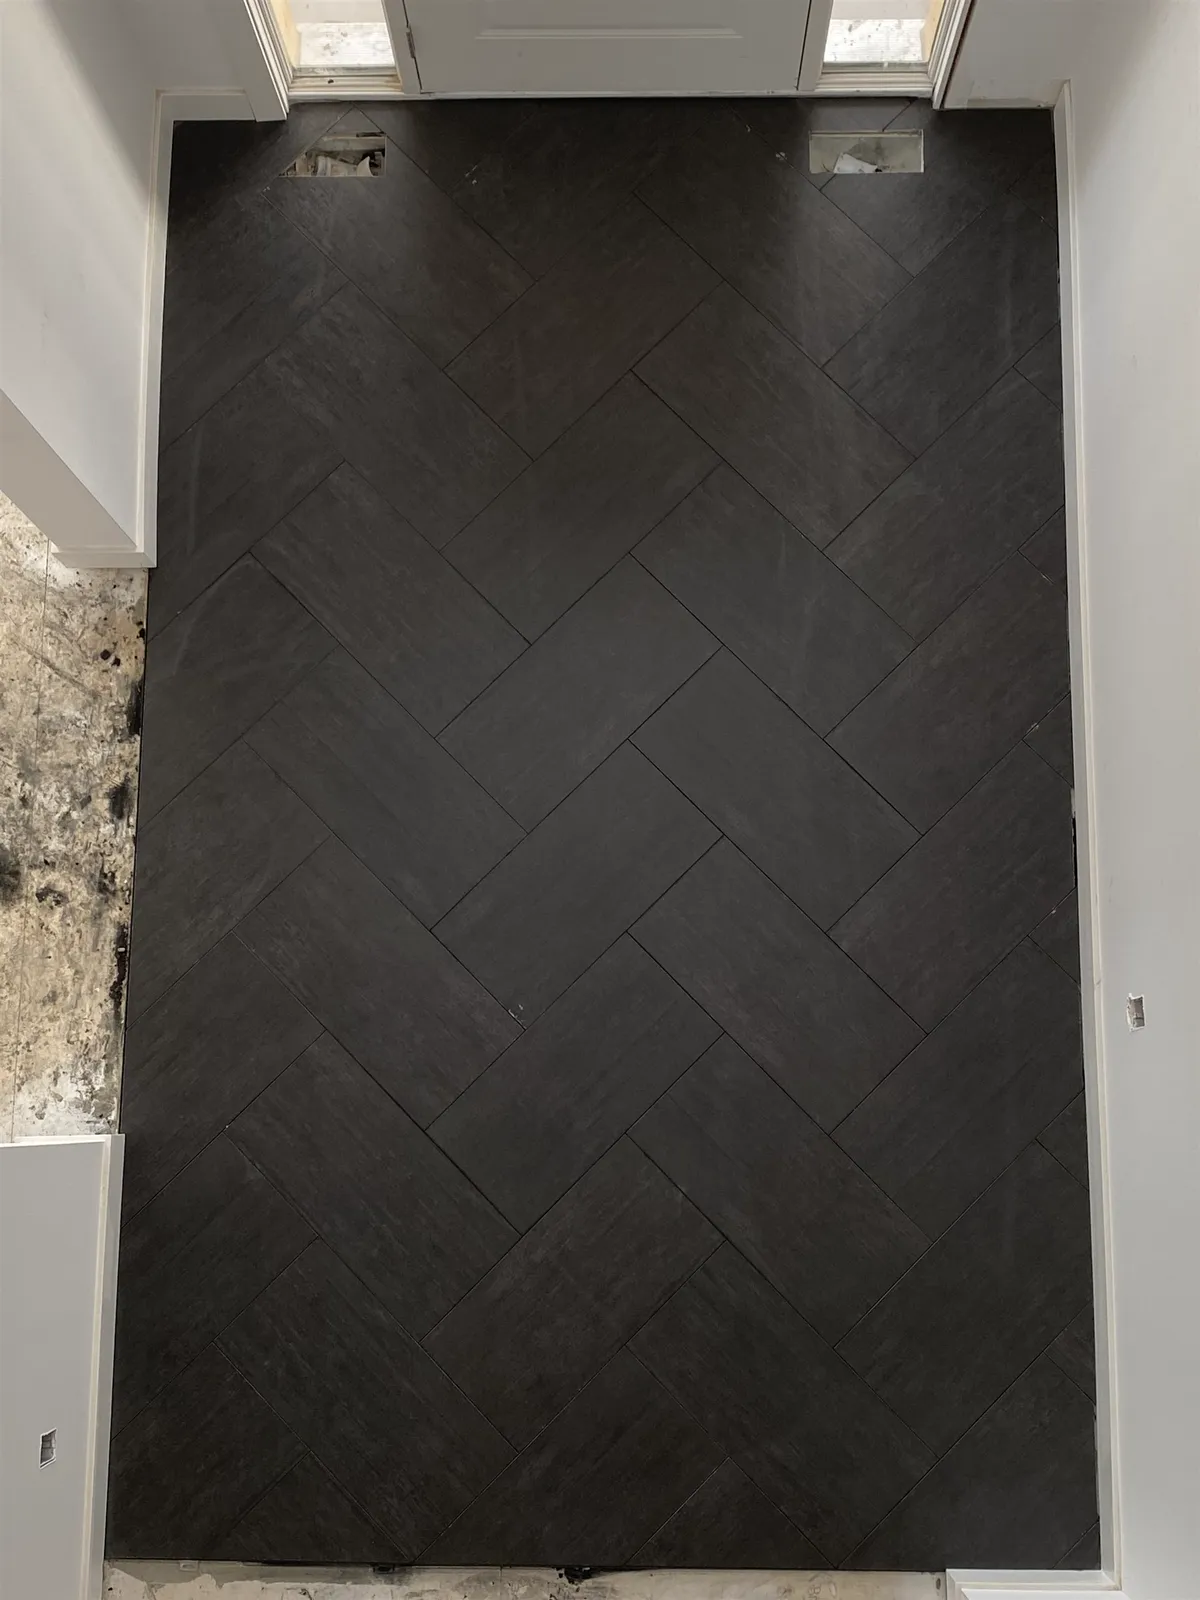
| Herringbone | Zigzag, high-end | Planks, roughly 3:1 or longer | About 15% or more | High |
| Chevron | Clean points in a line | Tile made with angled ends | About 15% or more | High |
| Basketweave | Woven, traditional | Rectangles where two widths plus a joint equal the length; mosaic sheets | About 10–15% | Medium (sheets are faster) |
| Versailles (French pattern) | Old-world stone floor | Sets of several square and rectangular sizes | About 10–15% | Medium to high |
| Hexagon | Honeycomb, retro or modern | Hexagons, mosaic or large | About 10–15% | Medium (edge cuts) |
| Checkerboard | Bold, two colours | Squares in two colours | About 10% (more on a diagonal) | Low to medium |
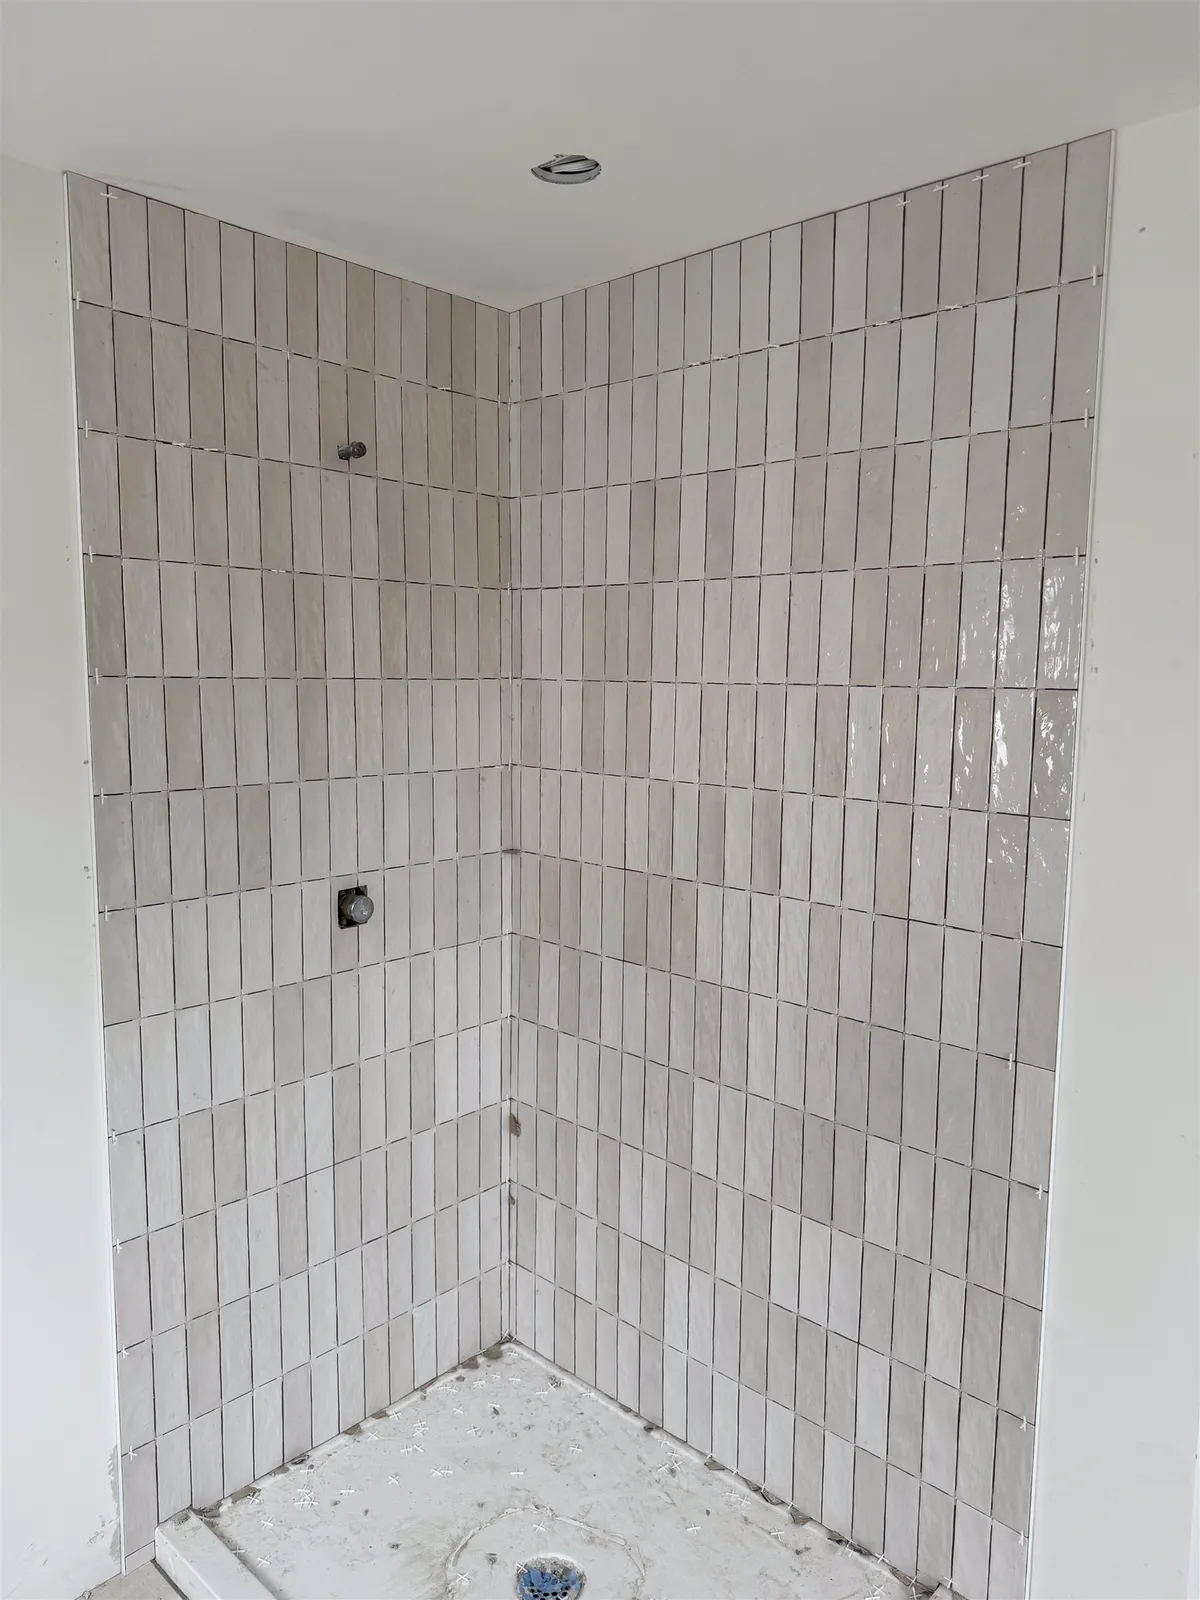
| Vertical stack | Tall, makes walls look higher | Rectangles stood upright | About 10% | Low to medium |
| Pinwheel (hopscotch) | Large squares framed by small ones | Two square sizes | About 10–15% | Medium |
Keep some spare tile after any job, whatever the pattern. If a tile cracks years later, the same colour batch can be hard to find.
Straight, offset and diagonal layouts
A straight or stacked layout lines every joint up in both directions. It suits large square tile and modern rooms, and it is the quickest to install. It is also unforgiving: every joint runs the full length of the room, so a crooked line or a tile that varies in size shows immediately. Walls that are out of square show too, because the joint beside the wall tapers.
A running bond, also called a brick or 1/2 offset pattern, starts each row half a tile along from the one before. It is the classic pattern for subway tile and works well with short rectangles. With long tiles, though, a half offset causes problems, as explained below.
A 1/3 offset starts each row a third of a tile along, so the pattern repeats every three rows. It suits 12 × 24 tile and plank tile and looks a little more relaxed than a brick pattern. A random offset, like a wood floor, is common with wood-look plank tile. The installer avoids short steps and "staircase" lines by not repeating the same offset row after row.
A diagonal layout turns square tiles 45 degrees to the walls. It makes a narrow room feel wider, and it hides walls that aren't square, because the cut along each wall is a triangle anyway. Every edge tile needs an angled cut, so it takes longer and wastes more tile. The layout starts from centre lines on the room, not from one wall.
Why long tiles are offset by a third, not a half
Large and long tiles are rarely perfectly flat. Most have a slight bow, with the centre a little higher or lower than the ends. In a half offset, the middle of one tile sits beside the ends of the tiles in the next row, which is exactly where their height differs the most. The result is uneven edges, called lippage, along every long joint.
A smaller offset puts parts of the tiles with similar heights next to each other. That is why industry guidance commonly limits the offset to no more than one-third of the tile's length for tile with a side longer than about 18", unless the tile maker says otherwise. Some makers of long plank tile ask for an even smaller offset or a random stagger, and the box or spec sheet will say so. Levelling clips help hold edges flush while the mortar sets, but they don't replace the right offset. See tile lippage and levelling systems and our large-format tile guide for the floor flatness these tiles need.
If you love the brick look with large tile, ask the tile maker whether a half offset is allowed for that product, and expect the installer to be very strict about flatness and coverage.
Subway tile patterns
Subway tile is a small rectangle, usually 3 × 6 or 4 × 12 or similar, and it suits more patterns than almost any other tile. The most popular subway tile patterns are:
- Running bond (horizontal). The classic. Works with almost any subway size and any style of kitchen or bathroom.
- Horizontal stack. Every joint lined up. Clean and modern, but it needs straight walls and consistent tile.
- Vertical stack. Tiles stood upright in straight columns. It draws the eye up and makes a low ceiling feel taller.
- Herringbone. Subway tile laid in a zigzag, horizontally or vertically. A strong feature for a backsplash or a shower wall.
- 1/3 offset. A softer stagger, useful with longer subway sizes.
Handmade and glazed subway tile often varies in size and has slightly wavy edges. That variation looks best in a running bond, which hides small differences. A stacked layout puts every difference on display. For backsplash ideas with subway tile, see kitchen backsplash ideas.
Herringbone, chevron and basketweave
Herringbone lays rectangular tiles in a zigzag, with the end of each tile against the side of the next. Chevron uses tiles made with angled ends, so they meet in a clean point. Both are among the most requested feature floors, and both take the most planning. The pattern is centred on the room's main sightline, every edge tile gets an angled cut, and the first rows must be exactly square. We cover these in detail in herringbone floor tile.
Basketweave sets pairs or groups of rectangles at right angles to each other, like a woven mat. It only closes up properly when two tile widths plus the joint between them equal one tile length. Many basketweave floors are sold as mosaic sheets for this reason, often in marble, which makes them much faster to install.
Versailles, hexagon, checkerboard and pinwheel
The Versailles pattern, also called the French pattern, combines several sizes of square and rectangular tile in a repeating module. It looks like a traditional stone floor. The tiles are usually sold as a set with a layout diagram, and the installer follows that diagram exactly. It takes more time than a single-size floor, because each module is assembled like a puzzle and the joints must stay consistent across all the sizes.
Hexagon tile comes as small mosaics on sheets and as large single tiles. Mosaic hexagons are a favourite for bathroom floors and shower floors, because the many grout lines add grip and the small pieces follow the slope to a drain. Large hexagons look modern but need many cuts along the walls. Our guide to mosaic tile installation covers the sheet details.
A checkerboard alternates two colours of square tile, either straight or on a diagonal. It is simple to lay but needs careful sorting so the colours stay in the right order, and both colours need to be the same size and thickness.
A pinwheel, or hopscotch, pattern frames each large square with smaller squares. It suits stone-look tile in entries and traditional bathrooms.
Patterned tiles that form a design
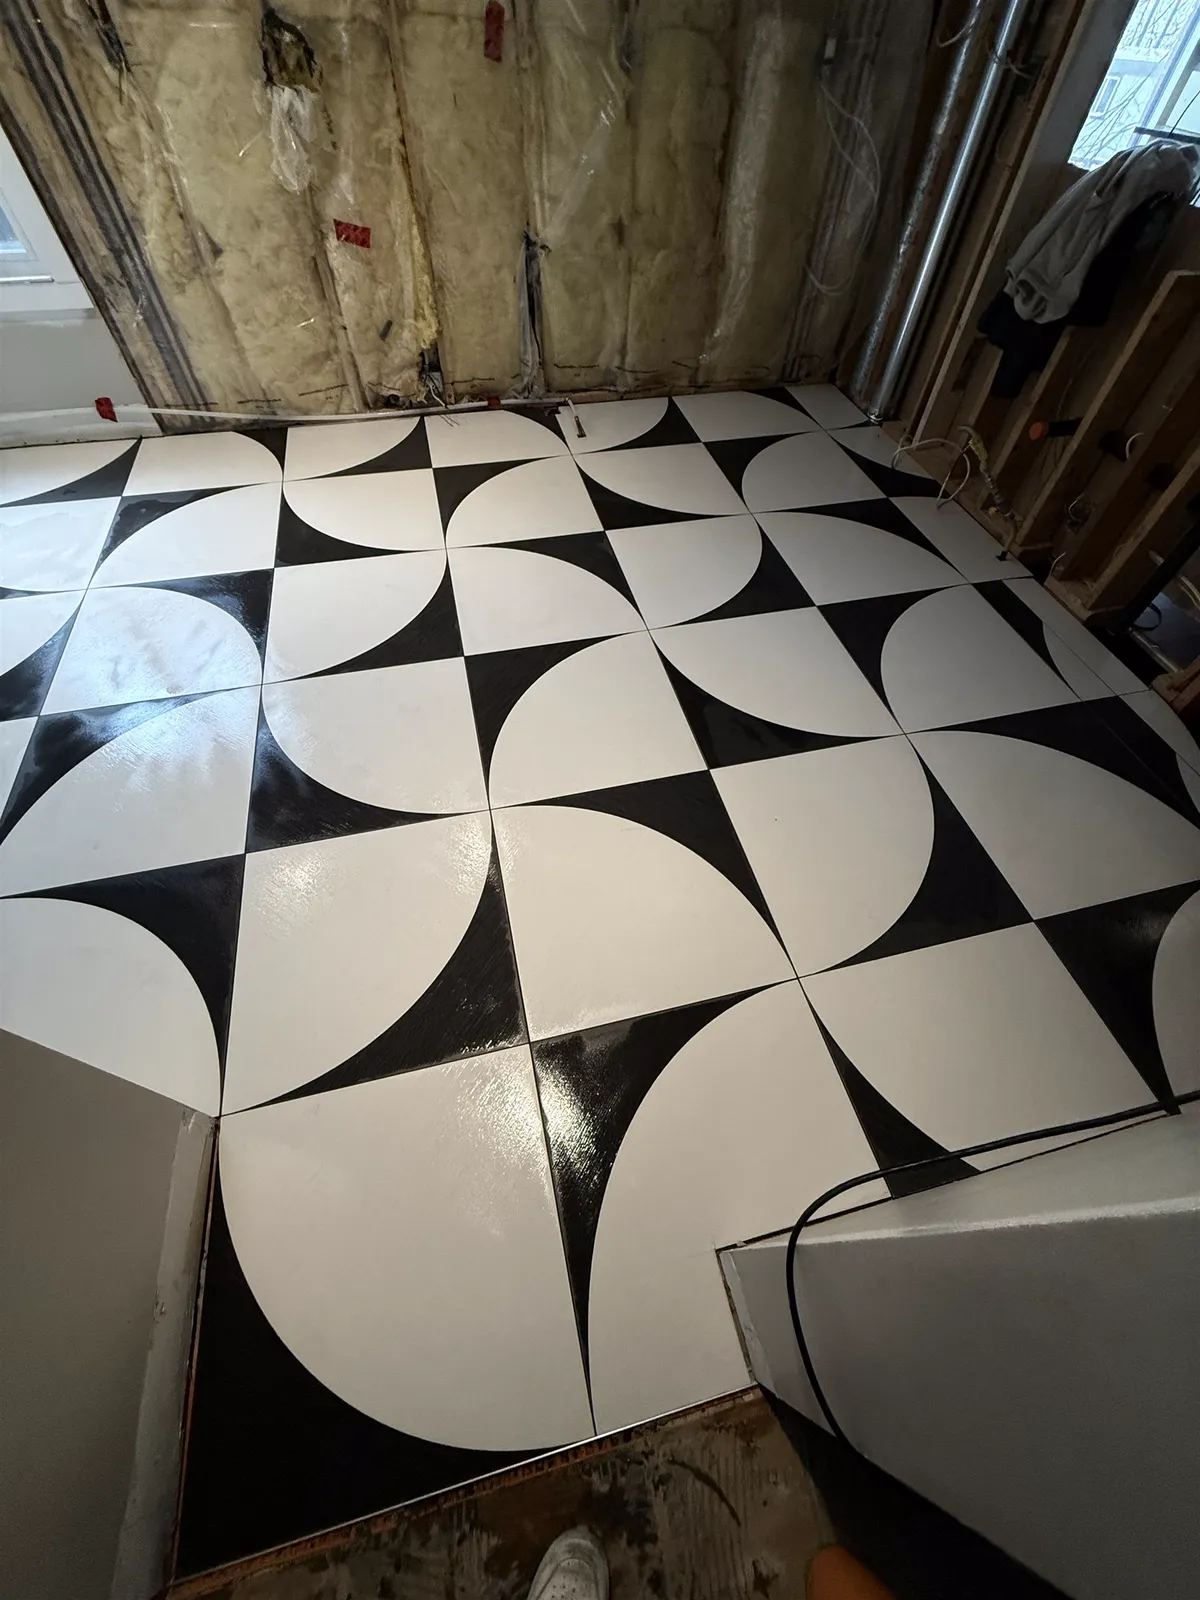
Some tiles carry part of a larger design. Encaustic-look and cement-look tiles, quarter-circle tiles and many decorative porcelains only make their full pattern when four or more tiles come together. The floor in the photo above is an example. Each tile carries a quarter of a circle, and the way each tile is turned decides whether the floor reads as circles, diamonds or waves.
These tiles are dry-laid before setting. The installer lays out a section of the floor without mortar and checks the repeat. Then they decide where the pattern starts and stops at the walls and doorways, and mark the orientation on the backs if needed. A single tile turned the wrong way breaks the design and is very hard to fix once it is set. Mixing tiles from several boxes during the dry lay also spreads out any shade variation.
Plan the borders too. A strong pattern looks best when it is centred on the room or framed by a border of plain tile, so the cuts at the edges don't cut through the middle of a motif.
How to plan a tile layout for any pattern
A good tile layout is planned before any mortar is mixed. The same steps apply to every pattern:
- Find the centre lines of the room, or of the main area people see, and check whether the walls are square.
- Start at the most visible point. That is usually the doorway, the front of a vanity or tub, or the entry to a kitchen. Full tiles go where the eye lands; cuts go under cabinets, behind doors and along the least visible wall.
- Balance the cuts. Shift the layout so the cut pieces at opposite walls are the same width. Many installers aim for edge pieces of at least half a tile, or close to it.
- Avoid slivers at doorways, tub fronts, thresholds and the shower entry, where thin pieces look bad and break easily.
- Follow the longest wall or sightline. Long tiles, herringbone and running bond usually run along the main view, which makes the room look longer.
- Dry-lay a row in each direction, with spacers, to confirm the cuts.
- Snap control lines and check them against the walls before setting the first tile.
Your eye reads tile layout by its lines. Lines that are parallel to the main wall and cuts that are even at both sides make a room look built with care. Our step-by-step guide to how to tile a floor shows where layout fits in the order of work.
Tile layout on walls vs floors
Walls bring their own rules. Tubs and floors are rarely level, so wall tile starts from a level line, not from the top of the tub. The layout is planned around the things the eye goes to: the niche, the window, the valve and the shower head. A story pole, a board marked with the tile rows, shows where each row will land, so you don't end with a thin strip at the ceiling. On a backsplash, the rows are planned around the outlets, the window and the bottom of the upper cabinets.
Floors are seen from standing height and across the room, so overall lines and the doorway matter most. Walls are seen up close, so small things such as an uneven cut beside a niche show more. Our guides to tiling a shower and the shower niche cover the wall side in more depth.
Mixing patterns in one room
A room usually looks best with one star. A patterned floor pairs well with plain walls, and a herringbone or vertical-stack shower wall pairs well with a simple floor. Two busy patterns side by side tend to compete.
When the same tile runs from the floor up the wall, keeping the same layout and joint width lets the grout lines carry around the corner. With different tiles, lining up one or two main lines, such as the edge of a niche or the shower entry, ties the room together. In a small bathroom, larger tiles in a simple layout make the room feel bigger; see small bathroom tile ideas.
How tile patterns change time and cost
Pattern affects the price in two ways: tile and labour. Diagonal, herringbone, chevron and Versailles layouts need more extra tile because of the cuts at every edge. They also take much longer to lay out and set, because the installer checks the pattern constantly and cuts angles along every wall. A straight or 1/3 offset layout of the same tile is the most economical.
Patterns also raise the bar for floor preparation. Long planks and herringbone show every dip in the floor, so levelling is more likely to be needed. For typical prices and what drives them, see tile installation cost in Ottawa.
Grout colour and how the pattern reads
Grout colour decides how strongly a pattern shows. A grout that matches the tile lets the pattern come from the tile itself, such as the colours in a checkerboard or the motif in a patterned tile. A contrasting grout outlines every piece, which makes herringbone, hexagon and subway layouts pop, but also shows every uneven joint. The joint width matters too, as explained in tile spacers and grout joint width. Choose from cured grout samples next to your actual tile.
Frequently asked questions
What is the most popular tile pattern?
For floors, a straight grid or a 1/3 offset with large rectangular tile is the most common today. For walls and backsplashes, the subway running bond is still the classic, with vertical stack and herringbone as popular alternatives.
What is a 1/3 offset tile pattern?
Each row starts a third of a tile length along from the row before, so the pattern repeats every three rows. It is the usual choice for 12 × 24 and plank tile, because it limits the uneven edges that a half offset causes with slightly bowed tiles.
Can you do a 50% offset with 12 × 24 tile?
Industry guidance generally recommends no more than a one-third offset for tile with a side longer than about 18", unless the maker approves more. Check the box or spec sheet; some products allow it, many don't.
Which tile pattern makes a room look bigger?
Large tiles in a straight or 1/3 offset layout with matching grout make a room feel calm and larger. A diagonal layout can make a narrow room feel wider, and long tiles laid along the main sightline make it look longer.
How much extra tile should I order for a pattern?
Typically about 10% for straight and offset layouts and about 15% or more for diagonal, herringbone and chevron. Small rooms and rooms with many corners need more.
Where should you start tiling a floor?
Plan from the centre lines and the most visible point, usually the doorway, so the cuts are balanced at both walls. Setting usually starts in the far corner and works back toward the door so you don't tile yourself in.