Short answer
To remove tile, first find out how it was set: a thick mortar bed, thin-set on backer board, or tile bonded to plywood or concrete. Seal off the room for dust, shut off water and power where needed, and wear a respirator and eye and hearing protection. Break the tile out with a hammer and chisel or a rotary hammer, then scrape or grind the old thin-set until the surface is flat. In older homes, test old adhesive and flooring for asbestos before disturbing them. Removal and disposal typically adds about $0.50 to $1.75 per square foot.
Tile is built to stay put, which is exactly why removing it is hard work. How to remove tile depends less on the tile itself than on what is holding it and what is underneath. A floor set in thin-set over a sound slab can come up in a day. An old bathroom on a thick mortar bed, or a shower with water damage behind it, is a bigger job. This guide explains what tile removal involves, what you are likely to find, and when tiling over the old tile is the better choice.
What tile removal involves
Tile removal, or tile demolition, has three parts. First the tile itself is broken and lifted. Then the setting material left behind, whether thin-set, mortar bed or adhesive, is removed down to a sound surface. Finally that surface is repaired and flattened so the new floor or wall can go on.
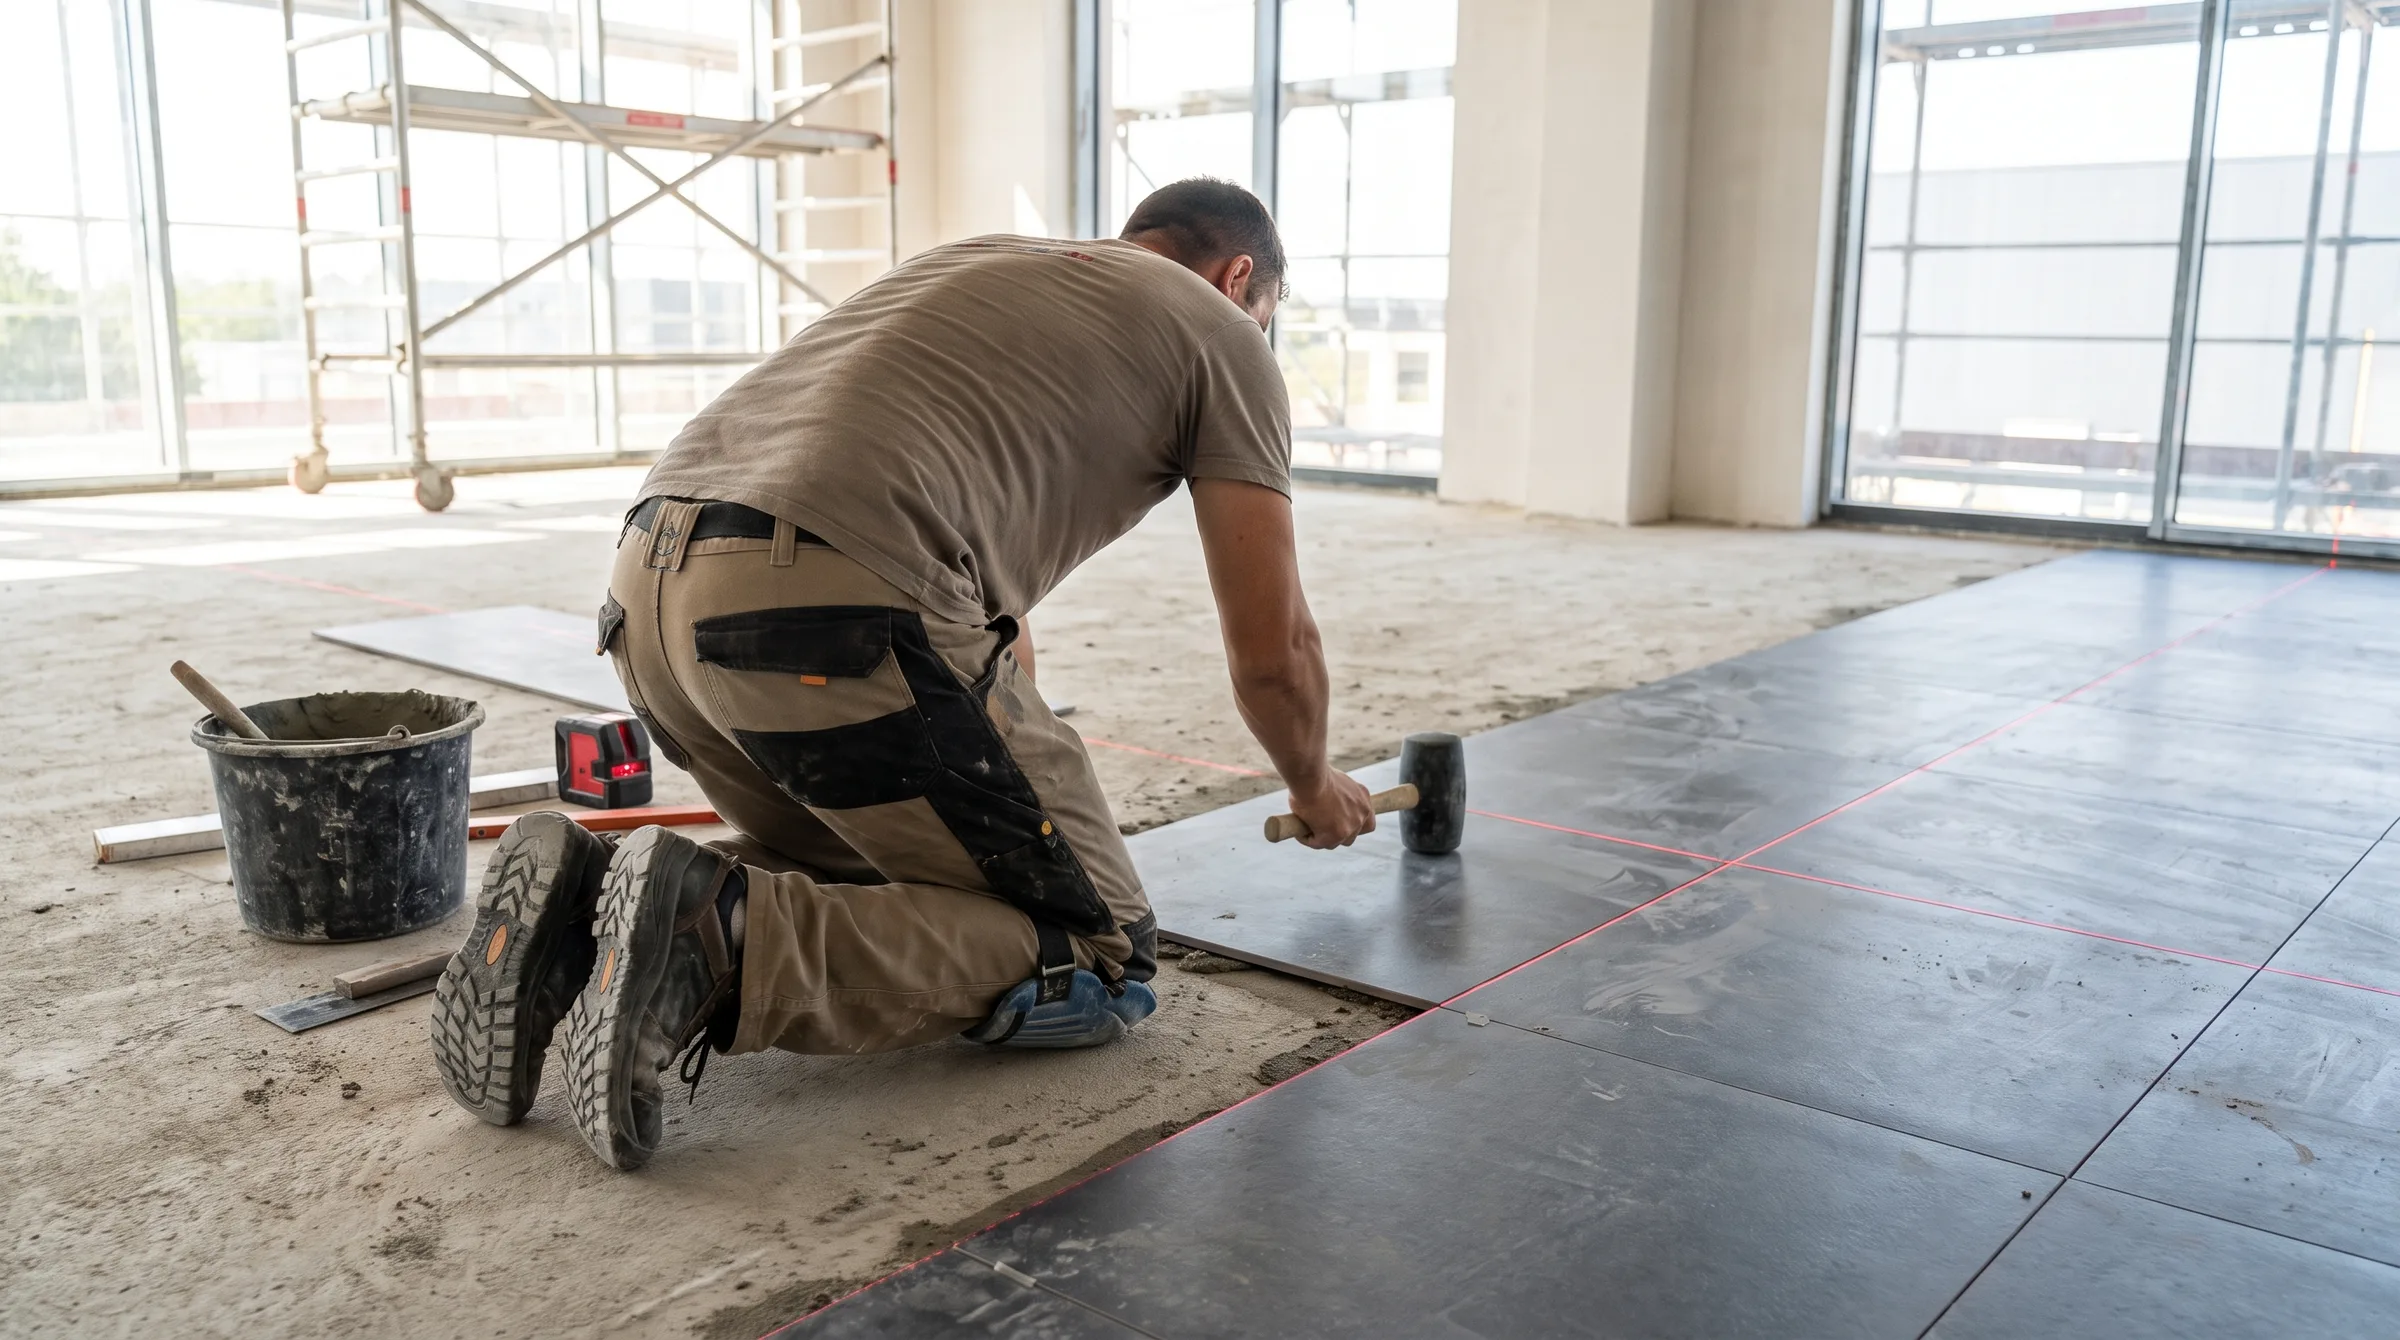
The first part is the loudest. The second part takes the longest and decides the quality of the next floor. New tile needs a flat, clean, sound base, and ridges of old thin-set or patches of adhesive left behind show up as lippage and hollow spots later. Our guide to the right subfloor for tile explains what that base has to be.
How the old tile was set: mortar bed, thin-set or plywood
Before you start, find out what you are dealing with. Pull a heat register, look at a doorway transition or check a cracked tile. The edge often shows the layers.
Mortar bed (mud set). Many older Ottawa homes have floor tile, and sometimes wall tile, set in a thick bed of sand-and-cement mortar, commonly around an inch thick and often reinforced with wire mesh. Walls built this way have mortar over metal lath. Mortar beds are very solid and very heavy. They usually come out in chunks, mesh and all, down to the subfloor or studs. Removing one can drop the floor height noticeably, which matters at doorways and the toilet flange.
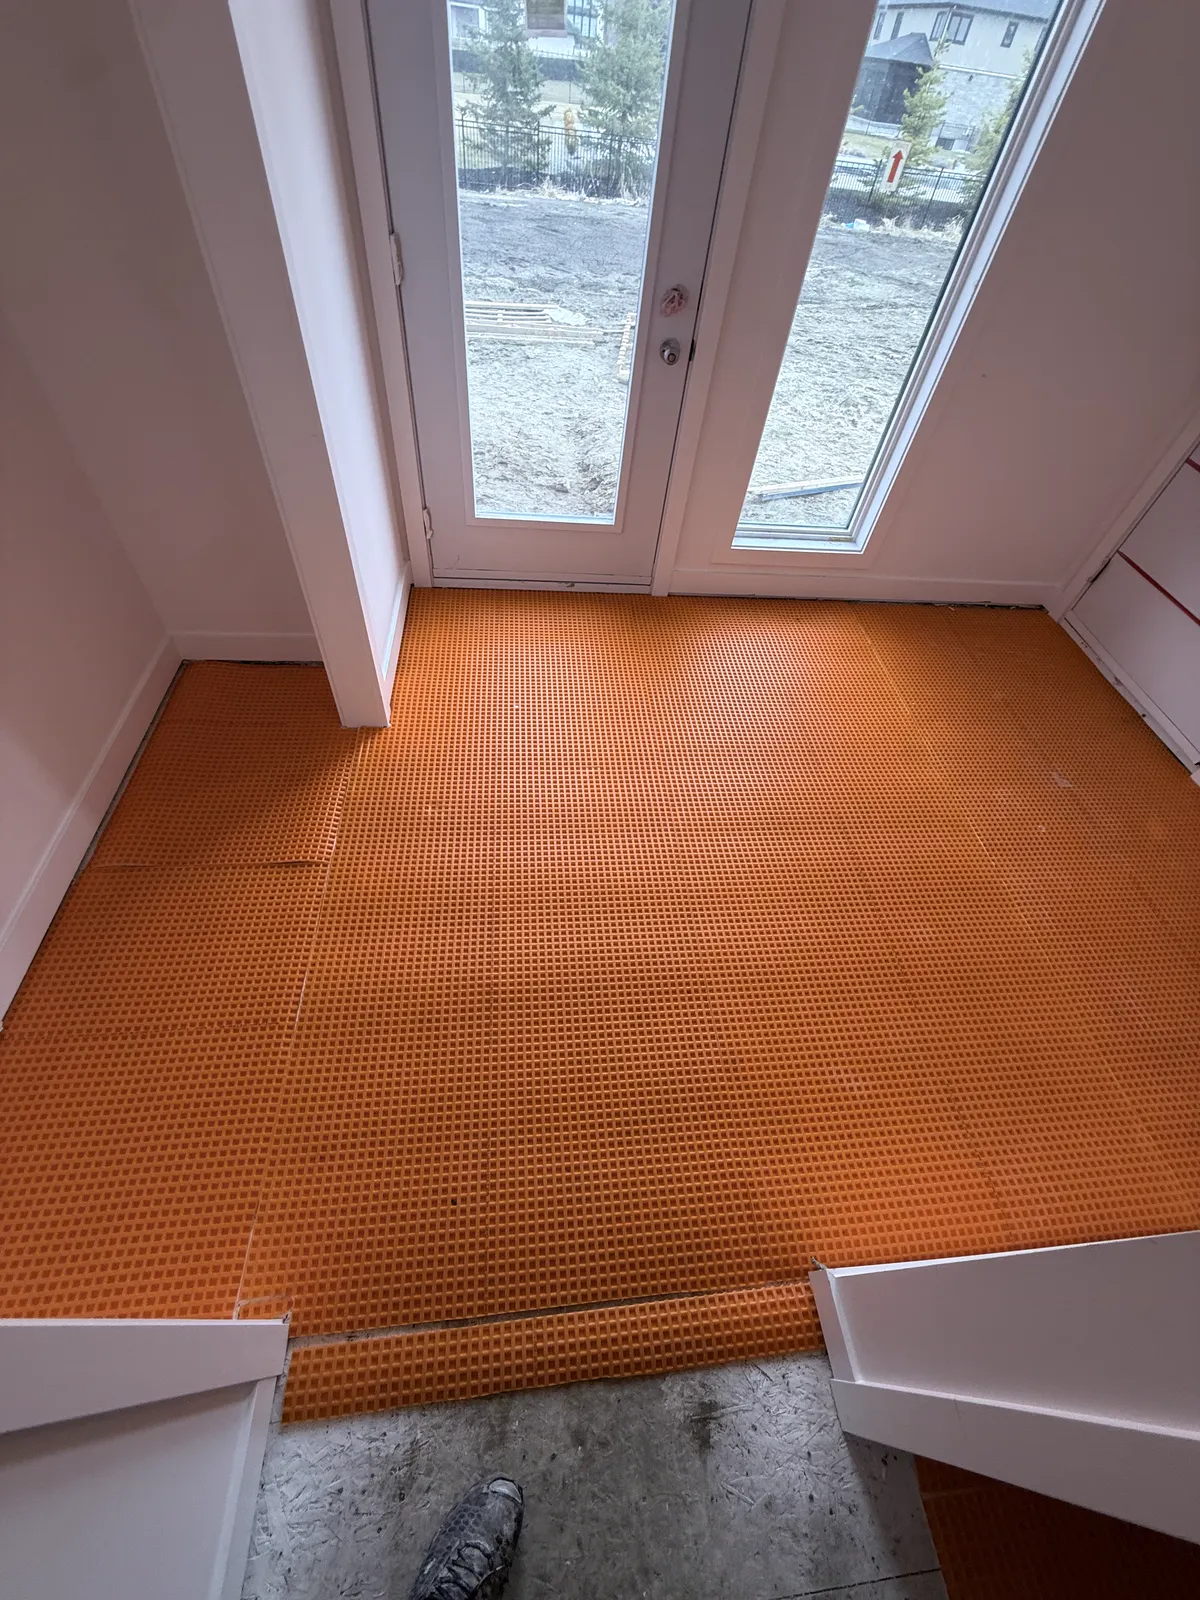
Thin-set on backer board or a membrane. Newer floors are usually tile on thin-set over cement board, an uncoupling membrane such as Schluter-DITRA, or a second layer of plywood. Often the easiest route is to remove the tile and the board or membrane together, then check the subfloor.
Tile bonded to plywood, OSB or thin underlayment. Some floors were tiled straight onto plywood, or onto a thin layer of lauan or hardboard. The tile often breaks off with wood fibres attached. The underlayment is usually cut out and replaced rather than scraped.
Tile on concrete. Basement and condo floors are usually thin-set straight onto the slab. The tile chips off, but the thin-set stays bonded and has to be scraped or ground.
Before you start: shut-offs, protection and dust control
Tile removal makes a lot of fine dust and sharp debris, and it is loud. Preparation keeps the rest of the house clean and safe.
- Shut off and remove fixtures. Turn off the water and remove the toilet and, if needed, the vanity. Plug the drain and the toilet flange with a rag so debris and sewer gas stay where they belong.
- Turn off power at the breaker before working around outlets, switches or a heated floor, and test that it is off.
- Seal the room. Plastic sheeting and a zippered door over the doorway, tape over heat registers and cold-air returns, and the furnace fan off while you work.
- Protect what stays. Cover the tub, cabinets and nearby floors. Tile shards scratch tubs and hardwood.
- Protect yourself. A properly fitted respirator rated for fine dust, safety glasses, hearing protection, heavy gloves and boots.
Breaking, grinding and cutting tile, mortar and concrete releases crystalline silica dust, which is harmful to breathe. Use wet methods or tools with a dust shroud connected to a HEPA vacuum where you can, and don't dry-sweep the fine dust. In a condo, check the building's rules on work hours, noise and debris removal first; our guide to condo flooring rules covers the usual approvals.
Old mastic, vinyl and asbestos: stop and test first
This step comes before any hammer. In older homes, the tile you see may sit on top of an older floor, such as vinyl tiles, sheet vinyl or a black adhesive. Old 9" × 9" vinyl tiles, some 12" × 12" vinyl tiles, the backing on some old sheet vinyl and black mastic commonly contained asbestos in homes built before roughly the 1990s. Some older adhesives and wall compounds may contain it too.
Asbestos is only a hazard when it is disturbed, but breaking, scraping, sanding or grinding is exactly what removal does. If you see any of these materials, stop and have a sample tested by a lab. If it tests positive, it must be handled by a qualified abatement contractor, following Ontario's rules for asbestos work. A reputable installer will stop and ask for testing. Agora does not do asbestos abatement and does not remove suspected materials until testing clears them. Our guide to asbestos floor tile explains the options, including covering intact old flooring instead of removing it.
Tools for removing tile
The tools scale with the job. For a small area, a hammer, a wide cold chisel or brick set, a flat pry bar and a stiff floor scraper do the work. Start at a broken tile or an edge, drive the chisel under the tile at a low angle and pop it free.
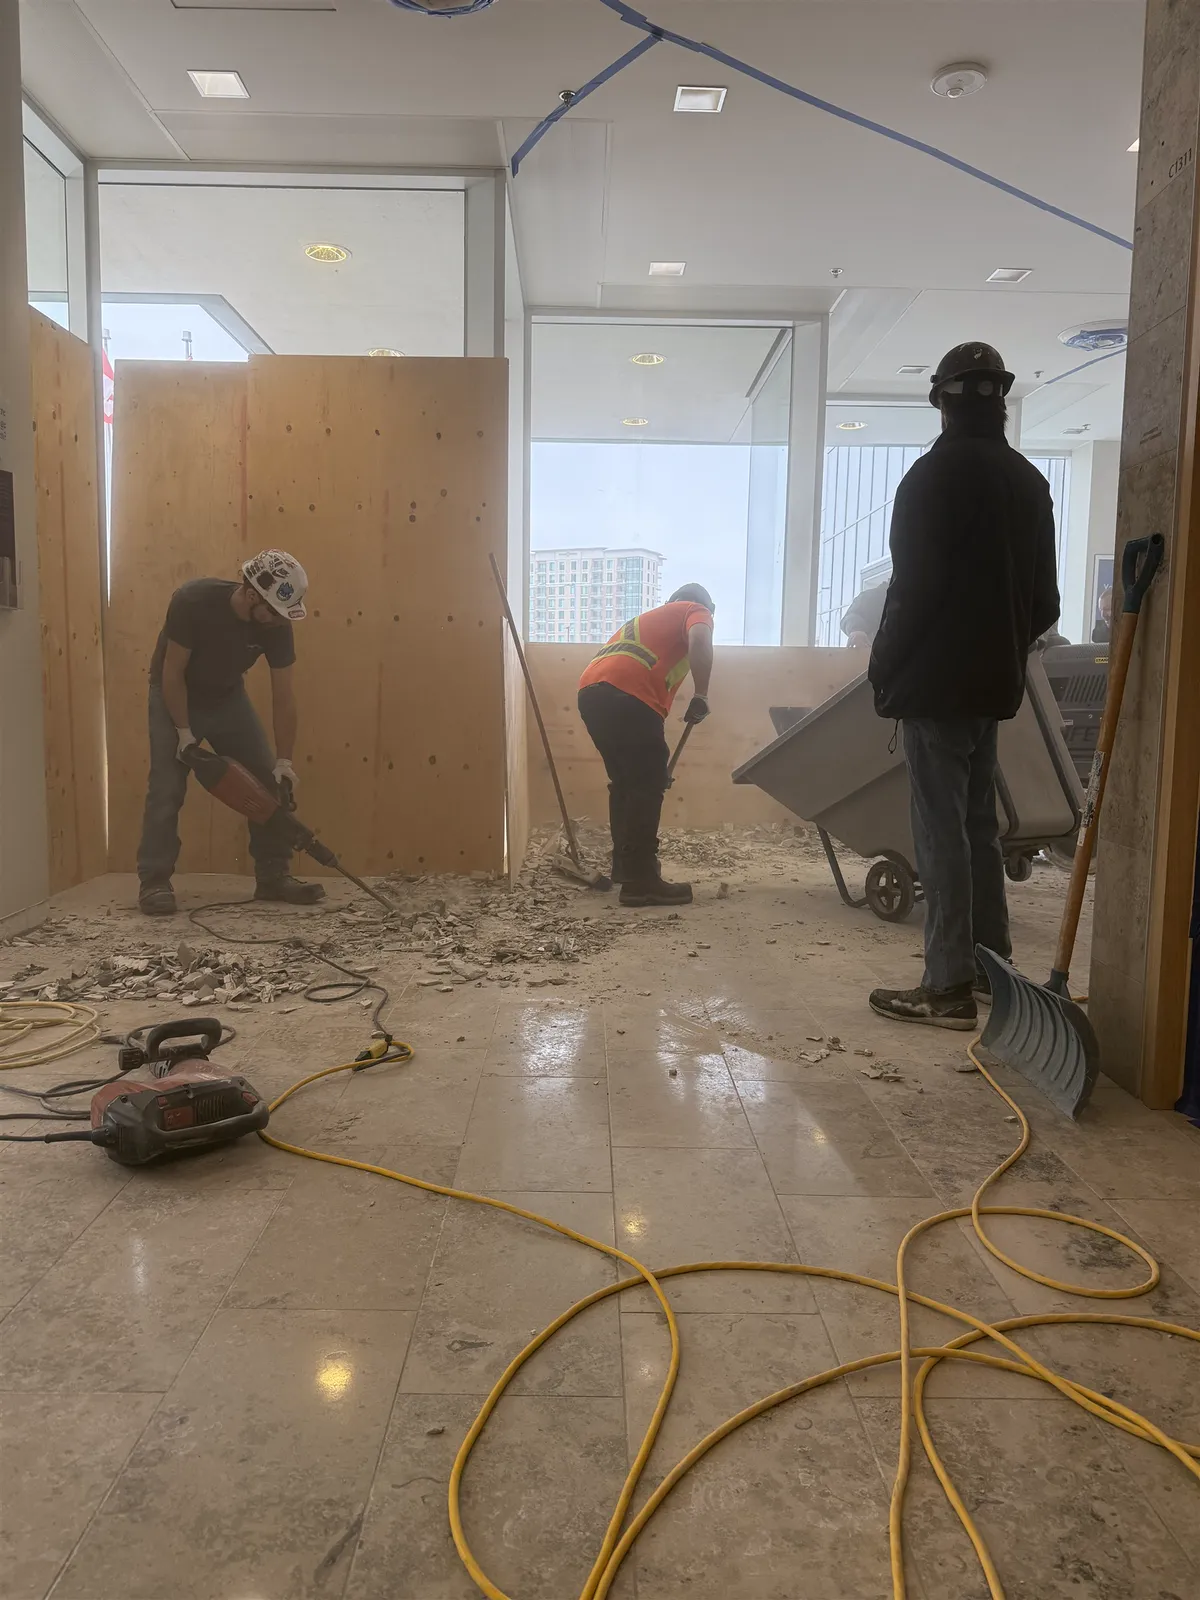
For whole rooms, most professionals use a rotary hammer or demolition hammer with a wide chisel or tile-chisel bit. It lifts tile and thin-set much faster and with less strain. A long-handled floor scraper or a powered floor scraper helps on large areas. An angle grinder with a diamond cup wheel and a dust shroud removes thin-set from concrete. An oscillating tool cuts grout and caulk at edges and corners.
Work carefully near tubs, drains, pipes and anything you are keeping. Tile shards are sharp and fly further than you expect, so keep other people out of the room.
Removing floor tile from concrete
On a slab, the tile usually breaks free from the thin-set, and the thin-set stays bonded to the concrete. Chip the tile off with a chisel or rotary hammer held at a low angle, so the bit skims along the slab rather than digging in. Then remove the remaining thin-set. Thick ridges come off with the chisel. The rest is ground flat with a diamond cup wheel, with dust extraction.
The goal is a clean, flat slab with no ridges, loose patches or old adhesive. Small gouges and low spots left by the chisel are filled with a patch. Larger areas are levelled with a self-levelling compound, which needs a clean, primed surface. Slab cracks found under the old tile are assessed before new tile goes on. Many can be covered with a crack-isolation or uncoupling membrane within its maker's limits.
Removing floor tile from a wood subfloor
Over wood, chiselling the tile off can damage the plywood, and scraping thin-set off wood is slow. Where the tile was on its own underlayment, backer board or a second layer of plywood, the cleaner route is usually to cut that layer into sections and lift it out with the tile still on it. Set the saw depth carefully so you don't cut into the structural subfloor or anything below it.
Once the floor is open, check the subfloor. Look for soft or stained plywood, loose panels, squeaks and screws that don't hold. Check how stiff the floor is, because tile over wood needs a floor that doesn't bounce. Old fasteners, glue and ridges come off before a new layer goes on.
Removing bathroom wall tile and tile from drywall
Wall tile on drywall rarely comes off cleanly. The mortar bonds to the drywall paper, so prying the tile off tears the paper and often pulls out chunks of gypsum. In most cases it is faster, and leaves a better result, to remove the drywall along with the tile. Cut the drywall into sections around the tiled area and take it off in pieces.
Before cutting, find out what is inside the wall. Turn off power to any outlets in the area, and watch for pipes and wires. New drywall then goes up, taped and flat, ready for tile. Our guides on tiling over drywall and how to tile a wall cover what the new wall needs.
If you only need to replace one or two damaged tiles, that is a repair, not a removal. The grout around the tile is cut out and the tile is broken out carefully so its neighbours aren't disturbed. See how to fix chipped tile.
Removing an old tiled shower
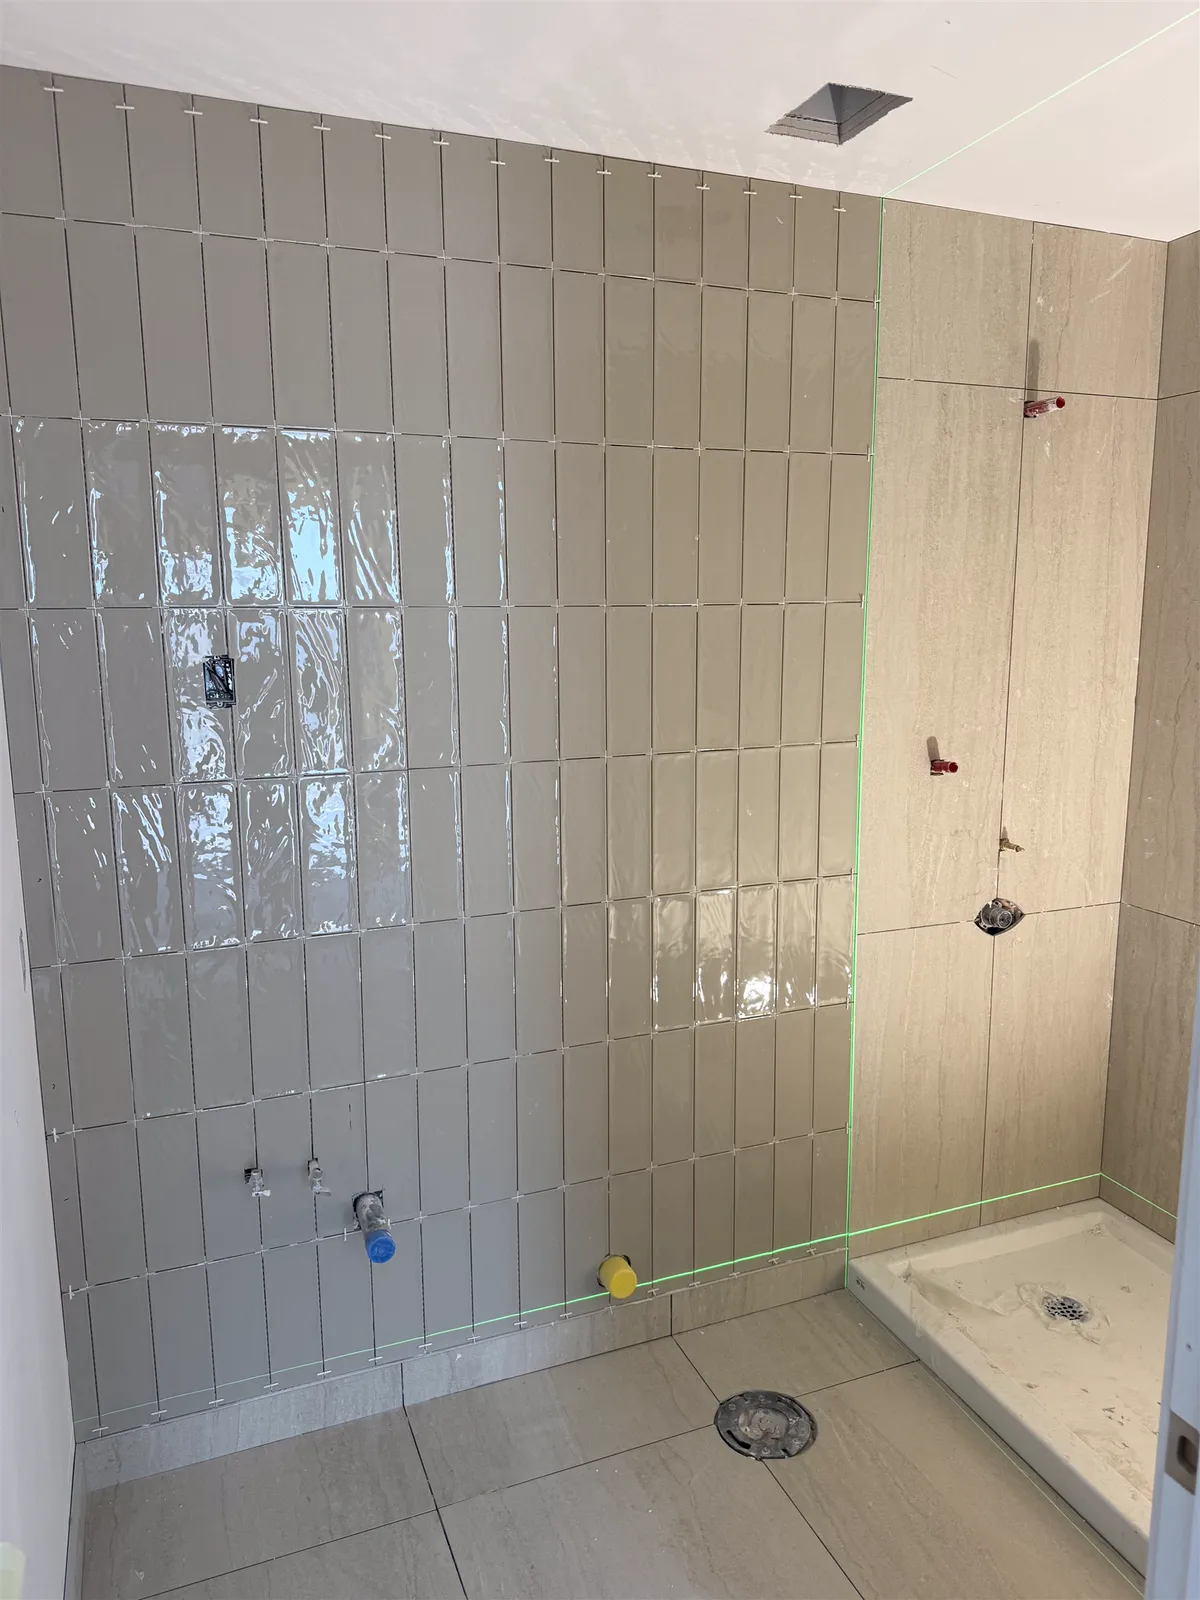
An old tiled shower is usually stripped to the studs. The tile, the board behind it and any old liner come out together. That is the only way to see the framing and to start the new shower with a continuous waterproofing system, which is why we don't recommend tiling over old shower tile.
The plumber should be involved early. The valve may need to move or change depth for the new wall thickness, and the drain may need to change for a new floor. Moving or changing plumbing is work for a licensed plumber, with permits where required. Once the walls are open, the new shower is built as described in how to waterproof a shower and how to tile a shower.
What's under old tile: damage you may find
Removal is often when the real condition of a bathroom shows up. Quotes for the new floor sometimes change at this stage, for good reasons.
Water damage and rot. Around toilet flanges, under old showers and along tub edges, slow leaks soak plywood and framing for years before anything shows on the surface. Soft, dark or crumbling wood has to be cut out and replaced. Rotted joists or studs are repaired by a carpenter before any new tile goes on.
Mould. Behind old shower walls with no proper waterproofing, mould on the back of the board and on the studs is common. Wet materials come out, and the framing is dried and assessed before the wall is closed again.
Uneven or weak subfloors. A floor that was fine under a thick mortar bed may be too thin or too flexible for a new thin-set floor. The fix may be a second layer of plywood, extra blocking or levelling compound.
Old floors underneath. Tile over vinyl or another tile is common in older homes. That is the moment to stop and test, as described above.
Disposal
Tile, mortar and backer board are very heavy for their volume. A small bathroom can fill many contractor bags, and a mortar bed weighs much more again. Bags have to be light enough to carry and strong enough not to split on sharp edges. For anything larger than a small room, a bin or a hauling service is usually the practical choice. Many price by volume or weight, so ask about weight limits before you load. Check with the hauler or the City for how mixed renovation waste and drywall should be sorted. Suspected asbestos materials never go in with ordinary waste.
When tiling over the old tile is the better choice
Removal isn't always necessary. On a floor or backsplash, new tile can sometimes go over old tile that is firmly bonded, flat and uncracked, provided you can accept the extra height at doors and transitions. That saves demolition, dust and disposal. It is not a good idea in a shower, where the old tile hides the condition of the wall and the waterproofing. Our guide to tiling over existing tile lists the checks.
Other floors can also go over sound old tile. Some vinyl plank floors can be installed over tile, often after the grout lines are filled; see can you put vinyl plank over tile. Over old flooring that may contain asbestos, covering it intact is a commonly used option, but check with an abatement professional first.
What tile removal costs, and who does it
Removal is usually priced separately from the new installation. In Ottawa, removing and disposing of existing flooring typically adds about $0.50 to $1.75 per square foot, depending on what is coming up. Tile and glued-down floors cost the most to remove. Mortar beds, large areas of thin-set grinding, damage repairs and levelling sit on top of that. Our flooring cost guide for Ottawa lists the typical ranges.
Removing a small area of tile from a sound concrete floor is a manageable DIY job if you control the dust and protect yourself. Whole bathrooms, mortar beds, showers and anything that might involve asbestos or hidden water damage are better handled by a crew with the right tools and a plan for what comes next. At Agora Flooring, removal of the old flooring is quoted as an extra on our tile installation jobs. For what to sort out before the crew arrives, see preparing for flooring installation.
Frequently asked questions
What is the easiest way to remove floor tile?
For a whole room, a rotary hammer with a wide chisel bit, held at a low angle, lifts tile far faster than a hammer and chisel. Over wood, cutting out the underlayment or backer board with the tile still on it is often easiest. Plan for dust control either way.
How do you remove thin-set from concrete?
Chip off thick ridges with a chisel, then grind the rest flat with an angle grinder and diamond cup wheel connected to a HEPA vacuum through a dust shroud. Fill gouges with patch or self-levelling compound before new flooring.
Can you remove wall tile without damaging the drywall?
Rarely. The mortar bonds to the drywall paper, so it tears as the tile comes off. Removing the drywall with the tile and installing new board is usually faster and gives a better base for new tile.
How long does it take to remove tile from a bathroom?
A small bathroom floor set in thin-set can often be removed in a day. Mortar beds, showers to the studs, and repairs found underneath add time. Disposal and floor preparation are separate steps on top of removal.
Is old tile likely to contain asbestos?
Ceramic tile itself is not the usual concern. Old vinyl floor tiles, sheet vinyl backing and black mastic, sometimes hidden under newer tile in older homes, are. Test before disturbing them; see asbestos floor tile.
Is it cheaper to tile over tile than to remove it?
It saves demolition and disposal, but adds preparation and sometimes trim and transition changes. It only works when the old tile is solid and flat, and not in showers.