
Short answer
Before installation day: confirm the details in writing (products, rooms, transitions, trim), order extra material for cuts and future repairs, clear the rooms or confirm who moves furniture and appliances, let new flooring acclimatize if the manufacturer requires it, and plan for dust, noise, pets and access.
A smooth flooring job is mostly decided before the installers arrive. A little preparation avoids delays, surprise charges and last-minute decisions made while standing in an empty room. Here is the checklist we would give a friend.
Two to four weeks before
Confirm the scope in writing
- Exactly which rooms, closets and stairs are included.
- The product names, colours and quantities.
- Whether removal and disposal of the old floor is included.
- How subfloor preparation is handled: levelling, repairs, underlay or membranes.
- Baseboards and trim: reusing, replacing or adding quarter-round.
- Who moves furniture and appliances, and whether that is included.
Decide the details that are easy to forget
- Transitions: how the new floor meets tile, carpet or other floors at each doorway, and the profile you prefer.
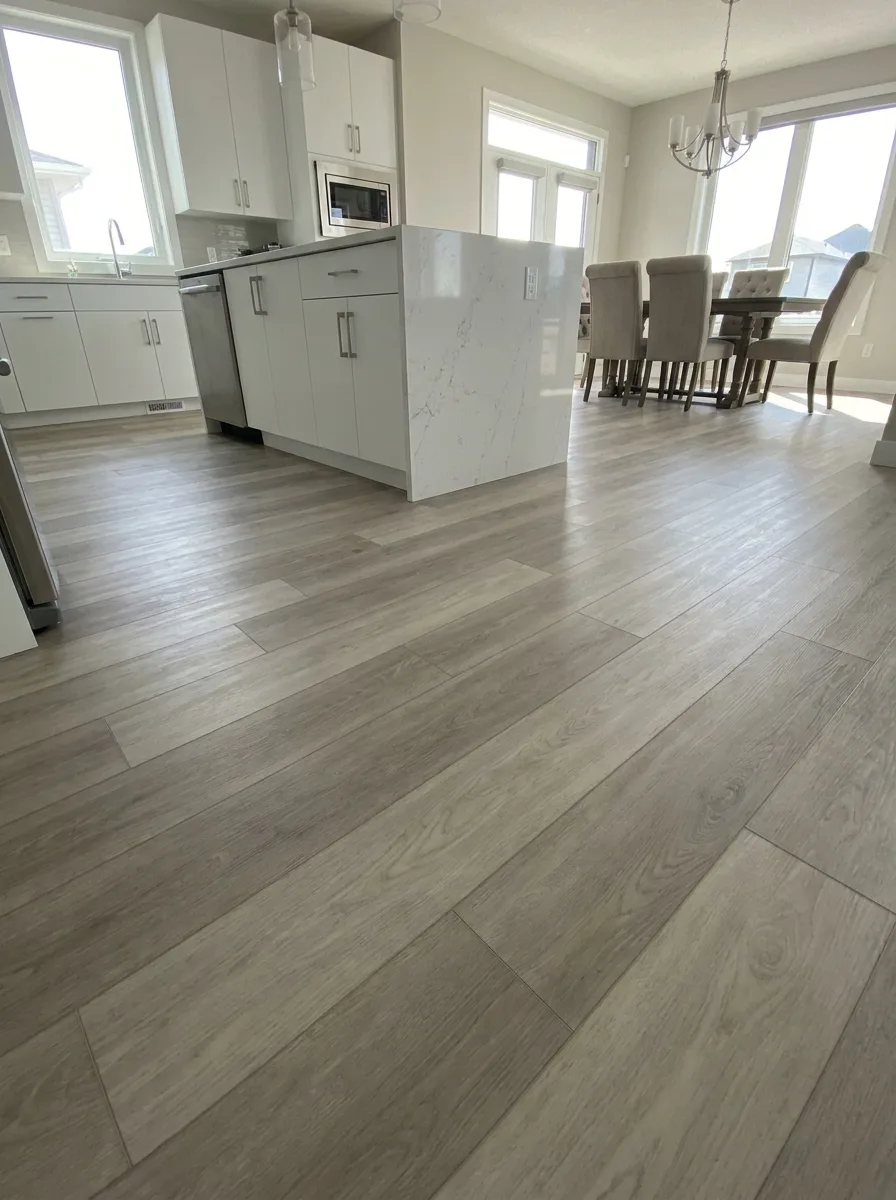
- Direction: which way planks run (often along the longest wall or toward the main light source).
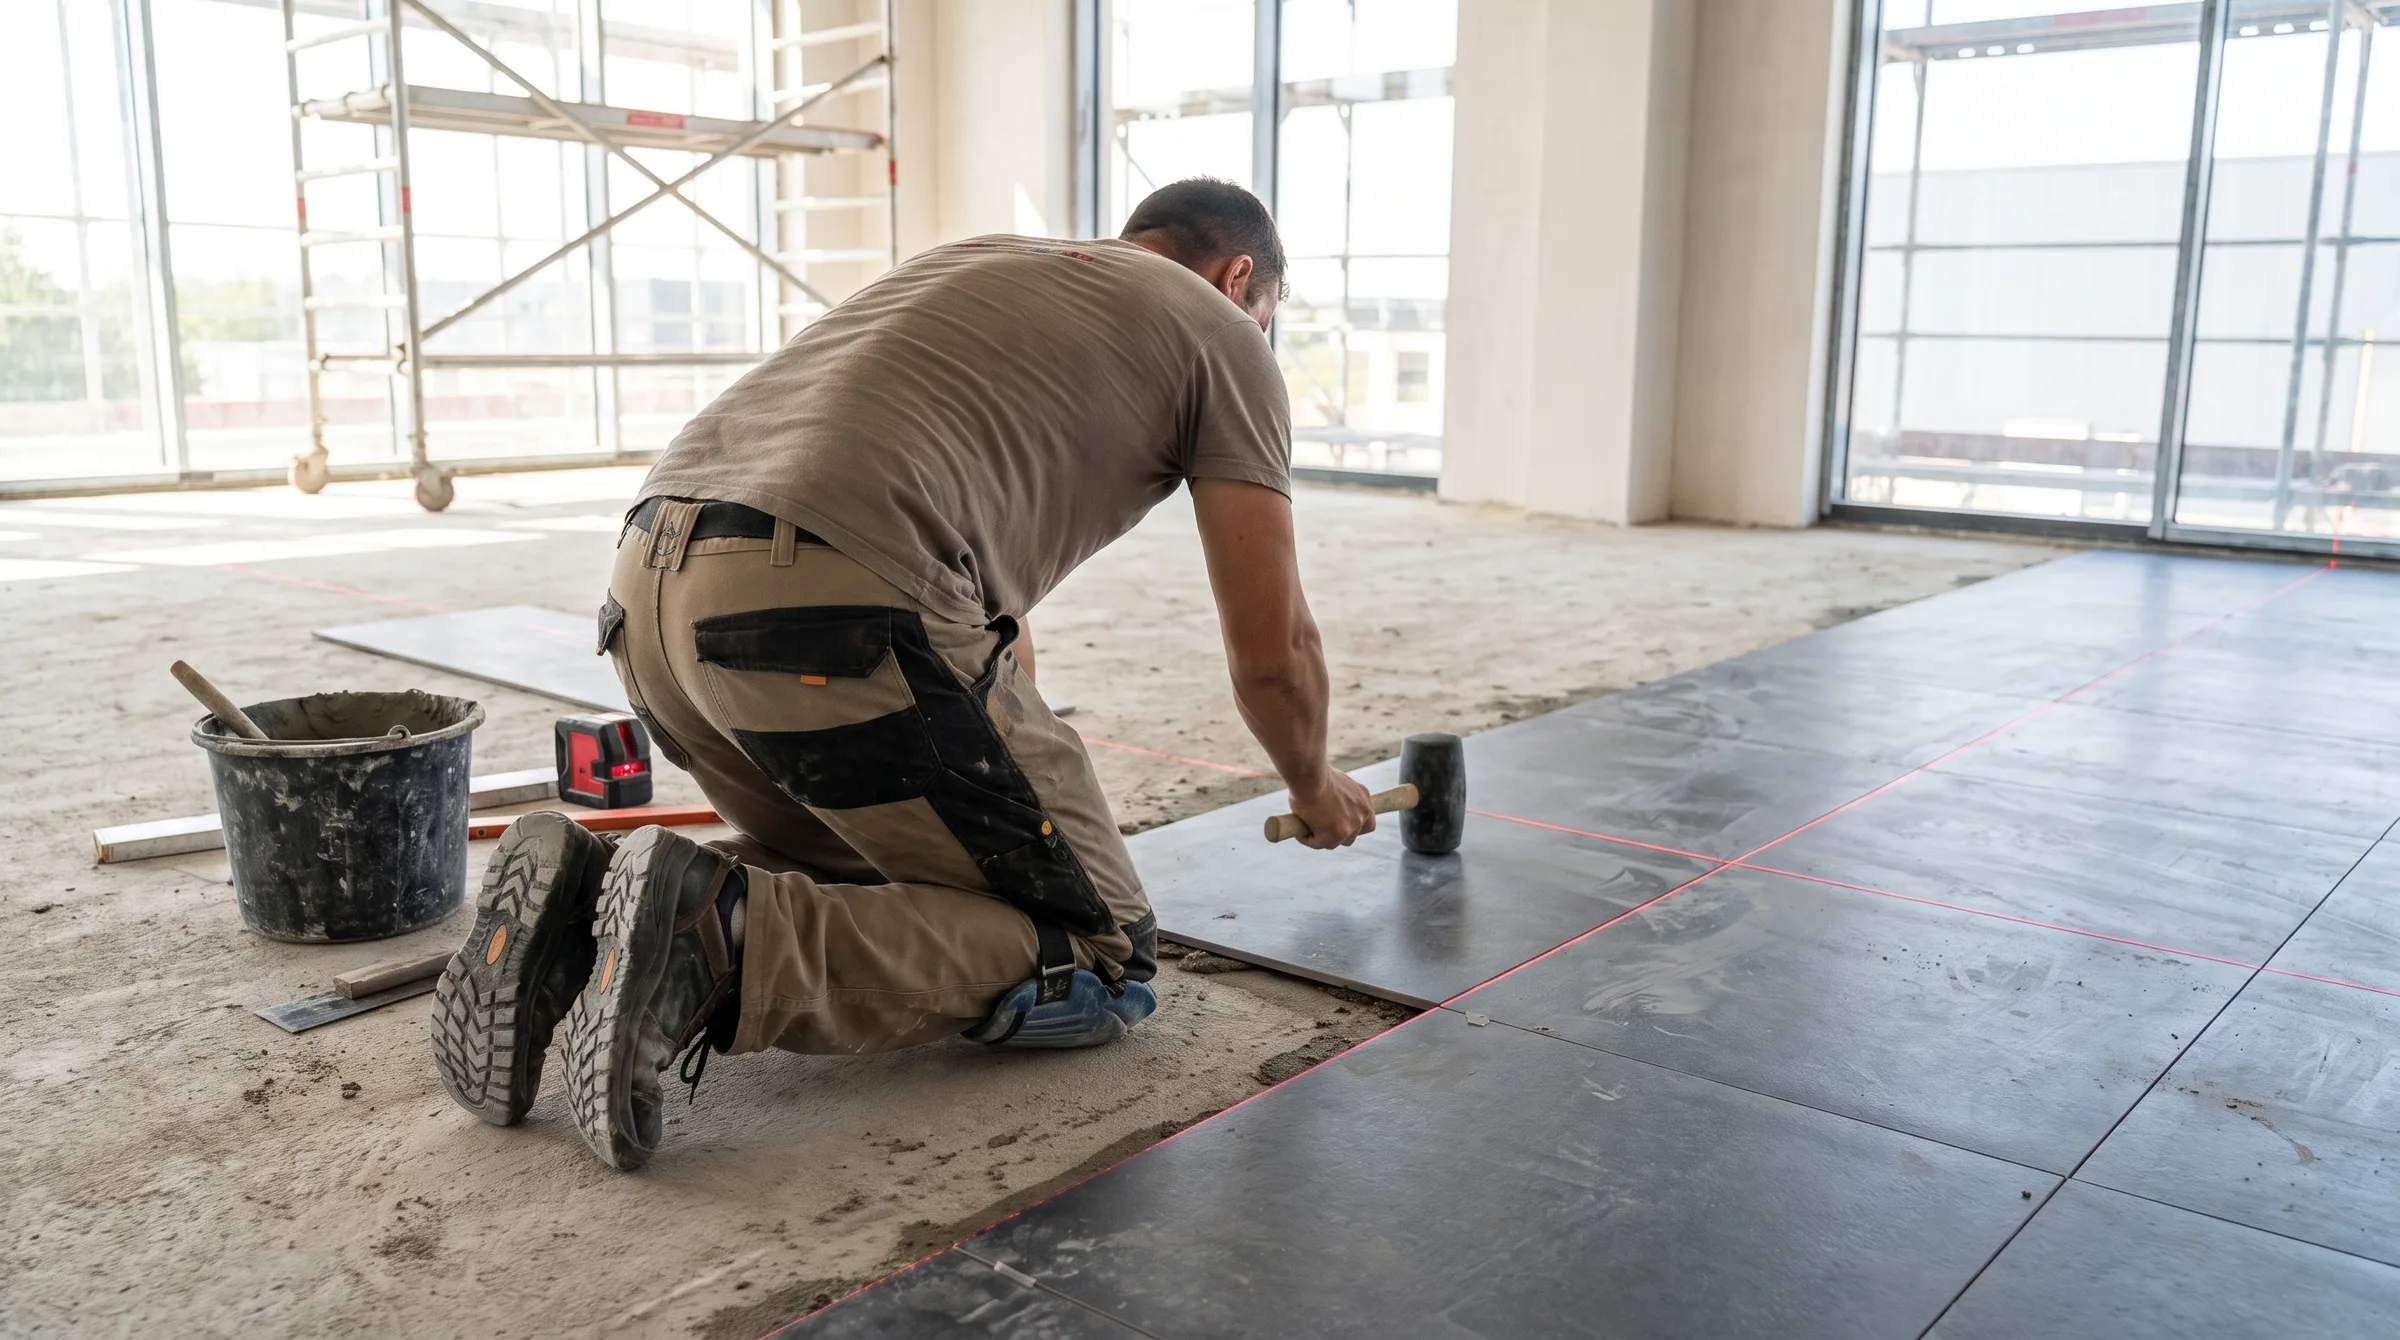
- Layout of tile: pattern, where cuts will land, grout colour.
- Floor height: new underlay and flooring can raise the floor; doors may need trimming and appliances may fit more tightly.
Order enough material
Installers cut pieces to fit walls, doorways and patterns, so you always need more than the room's square footage. Straight layouts need less extra; diagonal and herringbone patterns need more. Ask your installer how much to add for your layout, and keep a box or two of leftovers for future repairs, because colours can change between production batches.
If you live in a condo
Get the building's flooring rules and approval, book the elevator, and confirm permitted working hours. Our condo flooring guide covers sound-rated underlays and approvals.
The week before
- Acclimatize the flooring if the manufacturer requires it, with the boxes in the rooms where they will be installed and the heating or cooling running normally.
- Empty closets and cabinets in the work area, and take down wall art near the floor.
- Plan for appliances: fridges, stoves, dishwashers and washers may need disconnecting; gas and water connections should be handled by a qualified person.
- Clear a path from the door or driveway to the rooms, and a place for materials and tools.
- Arrange parking for the installers' vehicle.
Installation day
- Pets and kids: keep them away from the work area for their safety and the installers'.
- Dust and noise: removing old tile or glued floors is loud and dusty. Close off other rooms and consider replacing the furnace filter afterwards.
- Be reachable for questions, especially at the start, to confirm layout and transitions.
- Walk through at the end: check transitions, trim, cuts at doorways and any areas you had concerns about before the crew leaves.
After installation
- Follow the cure times for tile and grout before heavy use or cleaning, and for any glue-down floors before moving furniture back.
- Put felt pads under furniture legs and mats at entries.
- Keep the care instructions and warranty for your flooring, and store leftover material somewhere dry.
- For wood floors, keep an eye on indoor humidity. See caring for hardwood through winter.
A good installer will walk you through most of this at the site visit. If any of it is unclear, ask before the job starts; it is much easier to change a transition or a plank direction on paper than on the floor.