Short answer
A small chip on the surface of a tile can usually be filled with a colour-matched epoxy or tile repair filler. To fix a cracked tile, or a chip big enough to catch a sock or let water in, replace it: the grout around it is cut out, the tile is broken out from the middle, the old mortar is scraped off and a new tile is set and grouted. If several tiles crack, the cause is usually under the tile, and that needs to be fixed first. We do tile repairs across Ottawa.
Tile is tough, but a dropped pan or a heavy tool can still take a chip out of it. The good news is that one damaged tile doesn't mean redoing the floor. Here is how to fix chipped tile, how to decide between filling and replacing, and how each repair is done.
First, look at the damage
- Surface chip on the edge or face, no crack running through: a filler repair is often enough.
- Hairline crack across the tile: replace it. A filler can hide the crack and keep dirt out for a while, but the tile is still cracked. Cracks tend to grow, and water gets in.
- Several cracked tiles, or cracks that line up across tiles: something is moving under the floor. See below.
- A tile that sounds hollow or moves underfoot: the bond under it has failed, so filling the surface won't hold. Tap the tiles around the damage with the handle of a screwdriver; a dull, hollow sound shows where the bond is poor.
- In a shower: replace rather than fill, because water behind the tile is the bigger risk.
Glazed or through-body?
Most ceramic and many porcelain tiles have a coloured glaze on top. A chip exposes the different-coloured body underneath, so it shows more and needs colour matching. Through-body and colour-body porcelain is the same colour all the way through, so chips are far less visible and often only need filling. See porcelain vs ceramic tile.
How to fill a small chip
You'll need: rubbing alcohol, a two-part epoxy or tile repair kit with tints, a small spatula or toothpick, a sharp blade, very fine sandpaper, and painter's tape.
- Clean the chip and let it dry completely. Remove grease with rubbing alcohol, then tape off the tile around the chip.
- Mix the filler, tinted to match the tile. Mix a little at a time and compare under the room's own light.
- Fill slightly proud of the surface with the spatula or toothpick.
- Level it once it has cured, with the blade held flat or the sandpaper, working only on the filler.
- Touch up the pattern with a fine brush if the tile has veining or a printed design.
A filled chip won't be invisible up close, but on a floor it usually disappears from standing height.
How a single tile is replaced
You'll need: a grout saw or oscillating tool, a hammer and chisel or a carbide scraper, eye protection, thin-set mortar, a small notched trowel, matching grout, a grout float and a sponge.
- Find a matching tile. Check the garage or basement for spares left from the original job. If there are none, a tile store can often find the same or a close product from the size, finish and a photo, but colour batches vary. In a pinch, a tile can be borrowed from a hidden spot, such as inside a closet or under an appliance, and the hidden spot refilled with a near match.
- Cut out the grout around the damaged tile without touching the edges of the neighbouring tiles.
- Break the broken tile out from the centre. Score an X, then tap from the middle outward so the force goes away from the good tiles. Wear eye protection.
- Scrape off the old mortar until the new tile will sit at the same height as its neighbours.
- Set the new tile in fresh thin-set mortar, with full coverage on the back, and level it with the surrounding tiles.
- Grout once the mortar has cured, matching the existing grout colour.
Large-format tile and natural stone are harder to replace without damaging the neighbours, because there is more mortar under them and less room to work. That is when a professional repair pays for itself.
Resetting a loose tile that isn't broken
A tile that has come loose but isn't cracked can often go back down, which avoids any colour match problem. Cut out the grout around it and lift it out. Scrape the old mortar off the back of the tile and off the floor, then reset it in fresh thin-set with full coverage, level it with its neighbours and grout it like a new tile. If several tiles around it sound hollow, the bond is failing over a wider area and the cause needs checking first.
Replacing a tile over a heated floor
If there are heating cables under the tile, don't use a hammer and chisel. The cables sit just below the tile, and one hit can cut them. The tile has to be removed slowly, and the cables tested with a multimeter before the new tile goes down. This is a job for an installer who works with floor heating (see heated floors).
Chips in stone, glass and textured tile
Marble and other natural stone
Stone is repaired with fillers made for stone: stone repair epoxies or the knife-grade polyester fillers stone fabricators use, tinted with stone colourants. In veined marble, a clear or lightly tinted filler often blends best. Once cured, the patch is sanded and polished to match the honed or polished finish, and the tile is resealed. See natural stone care.
Glass tile
Glass is the hardest to hide, because light passes through it and any filler shows. A tiny edge chip can take clear epoxy, but most chipped glass tile is better replaced. In glass mosaics, single pieces can be cut out and replaced.
Matte and textured tile
The problem here is shine. A glossy filler stands out on a matte or textured face. Use a matte filler, or dull the cured patch lightly with a very fine abrasive pad. On textured tile, dab a texture into the filler with a stiff brush or sponge before it sets. Test on a spare tile first if you have one.
How long tile repairs take to cure
Most of a repair is waiting.
- Filler repairs: each epoxy or repair filler lists its own cure time on the package. Quick-set products harden fast but can need longer to reach full strength. Don't sand early, and keep traffic and cleaning off the patch until it has fully cured.
- Replaced tiles: the thin-set has to cure before grouting, and the grout has to cure before the floor gets wet or busy. Cold rooms slow both. See how long before you can use new tile.
- Showers: allow the full cure time for the mortar, grout and caulking before the shower is used. Water too early weakens the repair.
- Sealing: if the grout or stone gets sealed, that comes after the grout has cured, following the sealer's instructions.
When cracks point to a bigger problem
One cracked tile under a dropped pan is just an accident. Several cracked tiles, or cracks that run in a line across the floor, usually mean movement underneath:
- A subfloor that flexes between joists
- A crack in the concrete slab that has carried through the tile
- Hollow spots with poor mortar coverage under the tile, which is where most cracks start
- No room for expansion at the walls and in large floors
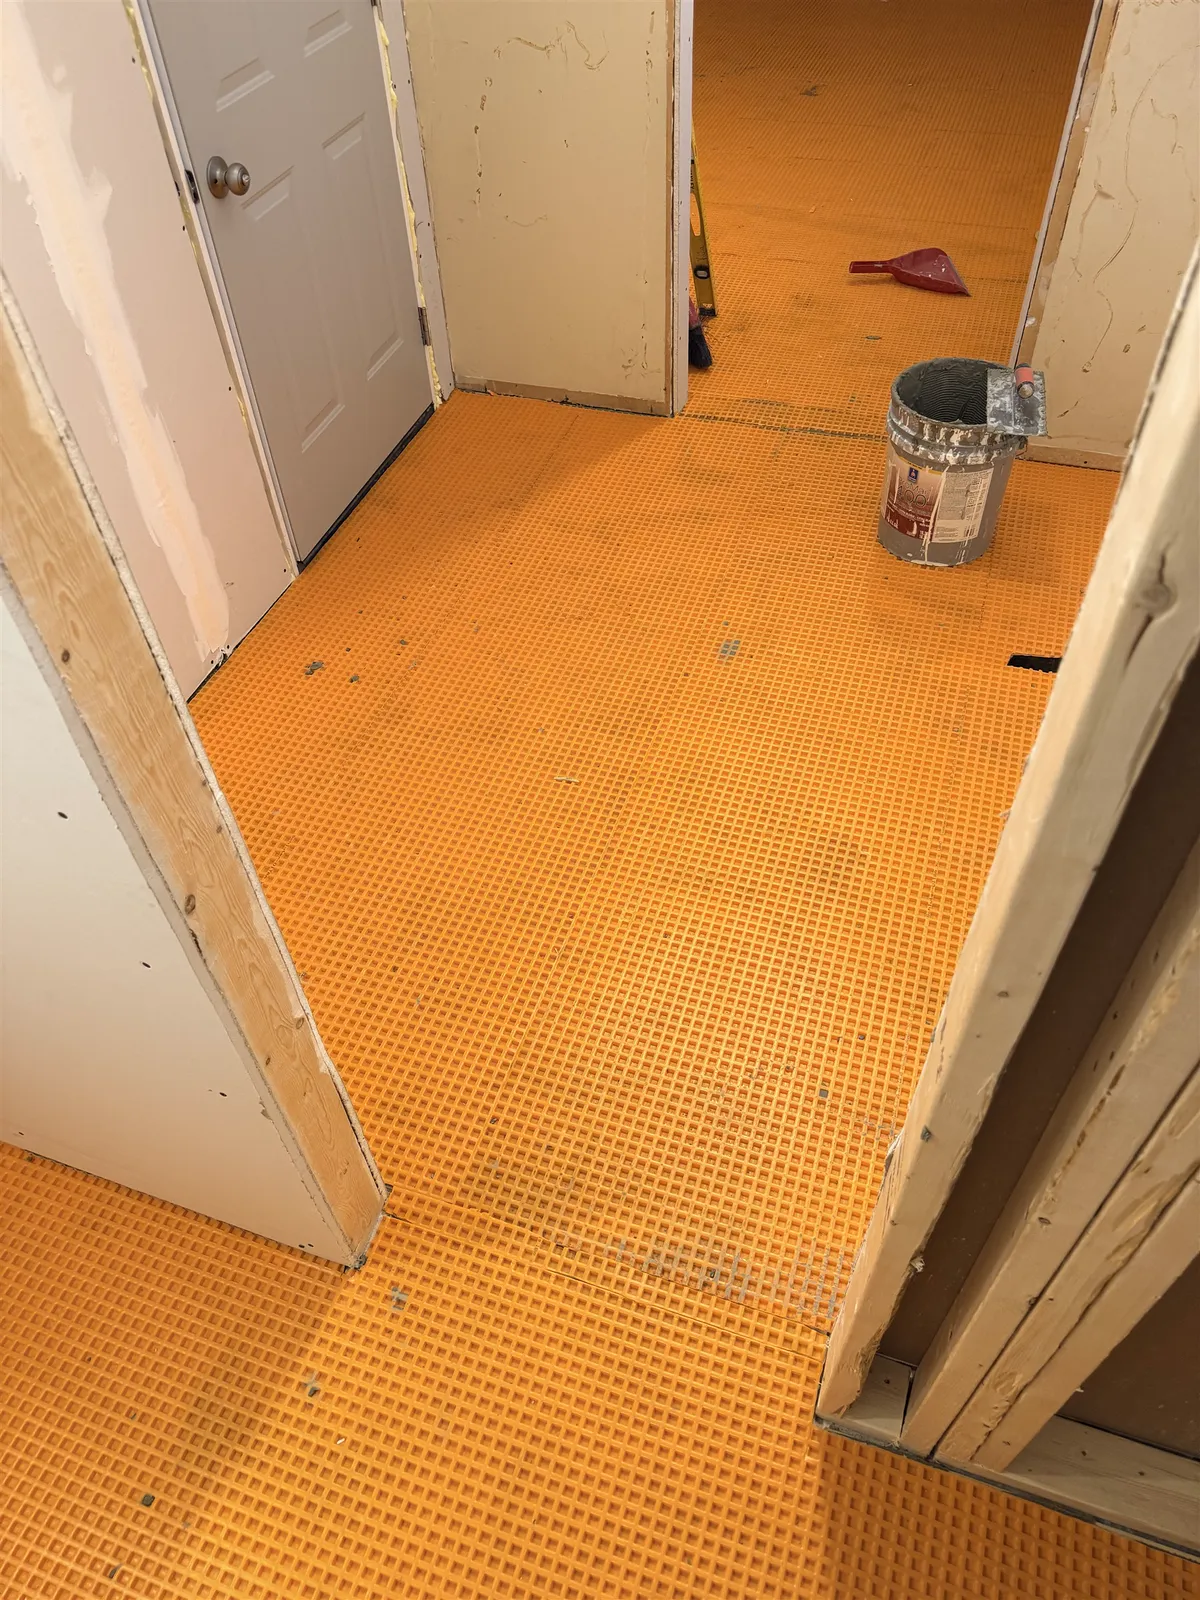
Replacing the tiles without fixing the cause means they crack again. An uncoupling membrane such as Schluter-DITRA is how new floors are protected against this. See also why grout cracks or crumbles.
How to prevent chips and cracks
- Put felt pads under chairs and furniture, and lift heavy items rather than dragging them.
- Use mats at entrances to catch grit, which scratches and chips glazed tile over time.
- Choose porcelain for floors, especially in kitchens where pans get dropped. Colour-body or through-body porcelain hides chips best.
- Make sure new tile goes over a stiff, flat floor with full mortar coverage.
- Keep a few spare tiles from every job, labelled with the room, so a future repair can match.
DIY or call a pro?
Where the tile is matters as much as the damage.
Usually fine to do yourself:
- One small chip on a wall or backsplash. Walls are the easiest place for a filler repair, since nothing walks on them. Behind a range, use a heat-tolerant epoxy.
- A chip on a floor tile with no crack, away from wet areas. Floors take the most abuse, so a filled chip can wear over time and may need touching up.
- Glazed tile where a repair kit's tints can get close to the colour.
Better left to a pro:
- Cracked tiles, especially several in a row. A broken tile in a walkway should be replaced soon, because sharp edges and loose pieces are a trip hazard.
- Any chip or crack in a shower or other wet area. Damage that goes through the glaze can let water into the tile body and the setting bed. The tile should be replaced, and the grout and caulked corners around it checked at the same time (see regrouting a shower).
- Large-format tile or natural stone that needs replacing.
- Tile over a heated floor.
- Tiles that sound hollow or move underfoot.
- No spare tile, so a match has to be found or borrowed from a hidden spot.
We do tile and grout repairs in Ottawa if you'd rather not take it on.
When repair isn't enough: signs it's time to redo the tile floor
Replacing one or two damaged tiles is a normal repair, and usually the right one. It stops making sense when repairs keep coming back, or when the floor as a whole has a problem. Signs it's time to retile instead:
- New cracks keep appearing after tiles have been replaced
- Hollow-sounding tiles across large parts of the room, not just one or two
- Damage scattered across the floor, with no matching tile left
- Glaze worn through in traffic paths, which no filler can restore
When the cause is under the tile, one-at-a-time repairs keep failing for the reasons covered above. And when the original tile is long discontinued, every repair adds another near match until the floor looks patched. If you were already thinking about a new look, that is often the point where retiling makes more sense than another repair.
A redo means removing the old tile and mortar, then fixing what caused the damage. A flexing wood subfloor gets stiffened, a slab crack is dealt with, and the floor is flattened (see what subfloor tile needs). New tile goes down with full mortar coverage, often over an uncoupling membrane, with movement joints where the standards call for them. Our guide to tiling a floor covers each step, and tile installation cost in Ottawa explains what drives the price. For one or two broken tiles, our tile repair service is still the right call.
If you can't tell whether yours is a repair or a redo, we can look at the floor and give you a written quote: request a free estimate.
Frequently asked questions
Can I paint over a chipped tile or use nail polish?
On a tiny chip on a wall, tile paint or a matching nail polish can hide it for a while. Both wear off quickly on floors, and neither is made for showers or wet areas. A tinted epoxy filler lasts much longer.
Does a chipped tile need to be fixed right away?
A small dry chip on a wall can wait. A chip with sharp edges on a floor, or any crack in a shower or wet area, should be fixed soon, because water and cleaning products get into the tile body and the mortar underneath.
Will a replacement tile match the others?
Exactly only if it comes from the same batch, which is why it pays to keep spare tiles. A close product from a tile store usually reads as a match from standing height. New grout can also look different from the old grout beside it, so cleaning the surrounding joints helps the repair blend.
Why does my tile keep chipping in the same spot?
Usually a raised tile edge that catches feet, chair legs and vacuums, or a hollow spot under the tile that lets it flex. Filling the chip won't stop it; the edge or the bond has to be fixed. See tile lippage.
Can chipped marble be fixed without replacing the tile?
Often, yes. Small chips and edge breaks can be filled with a tinted stone epoxy and polished to match. A crack through the tile, a deep break, or damage on a shower floor is better replaced.