Short answer
To work out how much tile you need, measure the area in square feet (length × width for floors, width × height for walls), split odd shapes into rectangles, and subtract fixed cabinets, tubs and large openings. Then add overage: typically about 10% for a straight layout and about 15% for diagonal and herringbone, more for large-format tile and natural stone. Divide by the square feet per box, round up, and buy everything from one production lot.
How much tile do I need? It is the first question in any tile project, and getting it wrong costs either money or time. Order too little and you wait for more, which may not match. Order far too much and you pay for boxes you store for years. A tile calculator only multiplies numbers. The judgement is in what you measure and how much extra you add. This guide works through both, with three worked examples you can copy.
How much tile do I need: the four-step method
Every tile quantity comes from the same four steps, whether it is a floor, a shower or a backsplash.
- Measure the area in square feet, one rectangle at a time.
- Subtract the areas that won't be tiled, such as a tub or built-in cabinets.
- Add overage for cuts, breakage and spares, based on the layout and the tile.
- Convert to boxes using the coverage printed on the box, and round up.
Measure in inches if that's easier, then divide square inches by 144 to get square feet. One square metre is about 10.76 square feet, which helps when a box lists its coverage in metric.
Measuring a floor in square feet
For a simple rectangular room, multiply the length by the width. A room 10 ft by 12 ft is 120 sq ft. Measure wall to wall at floor level, and measure in more than one place, because rooms are rarely perfectly square. Use the larger number.
Most rooms are not simple rectangles. Split an L-shaped room, a hallway with a jog, or a bathroom with a closet into separate rectangles, measure each one, and add them up. A sketch on paper with each rectangle labelled avoids counting an area twice or missing one.
Then subtract what won't be tiled. A bathtub, a shower base, a kitchen island or a run of built-in cabinets usually sits on the subfloor, not on the tile. Measure their footprint and take it off. Two areas are worth thinking about before you subtract them. Many people tile under a freestanding vanity, or under a built-in one they might replace later. And the area under a fridge or dishwasher is usually tiled, so the appliance can slide in and out at the same height. Don't subtract the toilet; the floor runs under it.
Include closets and any small areas that run into the next room. Where the tile stops at a doorway, measure to wherever the transition will sit; our guide on how to tile a floor covers where transitions usually go.
Measuring walls, showers and backsplashes
Walls are measured the same way: width × height for each wall, then subtract openings. Subtract windows and doors that fall inside the tiled area. Don't subtract outlets, switches, a valve or a shower arm. They are small, and the cuts around them create waste anyway.
Measure showers and tub surrounds wall by wall. A typical alcove has a back wall and two end walls, and each is measured from the top of the tub or shower base to the top of the tile. If the tile wraps around onto the outside wall past the tub, add that strip. Our guide to tub surround tile covers how high surrounds are usually tiled.
Niches, benches and curbs add area that is easy to forget. A recessed niche keeps its back panel, which replaces the wall tile you cut out, but it adds tile on its two sides, top and sill. A curb needs tile on its top and both sides, and a bench on its top and front. Measure each surface. These are small areas with many cuts, so they also need more overage than a flat wall. See our shower niche guide for typical niche sizes.
For a backsplash, measure each run of counter between its ends and its corners, times the height from the counter to the underside of the upper cabinets. Add any higher sections, such as behind the range up to the hood, and subtract windows. Our guide to backsplash installation explains where a backsplash usually starts and stops.
How much extra tile to buy: overage by layout
Overage covers the tile you cut off and throw away, the odd broken or flawed piece, and a few spares. How much you need depends mostly on the layout. The figures below are typical industry ranges, not rules. Your installer may suggest more after seeing the room.
| Layout or tile | Typical overage |
|---|---|
| Straight grid or stacked layout | About 10% |
| Running bond (brick) or 1/3 offset | About 10% |
| Diagonal layout | About 15% |
| Herringbone and chevron | About 15% or more |
| Large-format tile (24 × 48 and up) | More than 10%, often 15% or more |
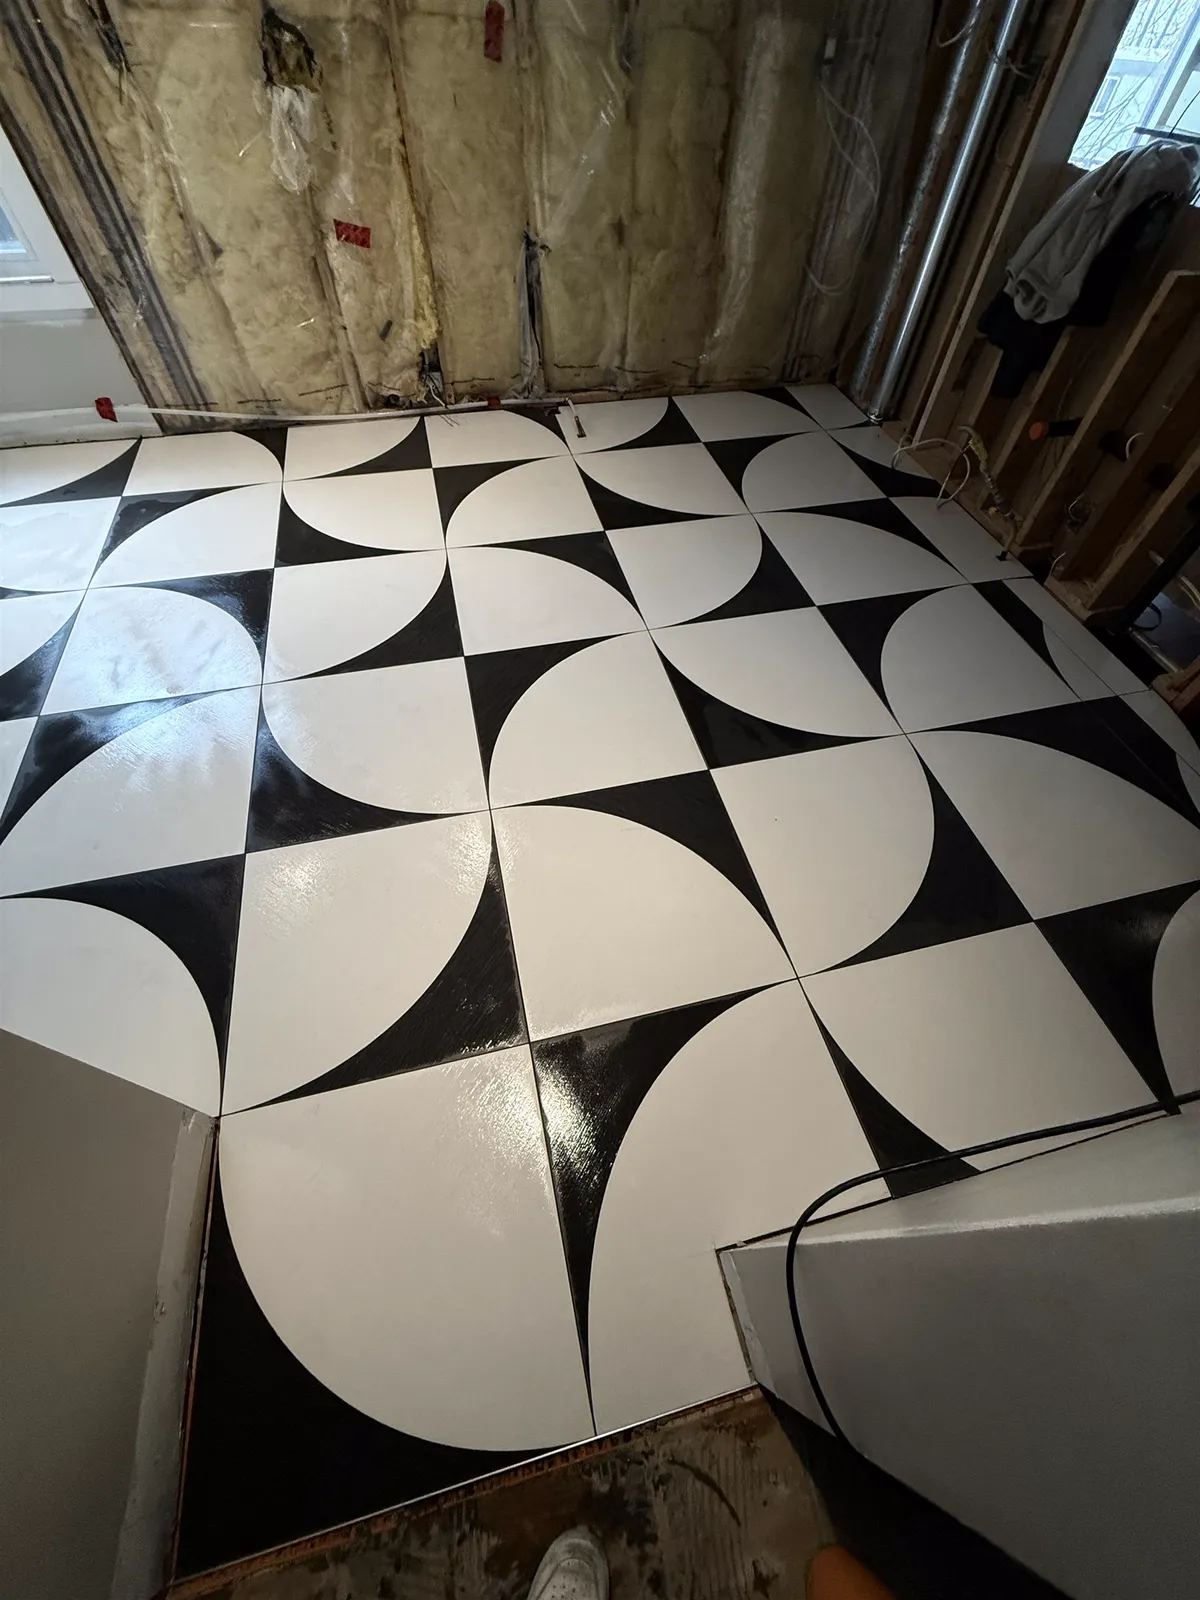
| Natural stone, handmade or patterned tile | More, to allow for sorting and pattern matching |
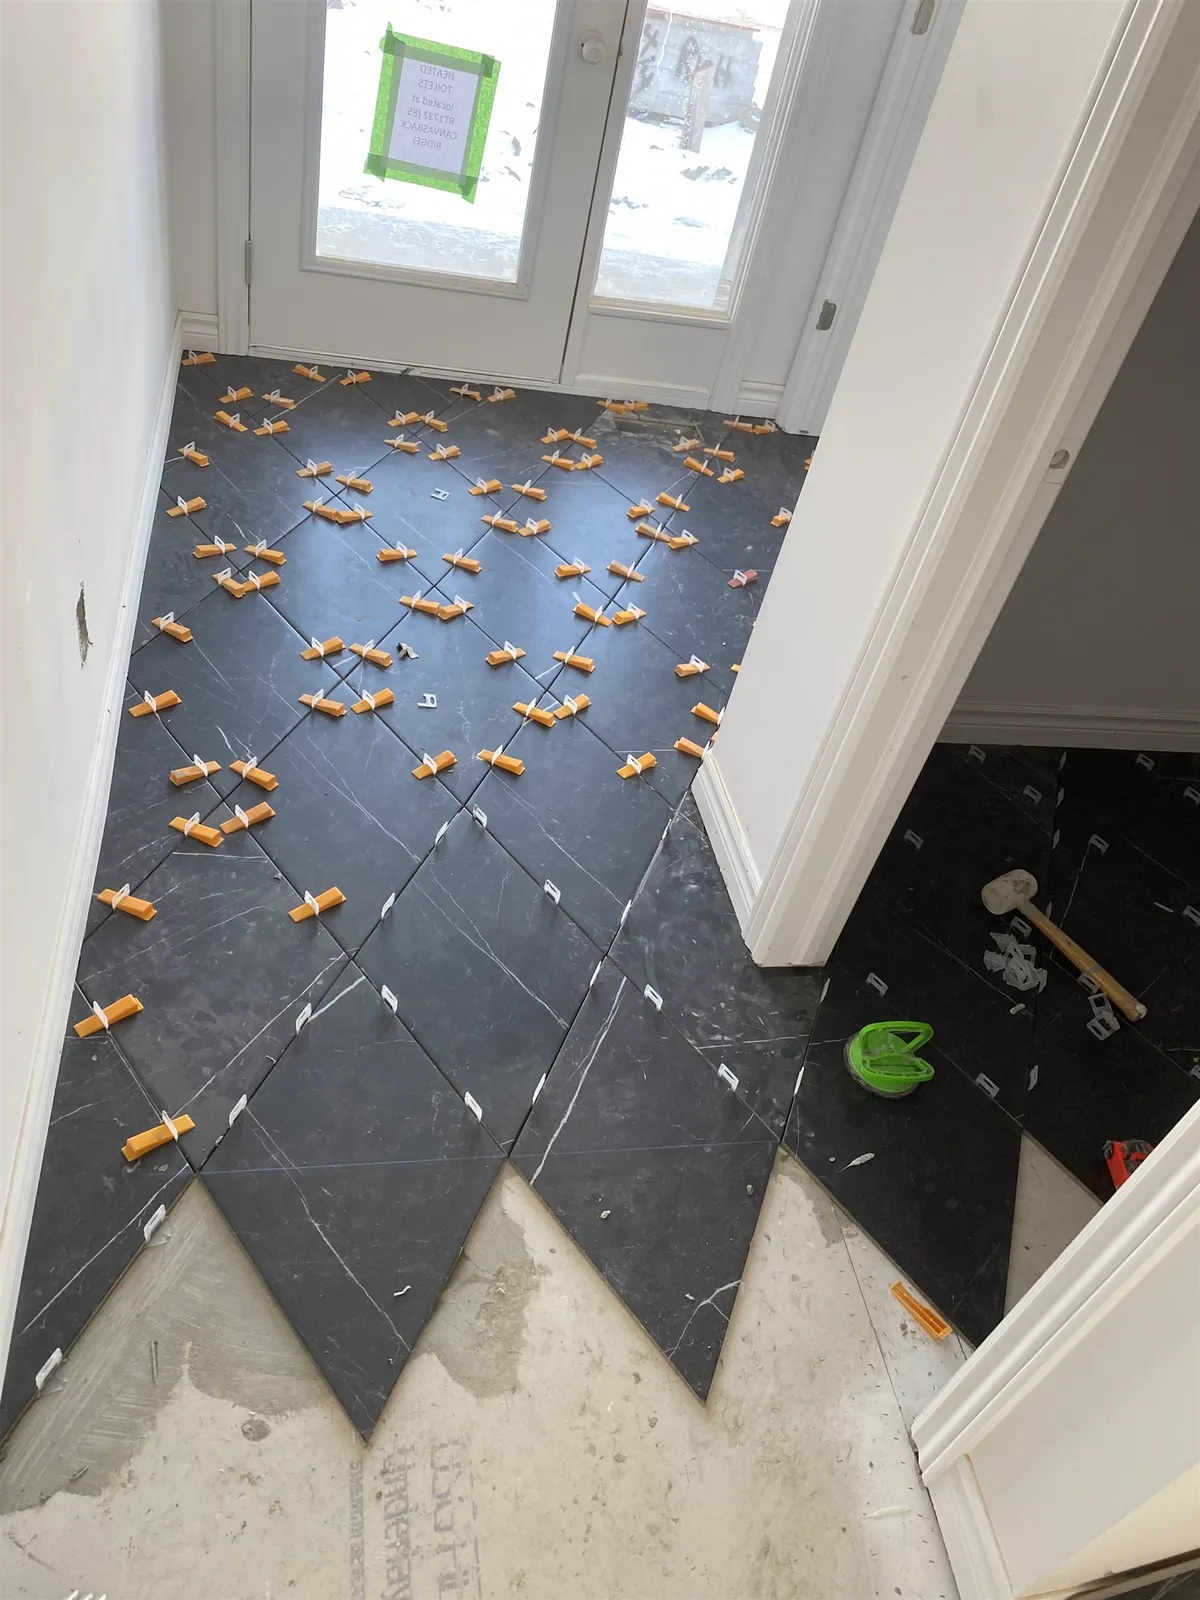
Why the difference? In a straight layout, a cut-off piece from one end of a row can often start the next row. In a diagonal or herringbone layout, every edge tile is cut at an angle, and the offcuts are rarely usable elsewhere. Our guides to tile patterns and layouts and the herringbone tile floor explain why those patterns use more tile.
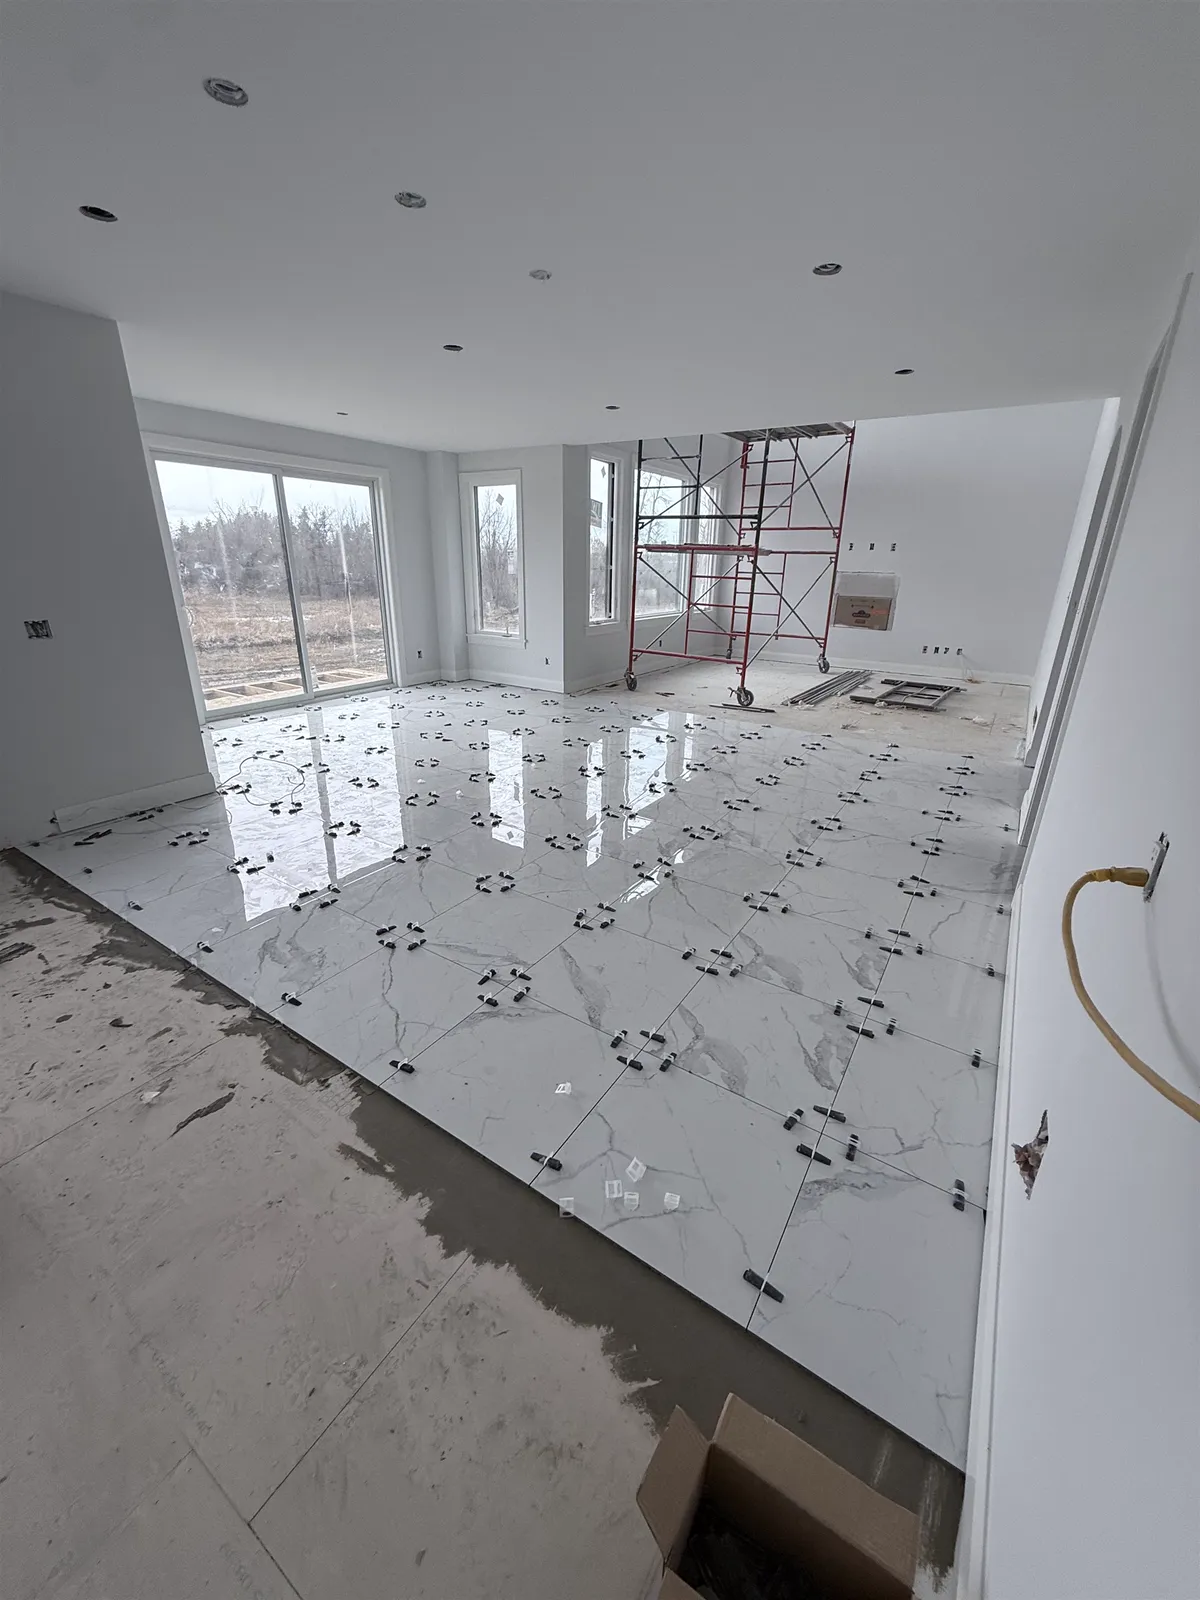
Large-format tile needs more overage for a different reason. Each piece is a large share of the order, and one broken or miscut tile costs several square feet. Large tiles also don't use offcuts well in small rooms. Our large-format tile guide covers the other trade-offs.
Room size matters too. A small bathroom or a backsplash with many corners wastes more, proportionally, than an open main floor.
From square feet to boxes
Tile is sold by the box, and the box label lists how many pieces it holds and how many square feet they cover. Divide your total, including overage, by the square feet per box and round up to the next whole box. Never round down. A shortfall of half a box is still a shortfall.
Use the coverage on the box rather than working it out from the nominal tile size. A tile sold as 12 × 24 is often slightly smaller in real life, so eight of them cover a little less than 16 sq ft. The label already accounts for that.
If you need a count of pieces, for example for loose mosaic sheets or subway tile sold by the piece, divide 144 by the tile's area in square inches. A 3 × 6 subway tile is 18 sq in, so there are 8 tiles per square foot before joints. A 4 × 12 tile is 48 sq in, so there are 3.
Buy from one lot: shade and calibre
Tile is made in production runs, and each run can come out a slightly different colour. The box label usually shows a shade or lot code, and many porcelain boxes also show a calibre (size grade). Two boxes with different codes can look different side by side, and different calibres can make the grout joints uneven. Buy the whole job at once, check that the codes match, and ask the supplier to hold more from the same lot if you are unsure about quantity.
Open several boxes before installation starts and lay tiles out side by side. Many tiles are designed with variation, and installers pull from several boxes at once so that variation blends across the floor rather than in patches.
Keep spare tiles for repairs
Part of your overage should stay in the house after the job. A dropped pan or a cracked tile years later is a small repair if you have a matching piece, and a much bigger one if the tile has been discontinued. Many installers suggest keeping at least a few spare tiles, or an unopened box for a large floor, stored somewhere dry and labelled with the room, the product name and the lot code. Our guide on how to fix chipped tile shows why a spare matters.
Worked example: a 5' × 8' bathroom floor
Take a common bathroom, 5 ft by 8 ft, with a 60" × 30" tub along the 5 ft end wall. The vanity is tiled under, and the toilet sits on the tile.
| Step | Calculation | Result |
|---|---|---|
| Room | 5 ft × 8 ft | 40 sq ft |
| Subtract the tub | 5 ft × 2.5 ft = 12.5 sq ft | 27.5 sq ft |
| Straight layout, +10% | 27.5 × 1.10 | 30.25 sq ft |
| Herringbone, +15% | 27.5 × 1.15 | 31.6 sq ft |
Say the tile is a 12 × 24 porcelain, eight pieces to a box, covering 15.5 sq ft per box (check your label). For the straight layout, 30.25 ÷ 15.5 = 1.95, so two boxes. For herringbone, 31.6 ÷ 15.5 = 2.04, so three boxes. Even for the straight layout, two boxes leaves less than one spare tile. In a small room with many cuts, a third box is the safer order, and the leftovers become your repair stock.
Worked example: a 60" tub surround to 7 ft
Now the tub surround in the same bathroom. The alcove is 60" long and 30" deep, so there is a 5 ft back wall and two 2.5 ft end walls. The tub rim is about 15" off the floor in this example, and the tile runs to 7 ft (84") above the floor, so the tiled height is 69", or 5.75 ft. There is one niche, 12" wide, 24" tall and 3 1/2" deep inside.
| Surface | Calculation | Result |
|---|---|---|
| Back wall | 5 ft × 5.75 ft | 28.75 sq ft |
| Two end walls | 2 × 2.5 ft × 5.75 ft | 28.75 sq ft |
| Niche sides, top and sill | (2 × 24" + 2 × 12") × 3.5" = 252 sq in | 1.75 sq ft |
| Total | 59.25 sq ft | |
| Straight layout, +10% | 59.25 × 1.10 | 65.2 sq ft |
If the tile comes in boxes of 10.76 sq ft (one square metre), 65.2 ÷ 10.76 = 6.06, so seven boxes. This is a case where rounding up matters: six boxes would come up just short. The valve and shower arm are not subtracted. If the niche is lined in a different accent tile, take its 1.75 sq ft plus the back panel off the main tile and order the accent separately, with its own overage.
Because the tile stops at 7 ft, the top edge and the two outside edges need finishing. That is two vertical runs of 69" and a top run of 30" + 60" + 30" = 120". We work out the trim below.
Worked example: a kitchen backsplash
Take an L-shaped kitchen with a 10 ft run and a 6 ft run, and 18" between the counter and the upper cabinets. The 10 ft run has a 30" range, where the tile goes up an extra 12" to the hood. The 6 ft run has a window over the sink that dips 12" into the backsplash, 3 ft wide.
| Area | Calculation | Result |
|---|---|---|
| 10 ft run | 10 ft × 1.5 ft | 15 sq ft |
| 6 ft run | 6 ft × 1.5 ft | 9 sq ft |
| Extra height behind the range | 2.5 ft × 1 ft | +2.5 sq ft |
| Window | 3 ft × 1 ft | −3 sq ft |
| Total, then +10% | 23.5 × 1.10 | 25.9 sq ft |
With 3 × 6 subway tile at 8 tiles per square foot, that is about 207 tiles for a running bond. A herringbone backsplash would add about 15% instead, for about 27 sq ft. Outlets are not subtracted. If either run ends in open space rather than at a wall or cabinet, the exposed end needs a trim or a finished-edge piece too.
Trim pieces, bullnose and Schluter lengths
Edges are counted in linear feet, not square feet. List every exposed edge: the top of a wainscot or tub surround, outside corners, the sides of a window, the ends of a backsplash and the edges of a niche or curb. Measure each run separately.
Metal profiles such as Schluter-JOLLY or RONDEC are sold in fixed lengths, most of them 2.5 m, about 8'-2 1/2" (98 1/2"). Plan run by run, not by the total. In the tub surround above, each 69" vertical edge needs its own length, leaving about 29 1/2" over. The 120" top run takes one full length for the 60" back wall and one 30" end, then part of a fourth length for the other end, because a 29 1/2" offcut is just too short. That makes four lengths, plus corner pieces where the runs meet. Our guide to tile edge trim covers the profile types.
Bullnose and finished-edge pieces are counted by the piece. Divide each run by the length of one piece, round up, and add a couple for breakage. They often come from a different production run than the field tile, so check the colour match before ordering.
Thin-set and grout quantities
Thin-set quantity depends mostly on the trowel notch. Each bag lists its approximate coverage for several notch sizes, and a larger notch covers far fewer square feet per bag. Back-buttering large tile, an uneven floor and bonding a membrane underneath all use more. Pick the trowel first using our what size trowel for tile chart, then read the coverage on the bag for that notch.
Grout depends on the tile size, the joint width and the joint depth, which is roughly the tile's thickness. Smaller tile means far more joint per square foot. For square tile, each square foot holds about 2 ft of joint with 12 × 12 tile, 4 ft with 6 × 6 tile and 12 ft with 2 × 2 mosaic. Grout makers publish coverage charts and calculators for their products, and those are the figures to use. The grout types guide explains which grout suits which joint.
Don't forget the sealant for inside corners and the perimeter, and any membrane, levelling compound or trim. These are separate items from the tile itself.
Common mistakes with tile quantities
The most common mistake is measuring only the open floor and forgetting closets, the area under appliances, or the extra height behind a range. The next is using the nominal tile size instead of the box coverage, which comes up short on big jobs. Buying the overage later, from a different lot, is the third.
Others are rounding down to save a box, ordering trim by total length instead of run by run, and choosing a herringbone or diagonal layout after the tile has been ordered for a straight one. Settle the layout first. If you are getting the job quoted, your installer will measure and confirm quantities. At Agora Flooring we give free estimates and a written quote. For what drives the price, see tile installation cost in Ottawa, and for walls, how to tile a wall.
Frequently asked questions
How much extra tile should I buy?
Typically about 10% for a straight layout and about 15% for diagonal and herringbone patterns. Large-format tile, natural stone and small rooms with many cuts need more. Ask your installer once the layout is chosen.
How do I calculate tile square footage?
Multiply length by width in feet for each rectangle of floor, or width by height for each wall, and add them up. Subtract tubs, built-in cabinets, windows and doors. If you measure in inches, divide square inches by 144.
How many tiles are in a box?
It varies by product. The box label lists the number of pieces and the square feet they cover. Use that coverage figure, not the nominal tile size, when you work out how many boxes to buy.
Should I subtract the toilet and vanity from the floor area?
Don't subtract the toilet; the tile runs under it. Many people also tile under the vanity so it can be replaced later. Subtract only fixed items that sit on the subfloor, such as a tub or shower base.
How many spare tiles should I keep?
Keep at least a few, or a full box for a large floor, labelled with the product name and lot code. Tile lines are discontinued and colours change between lots, so a spare makes future repairs simple.
Can I return extra boxes of tile?
Many suppliers accept unopened boxes, but policies differ, and special-order tile often can't be returned. Ask before you buy, and keep one box anyway for repairs.