Short answer
A shower surround is the wall finish around a tub-shower: tile, an acrylic or one-piece unit, or large wall panels. Acrylic is cheaper, quicker and has fewer joints, but the looks are limited. Tub surround tile takes longer and costs more, but it can be any style and size, and lasts when it is built on a proper waterproofing layer lapped over the tub flange. Most tiled surrounds go at least well above the shower head, often to the ceiling, with sealant, not grout, at the tub.
The shower surround is the busiest wall area in most houses. In a family bathroom it takes a shower or two a day, plus bath splashes, for many years. Choosing between tub surround tile, an acrylic surround and wall panels is partly about looks and budget. It is also about how the surround is built behind the surface, which decides whether it stays dry. This guide compares the options honestly, then walks through how a tiled tub surround is built, step by step.
Shower surround options at a glance
There are three main ways to finish the walls around a bathtub. Each can work well when it is installed properly, and each has a clear place.
| Option | Strengths | Limits |
|---|---|---|
| Acrylic or fibreglass surround (one-piece or multi-piece) | Lower cost, fast install, few or no joints, easy to wipe | Limited sizes, colours and styles; scratches and dulls; damage means replacing a panel |
| Large wall panels (solid-surface, composite or large porcelain panels) | Very few joints, a modern look, quicker than small tile | Heavy or large pieces to handle; joints and corners need careful sealing; fewer patterns |
| Tiled tub surround | Any look, size or pattern; niches and trims; individual tiles can be repaired | Higher cost and more time; grout to maintain; depends entirely on the waterproofing behind it |
Cost depends on the size, the products and how much of the wall behind needs work. For typical shower tile prices, see what it costs to tile a shower in Ottawa.
Acrylic and one-piece surrounds: the honest pros and cons
An acrylic or fibreglass surround is a set of moulded wall panels made to fit a standard tub alcove. One-piece units, where the tub and walls are a single shell, are common in new construction because they go in before the walls are finished. In a renovation, a one-piece unit usually won't fit through the bathroom door, so retrofit surrounds come in three or more pieces that overlap or join at the corners.
The advantages are real. An acrylic surround costs less than tile, goes in quickly, and has no grout. The surface is easy to wipe. For a rental unit, a basement bathroom or a tight budget, it is a sensible choice, and there is nothing wrong with picking it.
The drawbacks are just as real. The choice of colours, textures and sizes is limited, and most look like what they are. The surface can scratch and dull with abrasive cleaners. The seams between panels and the joint at the tub are sealed with caulking, which needs the same care as caulking anywhere else. A cracked panel usually means replacing the whole panel, often in a colour that no longer matches. And a surround is sized for standard alcoves, so odd sizes, windows and niches are harder.
Large wall panels as a middle ground
Large panels sit between acrylic and tile. Solid-surface and composite panels are cut to fit and bonded to the wall with the maker's adhesive, with trim or sealant at the joints. Large porcelain panels look like stone or concrete and are set like tile, just much bigger. They give the look of a slab with very few joints.
Panels are not a shortcut on the wall behind them. They still need a flat, sound wall and a waterproofing approach the maker approves, and the corner and tub joints still rely on sealant. Large porcelain panels are heavy and thin for their size, and they need a flat wall, full mortar coverage, careful handling and the right tools. That is specialist large-format work; our large-format tile guide explains why flatness matters so much.
Waterproofing behind tub surround tile
Tile and cement grout let water through. In a tub surround, water runs down the walls every day, so the wall behind the tile needs a continuous waterproofing layer. The board is only the base. Our guide to tiling over drywall explains why plain drywall and green board are not enough on their own.
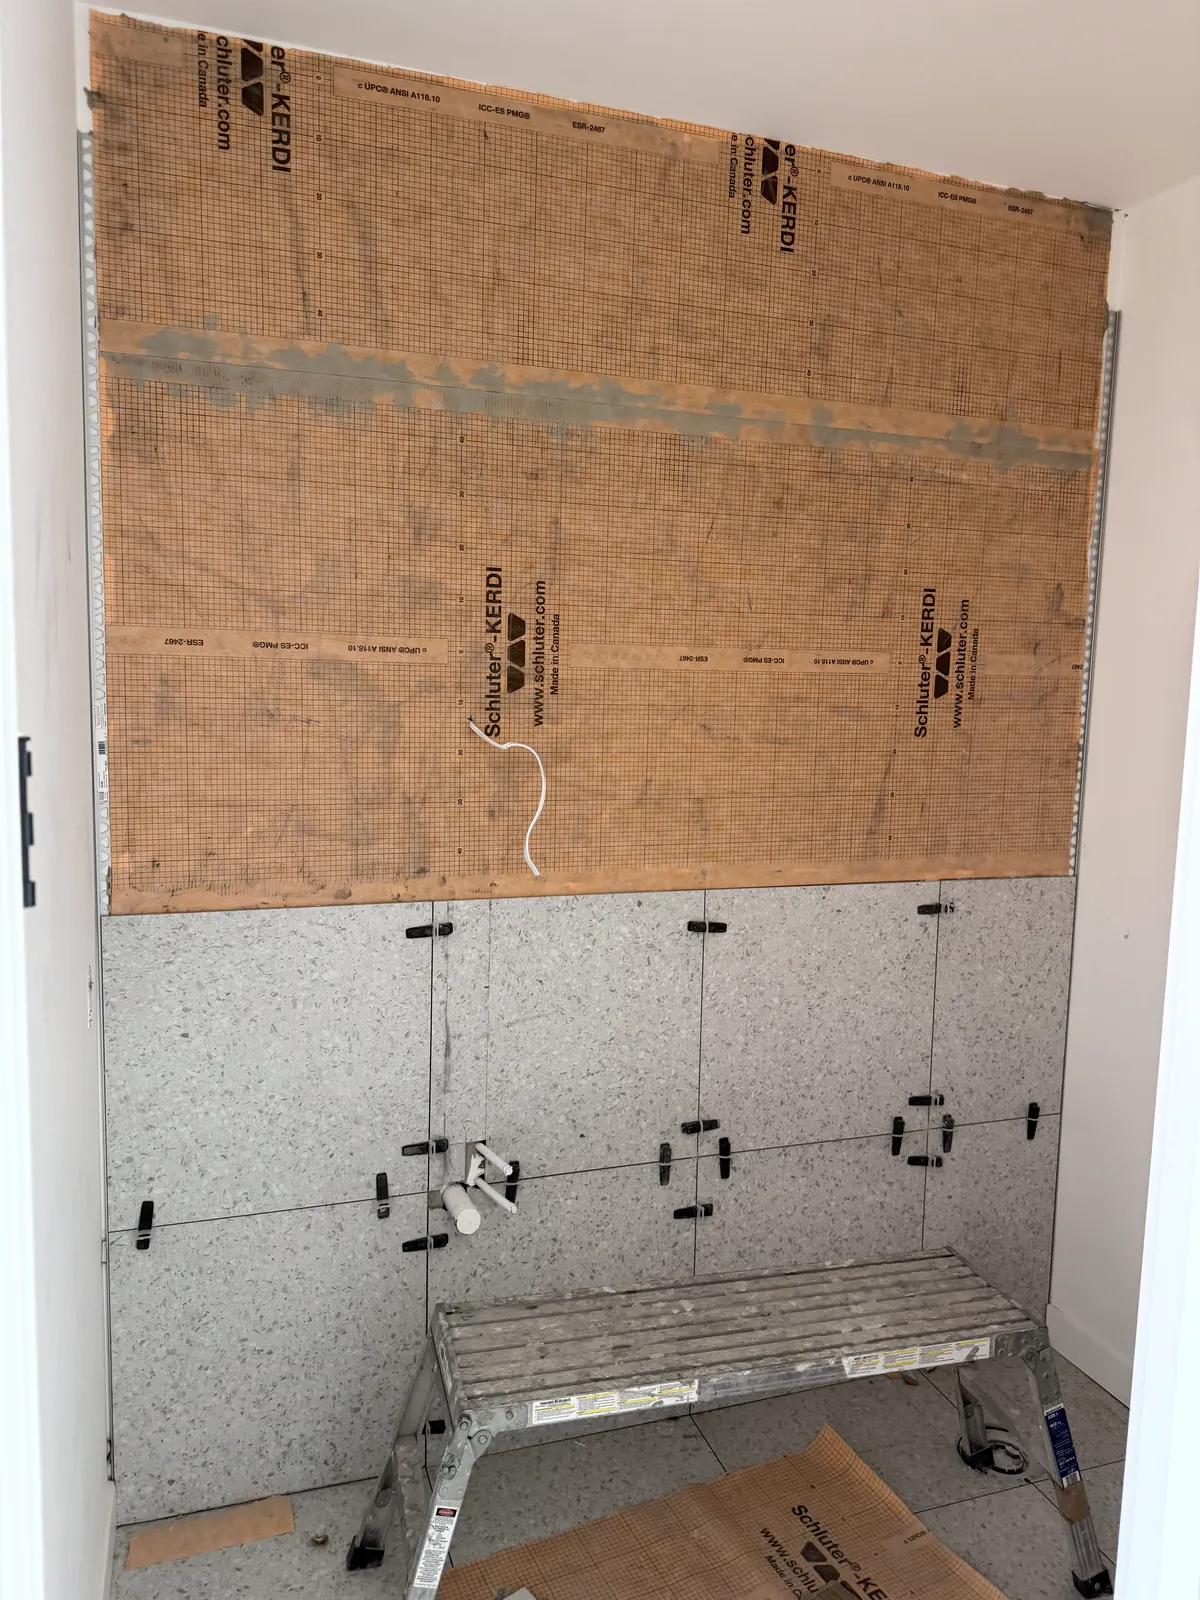
There are three common builds. A bonded sheet membrane such as Schluter-KERDI goes over cement board or, where the system allows it, regular drywall. A liquid-applied membrane is rolled on in coats over a board its maker approves. Or a foam board system such as KERDI-BOARD or wedi forms the wall, with its seams sealed with the maker's band or sealant. The boards are compared in KERDI-BOARD vs cement board vs drywall.
Whichever system is used, every seam, inside corner, niche and pipe is sealed with the maker's parts. The valve and the shower arm get collars or the sealing method the system specifies. The waterproofing covers the whole area that gets wet, which in a tub-shower usually means from the tub up to at least above the shower head, and past the tub at each end if the tile continues there.
The tub flange and the gap above the tub
The joint between the wall and the tub is where most tub surrounds fail. An alcove tub has a raised lip, called the tiling flange, along the walls. The flange stops water that runs down the wall from getting behind the tub. The waterproofing has to work with it.
The tub is set, levelled and supported first, by the plumber or the installer as the tub maker requires. The board then comes down in front of the flange, with a small gap above the tub deck so it doesn't sit in water. Because the flange sticks out from the studs, the bottom of the board can kick out. Installers often shim or fur out the studs above the flange so the board stays flat and plumb down to the tub. The waterproofing is then carried down over the flange as the membrane maker shows, usually with a band or sealant bonded to the tub lip.
The tile stops a little above the tub, leaving a joint. That joint is filled with flexible sealant, not grout. The tub moves slightly when it is filled with water and a person, and rigid grout in that joint cracks. Our guide to tile movement joints explains why changes of plane get sealant. A common trick is to fill the tub with water before sealing that joint, so the sealant cures with the tub at its heaviest.
Setting the first row level
Tubs are rarely perfectly level, and the walls above them are rarely perfectly square. If the first row of tile sits on the tub, every row above inherits the tilt, and the top row ends up tapered at the ceiling.
A careful installer finds the lowest point of the tub along each wall and sets a level line about one tile height above it. A straight ledger board is screwed along the line, and the walls are tiled up from there. The bottom row is cut last to fit between the ledger line and the tub, so any slope in the tub disappears into that one row of cuts. Any screw holes the ledger leaves in the waterproofing are sealed as the system specifies before the bottom row goes on.
Layout comes before the ledger. The installer usually centres the back wall so equal cuts land at both corners, checks where rows fall against the valve, the shower head, the window and the niche, and makes sure no thin sliver ends up at the ceiling or along the tub. A story pole, a board marked with tile rows, makes this quick. The same method is described for shower walls in how to tile a shower.
How high to tile a tub surround
Older tub surrounds were often tiled only to around head height, with painted drywall above. That leaves a wall that stays damp after every shower. Most installers now recommend taking the tile at least well above the shower head, and many people go all the way to the ceiling. Full height looks more finished, avoids an awkward line across the wall and is easier to keep clean.
If the tile stops short of the ceiling, end it at a full tile row, not at a random cut, and finish the top edge with a metal profile or a finished-edge piece. The waterproofing should go at least as high as the tile, and higher where spray reaches.
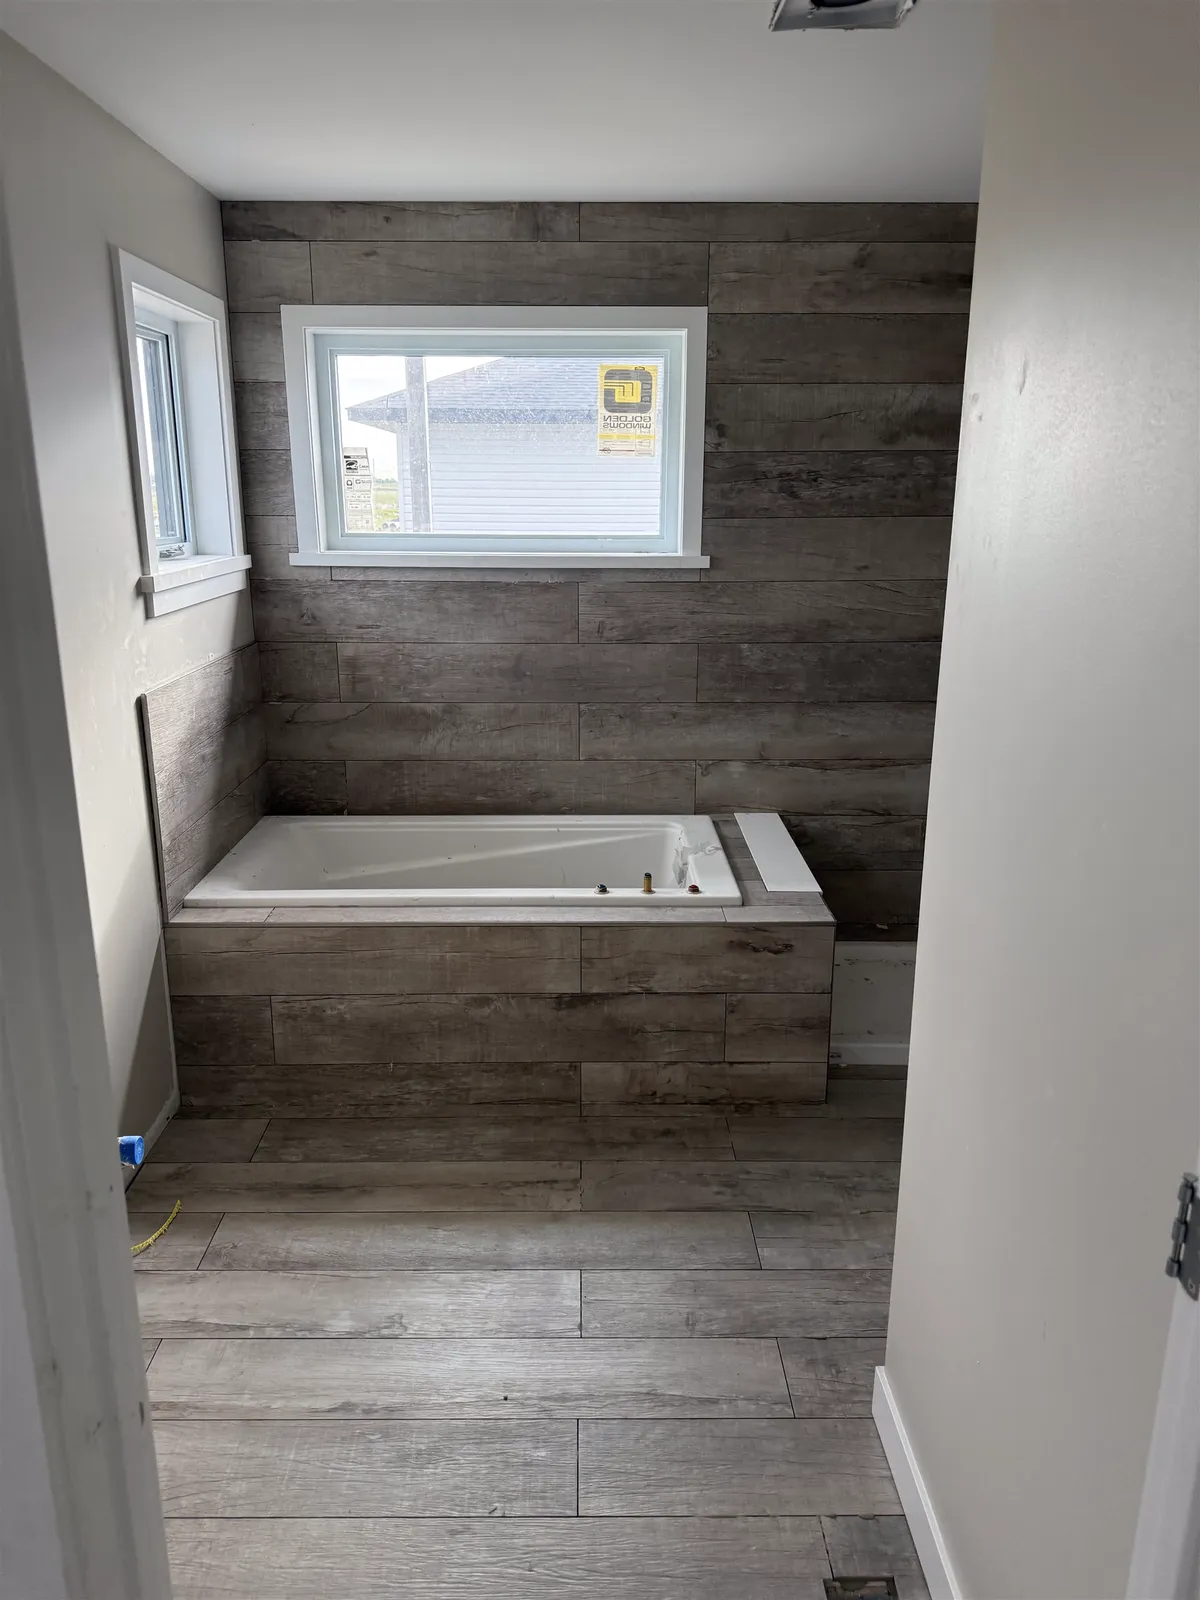
At the open ends of the tub, the tile can stop flush with the outside of the tub, or wrap around onto the end walls. Some designs take the tile down to the floor past the tub, which protects the wall where water drips on the way out. In the photo above, the tile also covers the tub apron. A tiled apron on a drop-in tub needs a solid frame behind it, and the plumber may want an access panel to the drain and valve, so ask before the frame is built.
Niches, shelves and the window
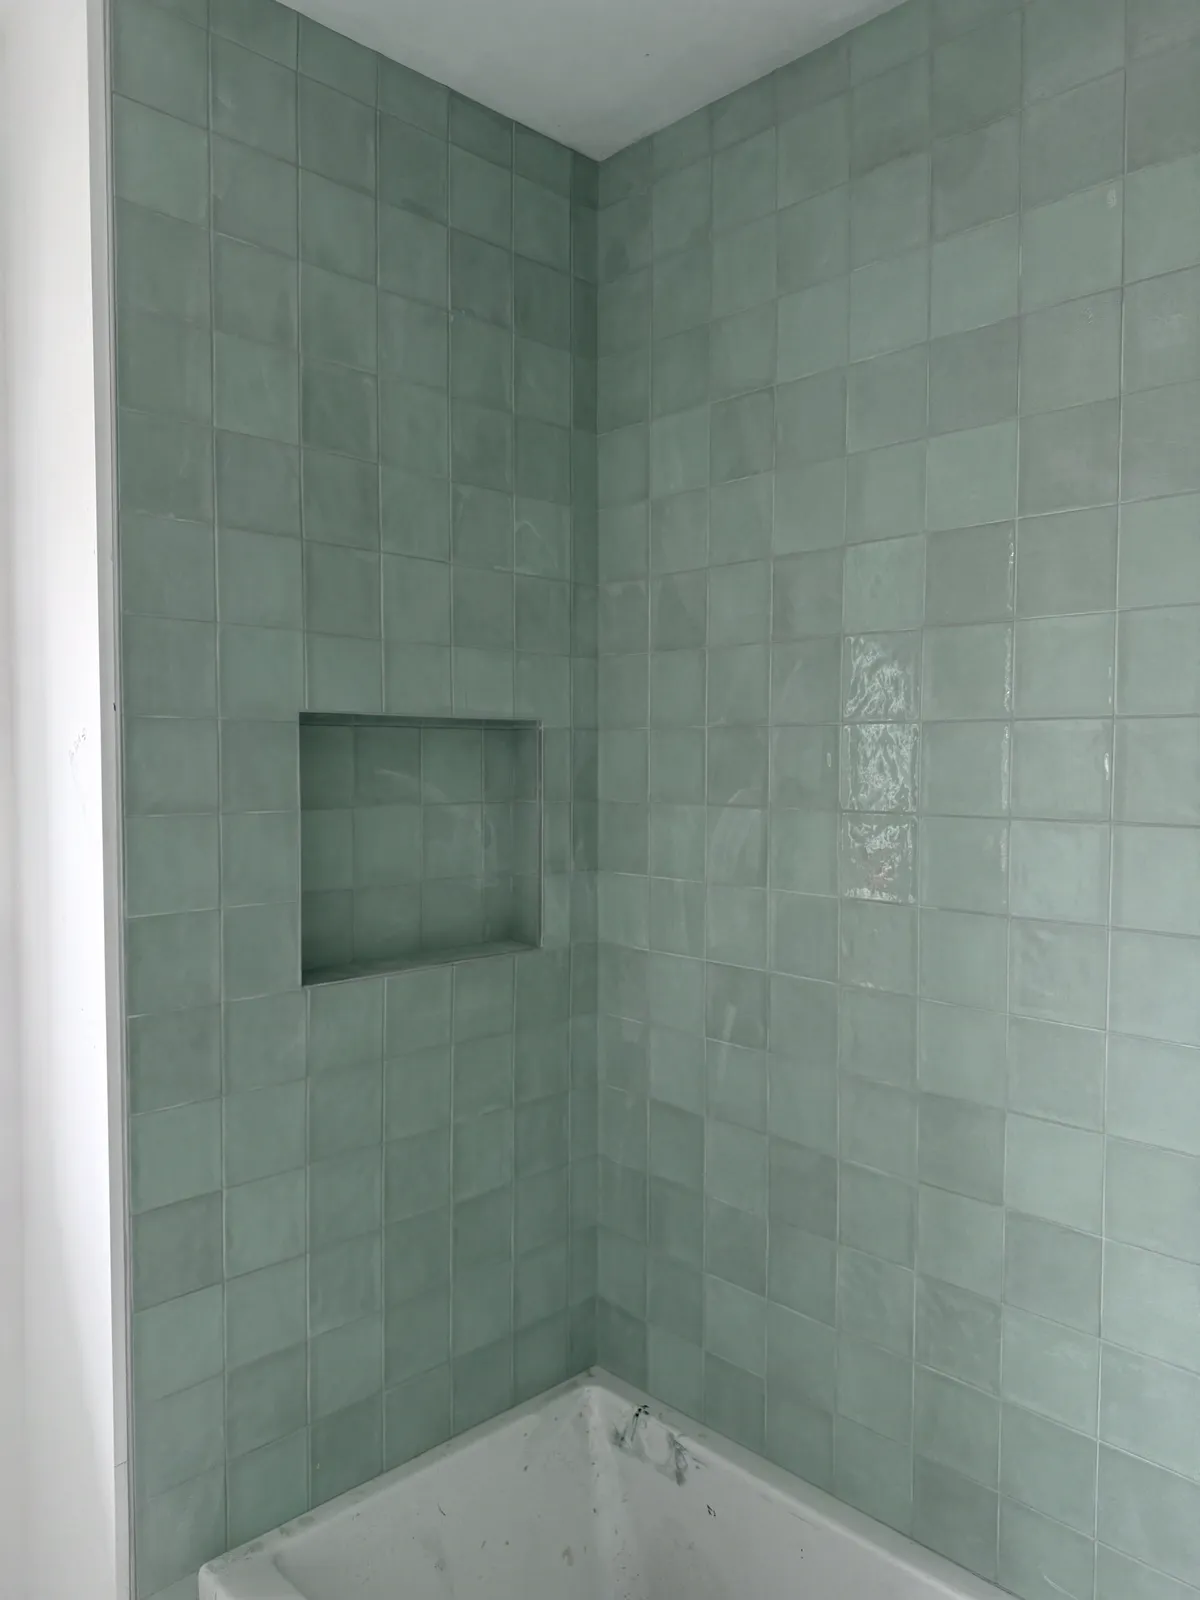
A recessed niche replaces the wire caddy that hangs from the shower arm. In a tub surround, it sits low enough to reach while sitting in the bath and high enough to clear the tub. It is best on an interior wall, sized to the tile so the grout lines meet the opening, and waterproofed as part of the same system, with its sill sloped toward the tub. Our shower niche guide covers sizes and placement.
A window in a tub surround is common in older Ottawa homes, and it is a weak point. The sill and returns get wet every day. They should be waterproofed with the rest of the wall, and the sill tiled or capped with a solid piece sloped toward the tub. A wood window in a shower spray will suffer whatever the tile does, so it is worth discussing a vinyl window or a different detail with your contractor.
Edges, trim and sealant
A tub surround has several exposed edges: the outside vertical edges at each end, the top edge if the tile stops short of the ceiling, and the niche opening. These are finished with metal edge profiles such as Schluter JOLLY or RONDEC, bullnose pieces where the tile range has them, or mitred corners. Profiles are set in the mortar as the tile goes up, so they are chosen before tiling. Our tile edge trim guide compares the options.
Inside corners, the tub joint and the joint at the ceiling all get a colour-matched flexible sealant rather than grout. Sealant is a maintenance item. It is checked from time to time and replaced when it pulls away or stains, which is much easier than fixing cracked grout or water damage behind it.
Replacing an old tub surround
Most surround replacements start with taking the old walls back to the studs. Old tile on drywall usually comes off with the drywall, and that is a good thing. It shows the condition of the studs, the insulation and the bottom plate, which often hide water damage in older surrounds. Rotted framing and subfloor are repaired by the contractor before the new walls go up.
Tiling over the old tile in a tub surround is not recommended. It hides the waterproofing, or the lack of it, and adds weight and thickness at the valve and the tub. See can you tile over tile for where that approach does and doesn't work. In older homes, some old adhesives and mastics can contain asbestos. Have suspect materials tested before they are disturbed, and use qualified abatement if they test positive.
The tub itself is a separate decision. If it is chipped, the wrong size or uncomfortable, replacing it while the walls are open is far easier than later. The plumber handles the tub, drain and valve. Agora Flooring tiles and waterproofs the surround once the plumbing is in place; our bathroom and shower tile page explains how we work.
When a tub-to-shower conversion makes more sense
If nobody in the house takes baths, or stepping over the tub wall is getting harder, it may be worth replacing the tub instead of the surround. A walk-in shower uses the whole alcove and can take a bench, a niche and a handheld shower. It also means moving the drain and waterproofing the walls all the way down to a new shower floor, so it is a bigger job. Our tub-to-shower conversion guide explains what is involved and the resale question of keeping at least one tub in the house.
Frequently asked questions
Is tile or acrylic better for a tub surround?
Acrylic is cheaper, faster and has no grout, but the styles are limited. Tile costs more and takes longer, but can be any look and lasts when it is built on proper waterproofing.
How high should you tile a tub surround?
At least well above the shower head, and often to the ceiling. Full-height tile looks more finished and avoids a damp painted wall above the tile.
Do you need waterproofing behind tub surround tile?
Yes. Water runs down the walls every day, so the tile needs a membrane over the board, or a foam board system, carried down over the tub flange as the maker shows.
Should the joint between the tub and tile be grouted or caulked?
Caulked with a flexible sealant. The tub moves slightly when it is filled, and rigid grout in that joint cracks.
Can you tile over an old tub surround?
It is not recommended. Old tile hides the condition of the wall and the waterproofing behind it. Taking the surround back to the studs is the reliable approach.
Where do you start tiling a tub surround?
From a level line about one tile above the lowest point of the tub, with a ledger board to hold the first full row. The bottom row is cut last to fit the tub.
How long does it take to tile a tub surround?
Usually several working days, because the waterproofing, mortar and grout each need time to cure. The size, the tile and any niche or trims add to that; see how to tile a shower for typical timing.