Short answer
The best kitchen backsplash ideas start with the countertop and cabinets: a busy stone counter suits a quiet tile, and a plain counter can take a bold pattern or colour. Subway tile in a running bond is the classic, herringbone and zellige-look tile add character, and large porcelain slabs give an almost jointless wall. Each idea changes the installation: patterns mean more cuts, handmade tile needs wider joints, and big panels need a very flat wall.
A backsplash is a small area you look at every day, which makes it one of the best places in a kitchen to show some personality. This guide collects the kitchen backsplash ideas we are asked about most. For each one, it explains what the look takes to install: the layout, the cuts, the edges and the wall preparation. That part is rarely mentioned in a showroom, and it decides whether the finished wall looks built-in or patched together. For the process itself, see how to install a backsplash.
Choose kitchen backsplash ideas that suit the countertop and cabinets
The countertop is usually the most expensive and permanent surface in the kitchen, so choose the backsplash to suit it. Bring a countertop sample and a cabinet door or paint chip when you look at tile. Look at them together in your own kitchen's light.
A simple rule works in most kitchens. If the counter has strong veining or speckles, a calm backsplash in one colour lets it stand out. If the counter is plain, such as solid white quartz or butcher block, the backsplash can carry the pattern or colour. White cabinets suit almost anything. Dark cabinets often look best with a lighter backsplash. Our guide on how to choose tile covers material, finish and shade variation.
Subway tile backsplash ideas
Subway tile is affordable, easy to find and suits traditional and modern kitchens alike. The classic size is 3 × 6 inches, but longer sizes are common too. How the tiles are laid changes the look more than most people expect.
1. Classic subway in a running bond
The traditional layout offsets each row by half a tile, like brickwork. It is timeless and forgiving, because the eye reads the pattern rather than any single joint. A cream colour or a handmade-look edge makes it warmer.
Installation note: the first row sets every row above it, so it has to be level even when the countertop isn't. The layout is usually centred on the range or the sink, so the cuts at both ends match. Longer subway tile is often slightly bowed, so many installers use a one-third offset on 3 × 12 and 4 × 12 sizes to keep the edges flush.
2. Stacked or vertical subway
Stacking the tiles in a straight grid, with every joint lined up, gives a cleaner, more modern look. Turning them vertical draws the eye up and makes a low wall feel taller.
Installation note: a stacked layout hides nothing. Every joint runs straight from the counter to the cabinets, so any wander in the spacing shows. The wall has to be flat and the tile consistent in size. Rectified tile, which is ground to an exact size, makes a stacked grid much easier to keep straight.
Pattern ideas: herringbone, mosaics and hexagons
Patterns turn a backsplash into a feature, but they take the most time to lay out and cut. Our guide to tile patterns and layouts compares the common patterns.
3. Herringbone backsplash
A herringbone backsplash lays small rectangular tiles in a zigzag. It works in marble-look, glossy colour and handmade-look tile. Running the points up the wall makes the backsplash feel taller. Chevron looks similar, but it needs tile made with angled ends.
Installation note: the pattern is set out from a centre line, usually the centre of the range or window, so the points line up with the focal point. Almost every edge tile needs an angled cut, which adds labour and waste, so order more extra tile than for a straight layout. Our herringbone tile guide explains the layout; the same rules apply on a wall.
4. Mosaics and hexagons
Mosaics come on mesh-backed sheets of small pieces: squares, hexagons, penny rounds and slim linear shapes. Hexagons and penny rounds suit vintage kitchens; marble and linear mosaics look more refined.
Installation note: the trick is to hide the sheet edges, so the wall reads as one surface and not a grid of squares. Sheets go on with a smaller notched trowel so mortar doesn't squeeze into the joints, and any squeeze-out is cleaned before it sets. There is also far more grout. See mosaic tile installation.
Kitchen backsplash ideas in texture and material
Some of the most striking backsplash tile ideas come from the material itself. Glossy tile bounces light around a dark kitchen, matte tile hides fingerprints, and natural materials bring warmth but ask for more care.
5. Handmade and zellige-look glazed tile
Zellige is a traditional glazed clay tile with uneven edges, a wavy face and strong colour variation. Many porcelain and ceramic tiles now copy that look in a more consistent form. The wall shimmers as the light moves across it.
Installation note: irregular edges and sizes need a wider grout joint than rectified tile, or the joints look uneven. The installer blends tiles from several boxes as the wall goes up, so the variation is spread evenly. See tile spacers and grout joint width for how the joint is chosen.
6. Glass tile
Glass tile reflects light and gives colour real depth. It works well in small doses, such as a band or feature panel, and wipes clean easily.
Installation note: clear and translucent glass shows what is behind it. It is set in a white mortar, usually one the tile maker approves for glass, with the trowel ridges flattened so they don't show through. Glass chips easily at cut edges and needs a blade made for it. Many glass tile makers specify their own mortar and grout; their instructions win.
7. Natural stone and marble-look porcelain
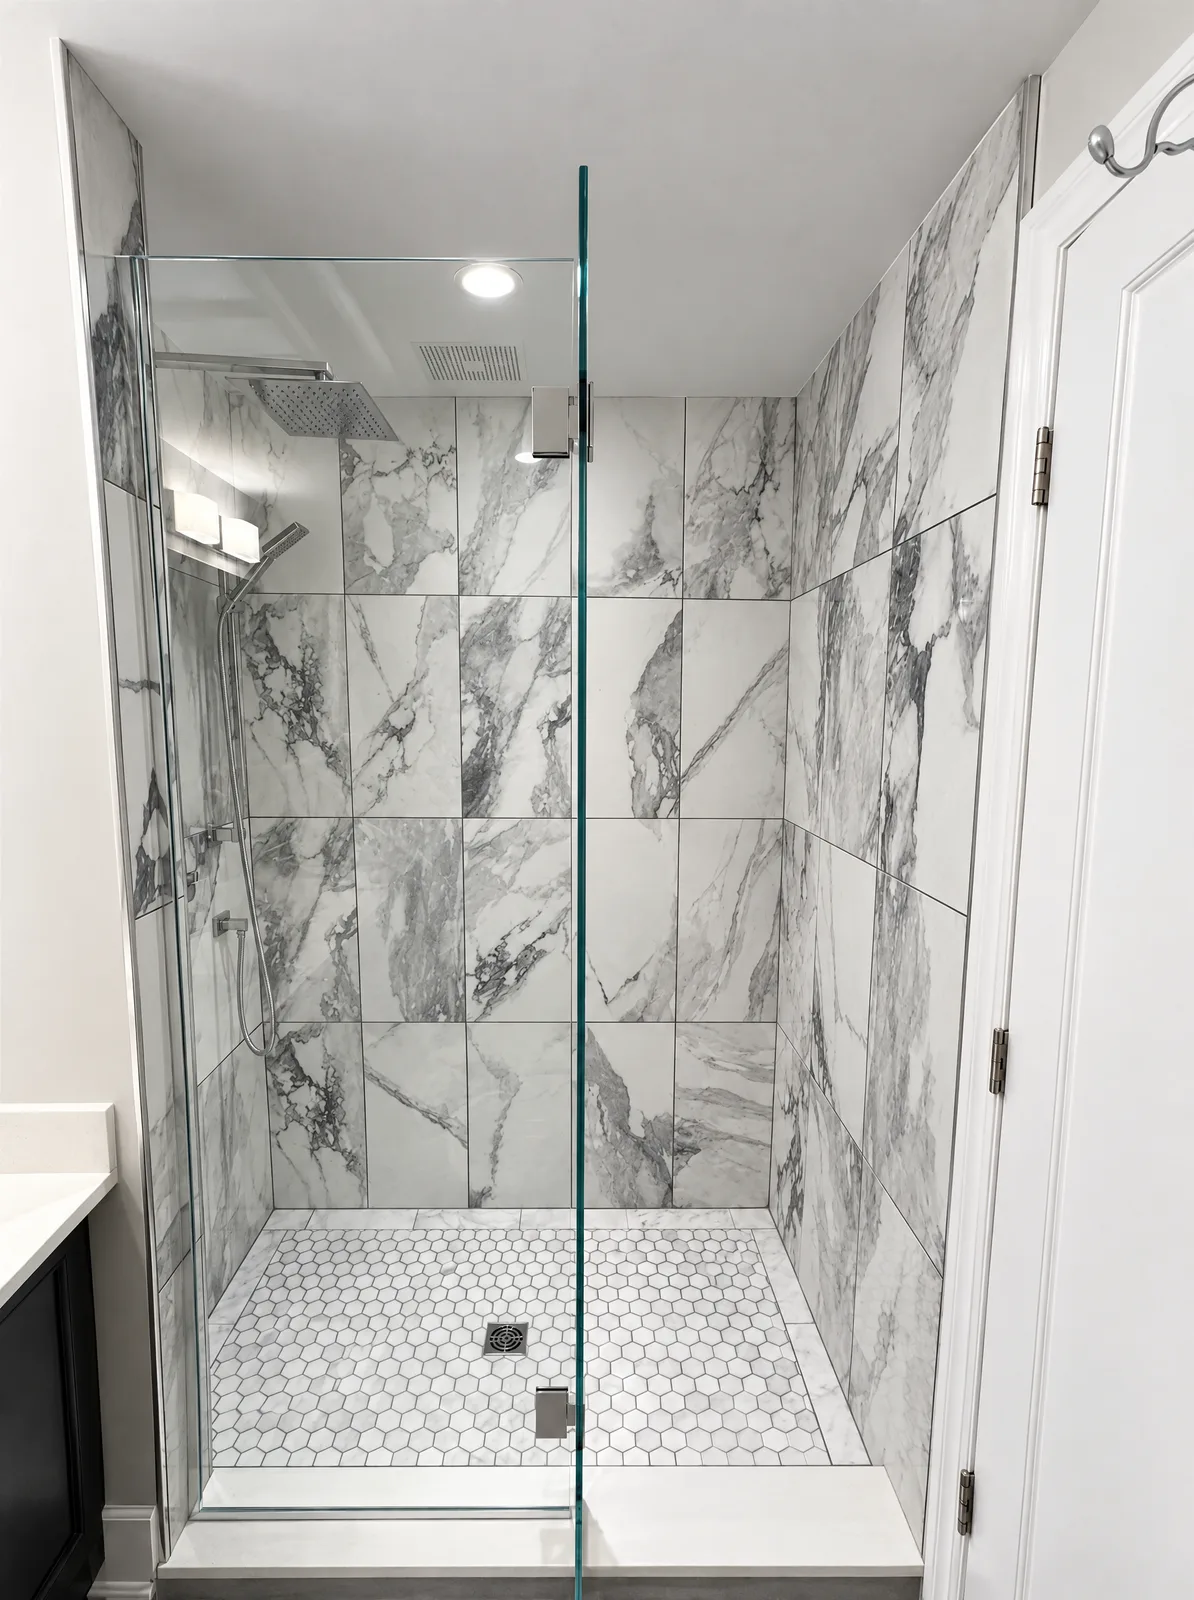
Real marble, travertine and limestone give a warm, natural look, and no two pieces are the same. Marble-look porcelain gets close to that look without the upkeep. It doesn't absorb oil and isn't etched by lemon juice or vinegar.
Installation note: light stone is set in a white mortar so grey mortar doesn't show through. Real stone is sealed after installation, and often before grouting so the grout doesn't stain it. Stone near a cooktop needs regular care; see natural stone sealing and care.
8. Bold patterned or encaustic-look tile
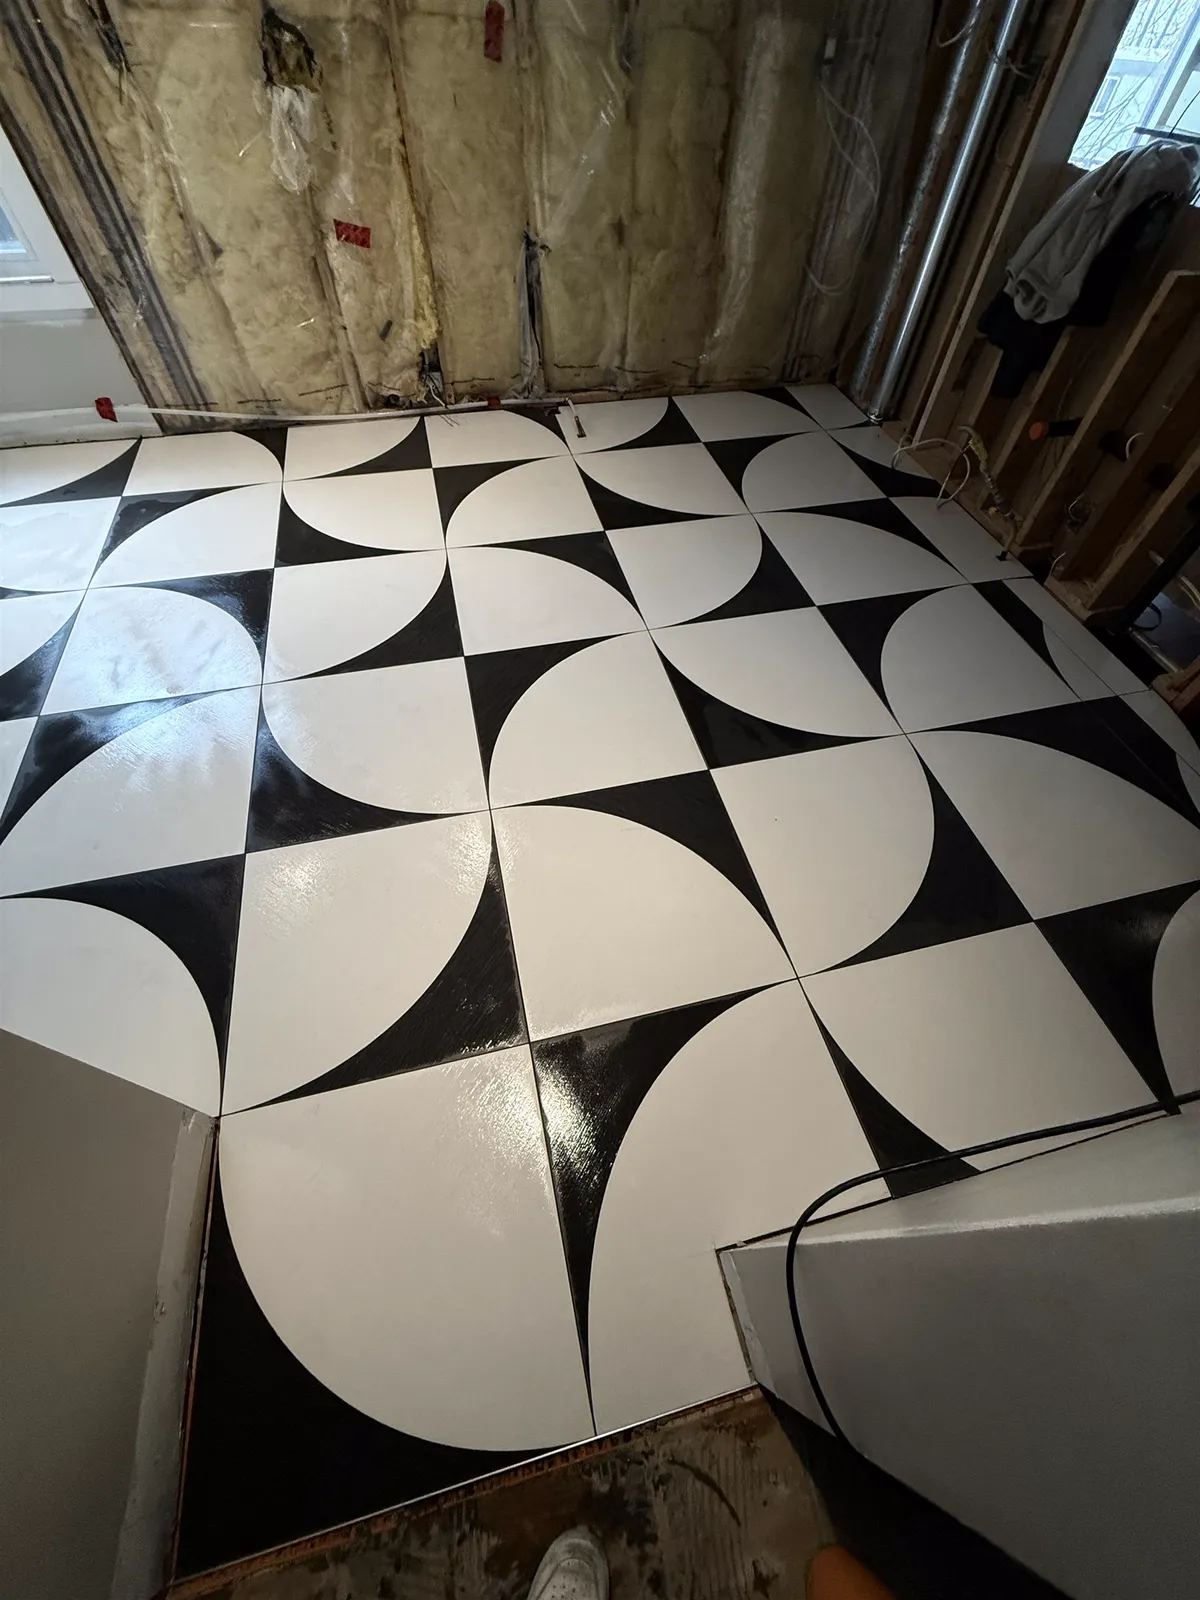
Patterned tile in a cement-tile or Moroccan style makes a strong statement. It works best on a short wall or behind the range, in a kitchen that is quiet otherwise. Most patterned tile sold today is porcelain or ceramic printed to look like encaustic cement.
Installation note: the pattern is dry-laid on the floor first. Some designs form a larger motif across four tiles, while others are meant to be mixed at random. Either way, the arrangement is planned before any mortar goes on. Real cement tile is porous and needs sealing; porcelain versions don't.
Large-format and full height backsplash ideas
Bigger tile and taller walls mean fewer joints and an easier wall to clean. They also demand more from the wall, because large flat surfaces show every bump.
9. Large-format porcelain slab backsplash
Porcelain panels, from 24 × 48 inches up to slabs several feet long, can cover a backsplash with only a few joints. Marble-look panels give the look of a stone slab.
Installation note: big panels are heavy and fragile until set. They usually need two people and suction lifters, plus a mortar made for large and heavy tile with full coverage on the back. The wall must be very flat, because a big panel can't follow a wavy wall. Each panel is templated around outlets, windows and counter ends, and the openings are cut with diamond tools. Plan the joints where the veining can carry across. See our large-format tile guide.
10. Full height backsplash to the ceiling or under open shelving
A full height backsplash runs from the counter to the ceiling instead of stopping at the cabinets. It is the natural choice on a wall with open shelves, a chimney hood or a window, where there are no uppers to stop against.
Installation note: a full-height wall shows any slope in the ceiling, so the layout is planned from the top as well as the bottom. Open shelves need solid support in the wall, such as blocking between the studs or hidden brackets, fitted before the tile goes up. Decide the shelf heights before tiling and line them up with the joints where possible.
11. Behind-the-range feature panel
A feature panel behind the range gives the kitchen a focal point without tiling the whole wall in an expensive tile. It can be framed herringbone, a patterned tile, a slab or a different colour, with a simpler tile around it.
Installation note: the panel is centred on the range and the hood, so their positions have to be fixed first. A framed panel is usually edged with a thin border tile or a slim metal trim, so the change of tile looks deliberate. If you want a pot filler, the plumber roughs in the supply before the wall is tiled.
Colour and grout ideas for a backsplash
The same subway tile can look crisp, soft or bold depending on its colour and the grout around it.
12. Contrasting vs matching grout
Matching grout makes the tile read as one surface, so its colour and texture stand out. Contrasting grout outlines every tile, so the pattern stands out. A mid-tone grout hides kitchen splashes better than pure white.
Installation note: contrasting grout shows every small error in spacing, so the layout has to be precise. Dark grout on glossy white tile also needs careful cleanup, because grout haze shows on the face. Behind the range and sink, a stain-resistant grout is worth considering; see epoxy vs cement grout.
13. Colour ideas: green, blue and warm white
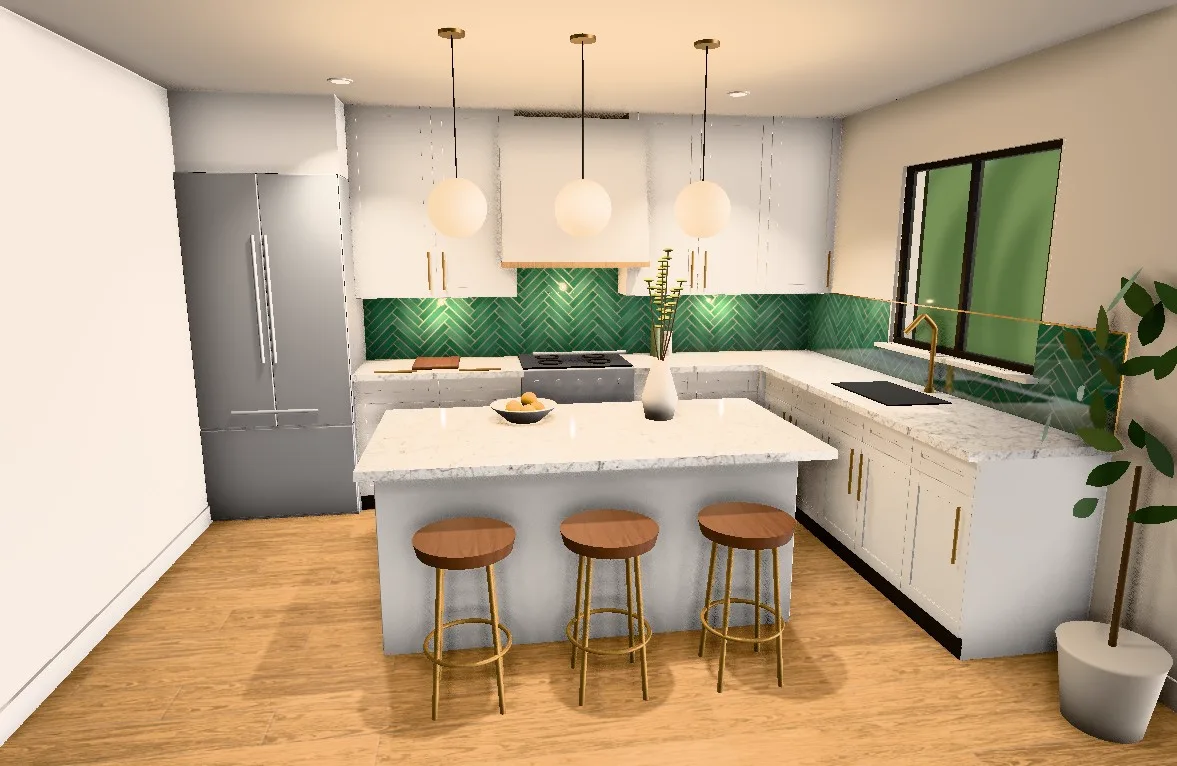
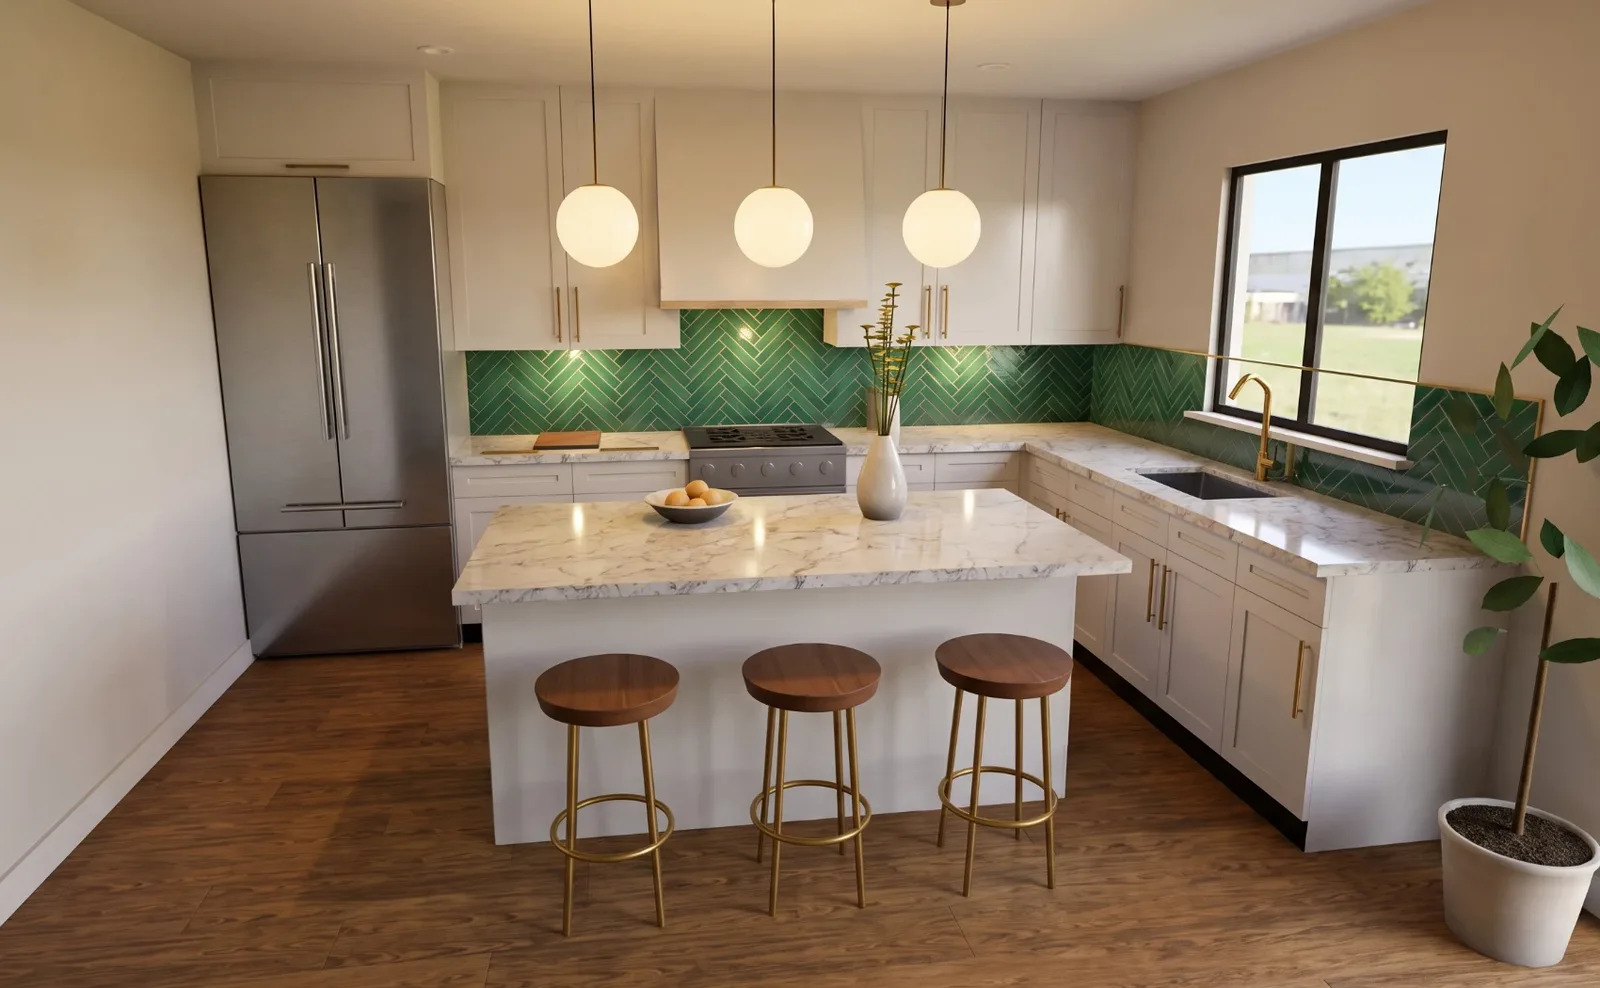
Green is one of the most popular backsplash colours, from deep bottle green to soft sage. It pairs well with white or wood cabinets and brass hardware, as in the herringbone kitchen pictured above. Blue, from navy to pale sky, feels fresh with white cabinets. Warm white and cream are softer than bright white and suit kitchens with wood floors and warm light.
Installation note: coloured glazes vary from batch to batch, so check that every box has the same lot number and blend boxes as you go. Strong colours make the grout more visible, so choose the grout with the tile in hand.
Edges and finishing details
The edges are where a backsplash looks professional or homemade. A backsplash rarely ends in a wall corner on both sides. It stops at the end of a counter, beside a window or partway along an open wall, so the exposed edge has to be finished.
14. Window returns and ends: metal trim or mitres
Where tile wraps into a window opening or stops at an open end, there are three common finishes. A slim metal profile, such as Schluter-JOLLY, QUADEC or RONDEC, protects the edge and gives a crisp line. A mitred corner, with two tiles cut at 45 degrees, looks seamless. Bullnose tile, with one rounded glazed edge, is the traditional finish where the tile line offers it.
Installation note: a mitre shows the body of the tile at the corner, so it works best with porcelain whose body colour matches its face. Metal trim is set into the mortar as the tile goes on, not added later. Window sills and stools should be finished first, so the tile can stop neatly against them. Compare the profiles in our guide to tile edge trim.
15. Matching the countertop
Some kitchens use the countertop material as the backsplash: a quartz or stone slab running up the wall behind the range or along the whole counter. When it is cut from the same slab as the counter, the countertop company usually fabricates and installs it. A tile alternative picks up the counter's veining or main colour.
Installation note: if part of the backsplash is slab and part is tile, decide where each starts before the countertop is templated. With a short slab splash along the counter, the tile starts from the top of the slab instead of the counter.
Where the backsplash should stop
On walls with upper cabinets, the tile normally runs from the counter to the underside of the cabinets. The sides are harder. The cleanest end point is usually in line with the end of the upper cabinet or the end of the countertop, whichever reads as the edge of the kitchen.
On walls without uppers, the tile can stop at a height that lines up with something, such as the top of the window or the bottom of the hood. It can also run to an open shelf or go full height. Decide before ordering, because the height changes the quantity.
Practical things to plan: outlets, lighting and cleaning
Outlets and switches. The tile is cut around each box, small enough for the cover plate to hide the cut. Thick tile can leave the device sitting too deep, so boxes sometimes need extenders to bring it flush. Power is turned off at the breaker before any cover plates come off. Moving or adding outlets is work for a licensed electrician, with an ESA permit where required, done before tiling.
Under-cabinet lighting. Lights under the uppers shine down the tile at a low angle. That raking light flatters handmade tile, but it also shows every bump in the wall and every tile that sits proud. That is why uneven drywall is filled or skimmed before tiling, and why the lighting wiring goes in first.
Cleaning behind the cooktop. The wall behind a range takes grease and splatter. Glossy and glass tile wipe clean easiest. Matte tile hides water spots but can hold grease in its texture. Heavily textured tile and wide joints take more scrubbing, so many people choose a smooth tile or a slab behind the range.
The countertop joint is caulked, not grouted
The backsplash goes in after the countertop, because the tile sits on it. The joint where tile meets counter is filled with a flexible sealant that matches the grout, not with grout. The counter and wall move slightly differently, and rigid grout in that corner cracks and lets water in. Our guide to tile movement joints explains why changes of plane stay flexible.
Agora has tiled backsplashes from family kitchens to the food-station walls at Teraanga Commons at Carleton University, and the same rules apply at every scale. Our kitchen backsplash installation page shows the styles we install.
Frequently asked questions
What is the most timeless kitchen backsplash?
White or cream subway tile in a running bond has stayed popular for decades. A simple tile in a classic layout ages better than a strong trend and lets the countertop lead.
Should the backsplash be lighter or darker than the countertop?
There's no fixed rule, but some contrast usually looks best, because it gives a clear line where the two meet.
Should the backsplash go all the way to the ceiling?
On walls with upper cabinets, it normally stops at the cabinets. On walls with open shelves, a chimney hood or a window, a full height backsplash often looks more finished than stopping partway up the wall.
What is the easiest backsplash to keep clean?
Large glossy porcelain, glass tile or a slab panel with very few joints. Fewer grout lines mean less to scrub, and a stain-resistant grout helps behind the range and sink.
Is a herringbone backsplash going out of style?
Herringbone has been used for centuries, so it is more classic than trend. It does cost more to install than a straight layout because of the extra cuts.
Do outlets have to be moved for a new backsplash?
Usually not. The tile is cut around the existing boxes, and extenders can bring the outlets flush with the new surface. If you want outlets moved or added, a licensed electrician does it before tiling.
Can you put new backsplash tile over old tile?
Sometimes, if the old tile is solid, flat and well bonded and the extra thickness works at the outlets and edges. Often it is cleaner to remove it. See can you tile over tile.