Short answer
Here is how to install laminate flooring: let the boxes acclimate in the room as the maker asks (commonly about 48 hours), make the subfloor clean, dry and flat, and lay the underlay the maker approves, with a vapour barrier over concrete. Click the boards together row by row with staggered end joints, and leave an expansion gap at every wall, pipe and doorway, commonly around 1/4" to 3/8". Trim is nailed to the wall, never to the floor, so the laminate can move with the seasons.
Laminate is a floating floor with a wood-fibre core. It is stiff, scratch-resistant and quick to lay, and it is one of the most popular DIY floors. The two things it doesn't forgive are water in the joints and a floor that can't move. Most laminate problems people blame on the product, such as peaked joints, gaps and a hollow sound, come from how it was installed. This guide explains how to install laminate flooring step by step, and why each step matters.
Where laminate works and where it doesn't
Laminate suits dry rooms: bedrooms, living rooms, dining rooms, hallways and home offices. It is a poor choice for full bathrooms, laundry rooms and other wet areas, because water that sits in the joints can make the core swell, and that swelling doesn't go back down. Water-resistant laminates with sealed edges hold up much better, but they still have limits. Read the warranty for where the maker allows the product, how long standing water is covered, and whether bathrooms are excluded.
Kitchens and entries are possible with a water-resistant product and some care. Basements need a laminate rated for below grade and a vapour barrier over the concrete; for most Ottawa basements, vinyl plank is the safer floor (see best basement flooring). If you are still deciding, LVP vs laminate compares the two room by room.
Acclimation and Ottawa humidity
Laminate's core is made of compressed wood fibre, so it takes on and gives off moisture with the air. Laminate makers commonly ask for about 48 hours in the room before installing, with the boxes flat and either unopened or opened as the instructions say. Follow the time on your product.
The room should be at normal living conditions during that time: heat or air conditioning running, windows closed, and drywall, paint and any concrete work fully dry. In an Ottawa winter, indoor air gets very dry, and in summer it gets humid. Laminate shrinks a little in dry air and grows in humid air, and the floor as a whole moves with it. That movement is why the expansion gap matters so much. Many makers list an indoor humidity range for the warranty, and keeping the home inside it protects the floor. Our guide to wood floors in an Ottawa winter explains seasonal humidity in more detail.
How to install laminate flooring: subfloor preparation
A floating floor is only as flat as what is under it. Makers commonly specify a flatness tolerance around 3/16" in 10 ft; check your product's figure. Over a dip, the boards flex each time someone steps on them, which wears the click joints, makes the floor sound hollow and lets the joints open. Check with a long straightedge in several directions. Fill low spots with patching compound or self-levelling compound, and grind or sand down high spots. Underlay is not a levelling product.
On a wood subfloor, screw down loose panels and squeaks before anything else. On concrete, check for moisture: many makers require a measured test, and every laminate needs a vapour barrier over a slab. Remove carpet, pad, tack strip and staples, and any old floating floor. Laminate should not float on top of another floating floor or over carpet. Vacuum thoroughly when you are done, because grit under the underlay becomes a bump in the finished floor.
Underlay and vapour barrier
Laminate always needs an underlay. It smooths minor texture, reduces the hollow sound, and over concrete it blocks moisture. Some boards come with the pad attached; others need a separate underlay that the maker approves. Never double up: a second cushion under an attached pad, or two pads stacked, lets the boards flex and breaks the joints. Over concrete, use either a combination underlay with a built-in film or a separate polyethylene sheet with the seams lapped and taped as the maker specifies. Over plywood or OSB, a separate barrier is usually not needed. In condos, the building's sound rules decide what goes underneath; see condo flooring rules.
Roll the underlay out one row or section at a time, seams butted (not overlapped unless it has a film flap made to overlap), and tape the seams so it doesn't shift. Our guide to underlay for laminate and vinyl compares foam, combination, felt, cork and rubber.
How to install laminate flooring: layout and the first row
Run the boards parallel to the longest wall or toward the main window, so light runs along the boards and the end joints show less. Keep the same direction through connected rooms, and run hallways lengthwise. Over an old strip-wood floor, many makers want the laminate to run across the old boards.
Measure the room's width at both ends and divide by the visible width of a board. If the last row would be a sliver, rip the first row narrower so both edge rows are a similar width. Then snap a chalk line or pull a string for the first row, set the row to the line rather than the wall, and scribe the boards to the wall where it wanders. Many instructions have you trim the tongue off the boards that face the starting wall. Lay three rows and check them against the line before going further, because an error in the first row grows across the room.
Before you start, undercut the door casings and jambs. Lay a scrap board on a piece of underlay against the casing and cut along it with a jamb saw. The laminate then slides under the casing instead of being notched around it, and the expansion gap stays hidden.
Expansion gaps: the rule that matters most
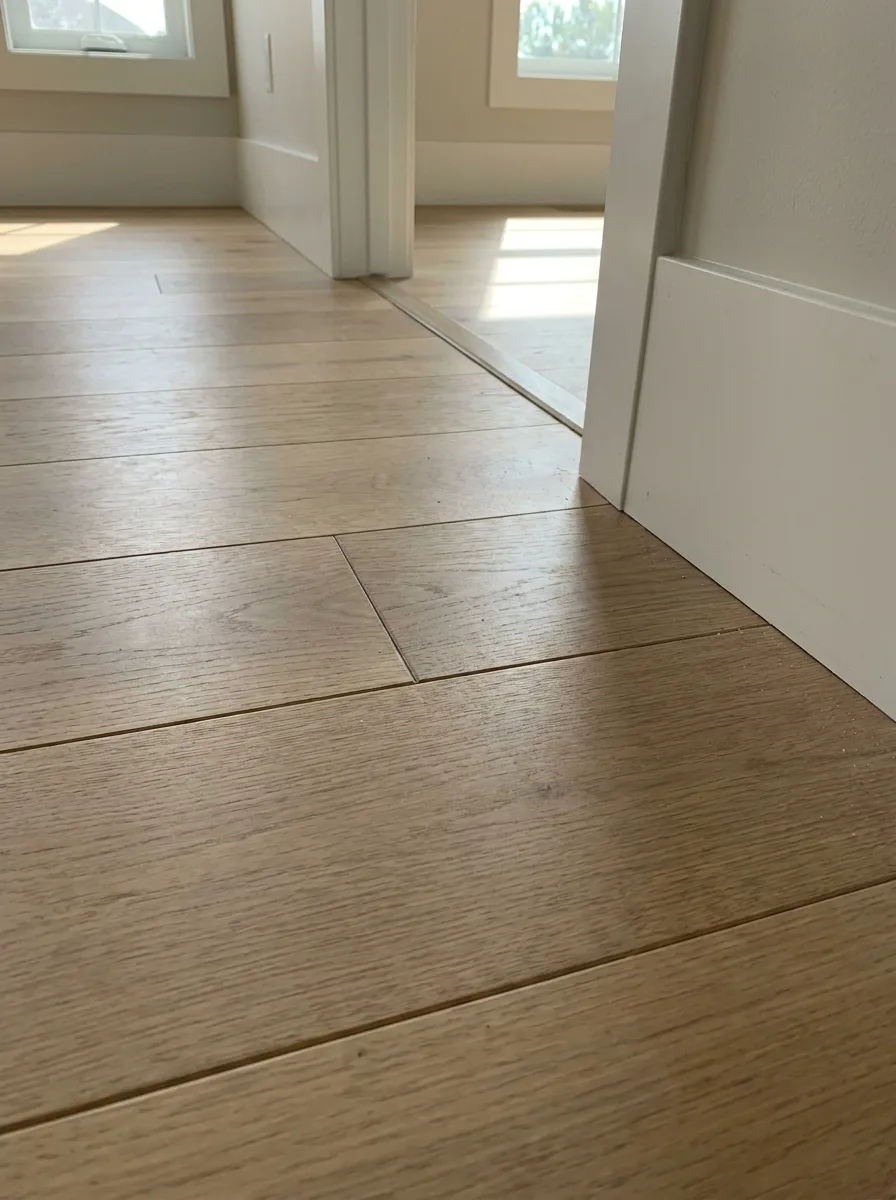
Laminate moves more than rigid vinyl plank, because its core reacts to humidity as well as temperature. A commonly cited gap is around 1/4" to 3/8" at every wall, or whatever the maker states, and larger floors may need more. The gap goes around everything fixed: walls, door jambs, pipes, floor vents, stair edges, fireplace hearths, cabinet bases and the edges of tile floors.
Spacers hold the gap while you work and come out at the end. Baseboard, quarter round and transitions hide it. Nothing should ever fill or pin it: no caulk, no nails through the floor, no door stop screwed down through a board, no heavy cabinet on top. A laminate floor that can't expand pushes up at the weakest joint, which is called peaking. Pinned in one place, it can also pull open gaps somewhere else.
Clicking the boards together: tapping block, pull bar and stagger
Most laminate uses an angle-in system. You hold the new board at an angle, push its long tongue into the groove of the previous row, and lower it flat. The short end then locks into the board before it, either by angling in, by a fold-down end joint pressed into place, or by tapping it horizontally. The instructions say which system you have.
Use a tapping block made for laminate when a joint needs persuading. Tap gently against the block, never on the board's edge with a bare hammer, which crushes the lock. At the end of a row, where there's no room to swing a block, use a pull bar hooked over the end of the board. If a joint won't close, take it apart and clear the groove. A joint that is forced shut with a chipped lock opens again later. Some installers work two or three rows at once so the long joints close easily.
End joints in neighbouring rows must be offset by at least the minimum the maker sets. Aim for a random-looking stagger, and avoid H-joints, where ends line up every second row, and stair-step patterns. Laminate designs are printed and repeat, so open several boxes at a time and mix them, keeping identical boards apart.
Cutting laminate
Laminate's wear layer is very hard and dulls blades quickly, so use a fine-tooth carbide blade and expect to replace it more often than with wood. The rule for chipping is simple: the teeth should enter the decorative face. With a mitre saw or table saw, the blade cuts down into the board, so cut face up. With a circular saw or a standard jigsaw, the blade cuts on the upstroke, so cut face down. A laminate cutter, which shears boards like a guillotine, is quiet and dust-free for straight crosscuts.
Cutting laminate makes fine dust from the fibre core. Cut outside or in a separate room, wear a dust mask and safety glasses, and vacuum rather than sweep. For pipes, drill a hole a little larger than the pipe to keep the gap, cut across the hole, and fit the small piece back behind it. A pipe collar covers the cut.
For the last row, measure the gap to the wall at several points, subtract the expansion gap and rip each board to its own width. Lock it in with the pull bar.
Transitions, kitchens and stairs
At most doorways, laminate stops under the door with a transition. A T-moulding joins floors of about the same height, a reducer steps down to a lower floor, and an end moulding finishes against a sliding door track or hearth. Many makers also set a maximum length and width for one continuous floor, and some require a break at doorways between rooms. Beyond those limits, a T-moulding acts as an expansion break. Transitions are fixed to the subfloor or a track, never through the laminate. See floor transition strips for each type.
In kitchens, laminate is installed up to the cabinet bases and island with the expansion gap, not under them; heavy cabinets pin a floating floor. Our guide to flooring before or after cabinets covers the order of work. Check that the dishwasher can still slide out over the new floor height, and keep the water supply lines dry.
Laminate doesn't float on stairs. Each tread and riser is cut, glued and fastened, with a laminate stair nosing made for that floor so the edge is finished and strong. See stair nosing. Stairs take far longer per square foot than the rest of the floor.
Finishing with baseboard or quarter round
Pull the spacers, then cover the gap. Baseboard or quarter round is nailed to the wall, never down into the laminate, so the floor can slide underneath. Leave a hair of space between the bottom of the trim and the floor surface rather than pressing it down hard. New or reinstalled baseboard gives the cleanest look, while quarter round covers a wider gap and an uneven wall line; our guide to quarter round vs baseboard compares them. Then clean the floor the way laminate floor care describes, without wet mopping.
Common laminate problems and their causes
Most problems trace back to the gap, the subfloor or water:
| Problem | What it looks like | Usual causes |
|---|---|---|
| Peaking | Joints lift into a ridge | No expansion gap, floor pinned by trim or cabinets, high humidity |
| Gapping | Open joints, often in winter | Joints not fully locked, dips in the subfloor, very dry air, floor pinned elsewhere |
| Hollow or clicking sound | Loud, drummy footsteps | Dips under the floor, wrong or missing underlay, debris underneath |
| Swollen edges | Raised, puffy board edges | Water in the joints from spills, wet mopping or leaks |
| Bounce | Floor moves underfoot | Soft or doubled underlay, low spots, loose subfloor |
Swollen edges can't be fixed, only replaced, which is why spare boards are worth keeping. Peaking and gapping often go away once the cause is removed, such as trim nailed into the floor or a cabinet sitting on it.
How long laminate flooring installation takes
Most single rooms take a day. A 500 to 800 sq ft floor usually takes two to three days for an experienced crew, plus the acclimation time before it, and longer if the subfloor needs levelling or there are stairs. A first-time DIY installer should plan on at least double. Our installation checklist covers what to sort out beforehand.
Installing laminate yourself or hiring a pro
Installing laminate in a square bedroom over a flat wood subfloor is a reasonable first DIY project. The hard parts are the same ones that cause problems later: correcting flatness, judging a concrete slab, door casings, stairs, kitchens and long runs through open areas. Laminate is less forgiving of mistakes than rigid vinyl, because a swollen or broken board can't be repaired in place.
Installation labour for laminate runs about $2.00 to $4.00 per sq ft, according to the average of the published 2026 price ranges of four Ottawa flooring companies; see flooring cost in Ottawa for what that covers. At Agora, the site visit and written quote are free, and they include the subfloor prep the room needs. See our laminate flooring installation page.
Frequently asked questions
Do you need underlay for laminate flooring?
Yes. Laminate always floats over an underlay, either attached to the boards or laid separately, and over concrete it needs a vapour barrier too. Never add a second pad under boards that already have one.
How big should the expansion gap be for laminate?
A commonly cited range is around 1/4" to 3/8" at every wall and fixed object, but use the figure in your product's instructions. Larger floors may need more, and some need expansion breaks at doorways.
Which way should laminate flooring run?
Usually parallel to the longest wall or toward the main window, and the same way through connected rooms. Over an old strip-wood floor, many makers want it laid across the old boards.
Can you install laminate in a bathroom?
Standard laminate is not suited to full bathrooms. Some water-resistant laminates allow it with conditions, so check the warranty first; vinyl plank or tile is usually the safer choice.
Why is my new laminate floor peaking?
Usually because the floor can't expand: the gap at the walls is too small, or trim, a door stop or a cabinet is pinning it. High humidity makes it worse.
Should laminate go under kitchen cabinets?
No. Install it up to the cabinet bases and island with an expansion gap, and cover the gap with the toe kick or trim.