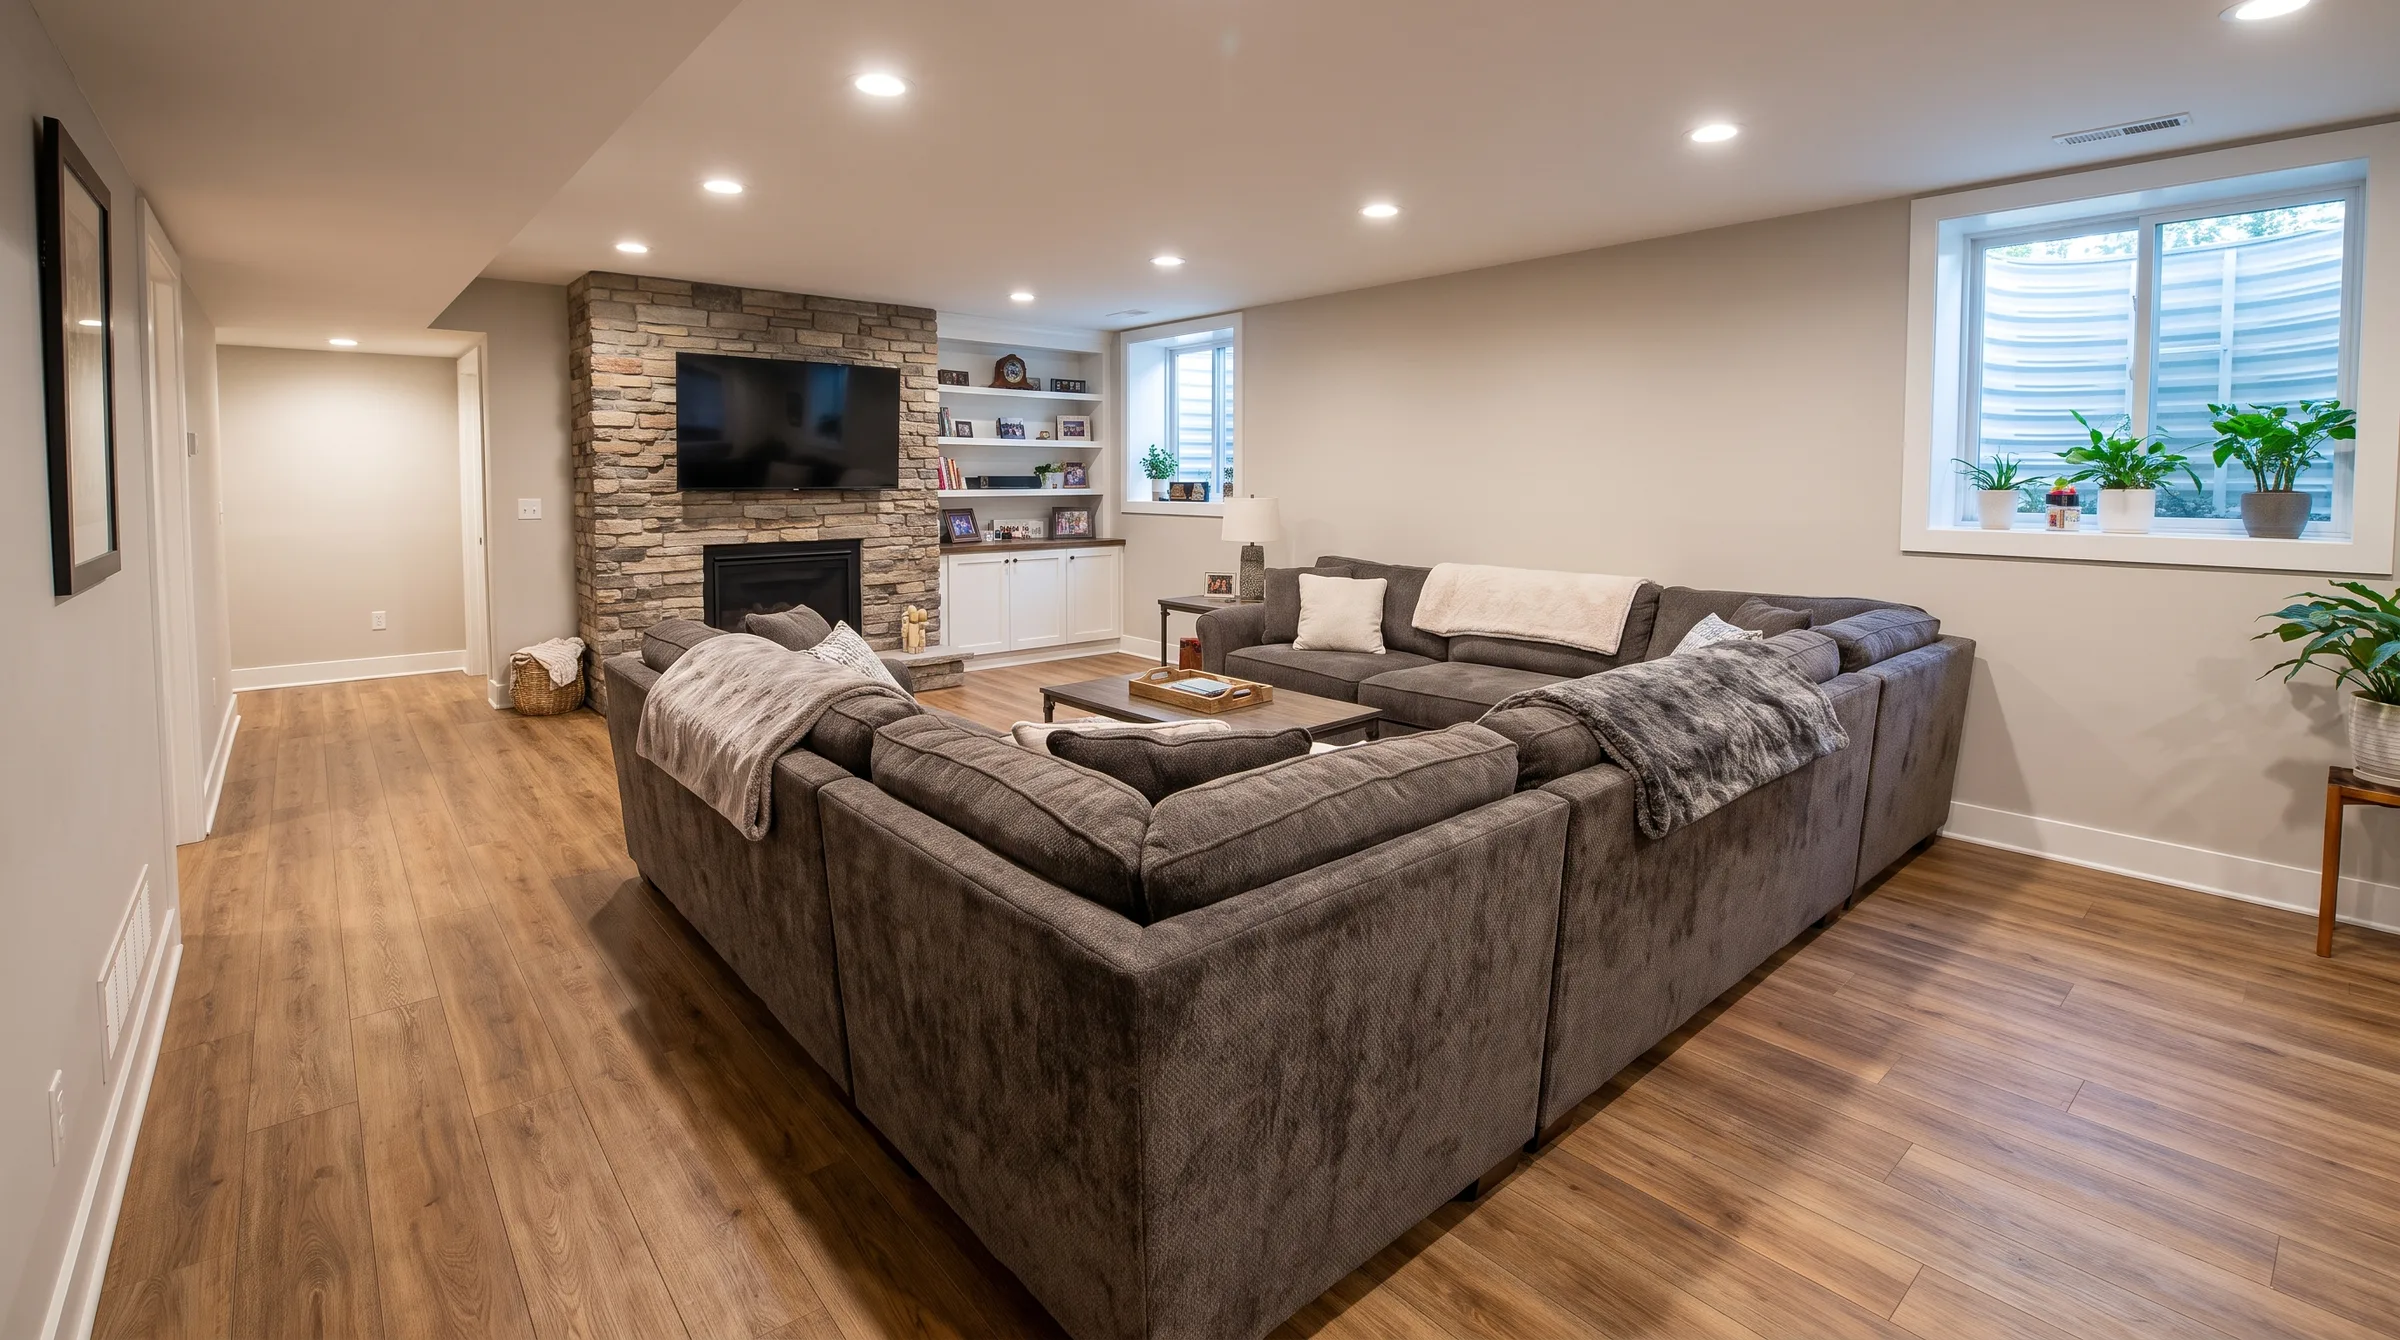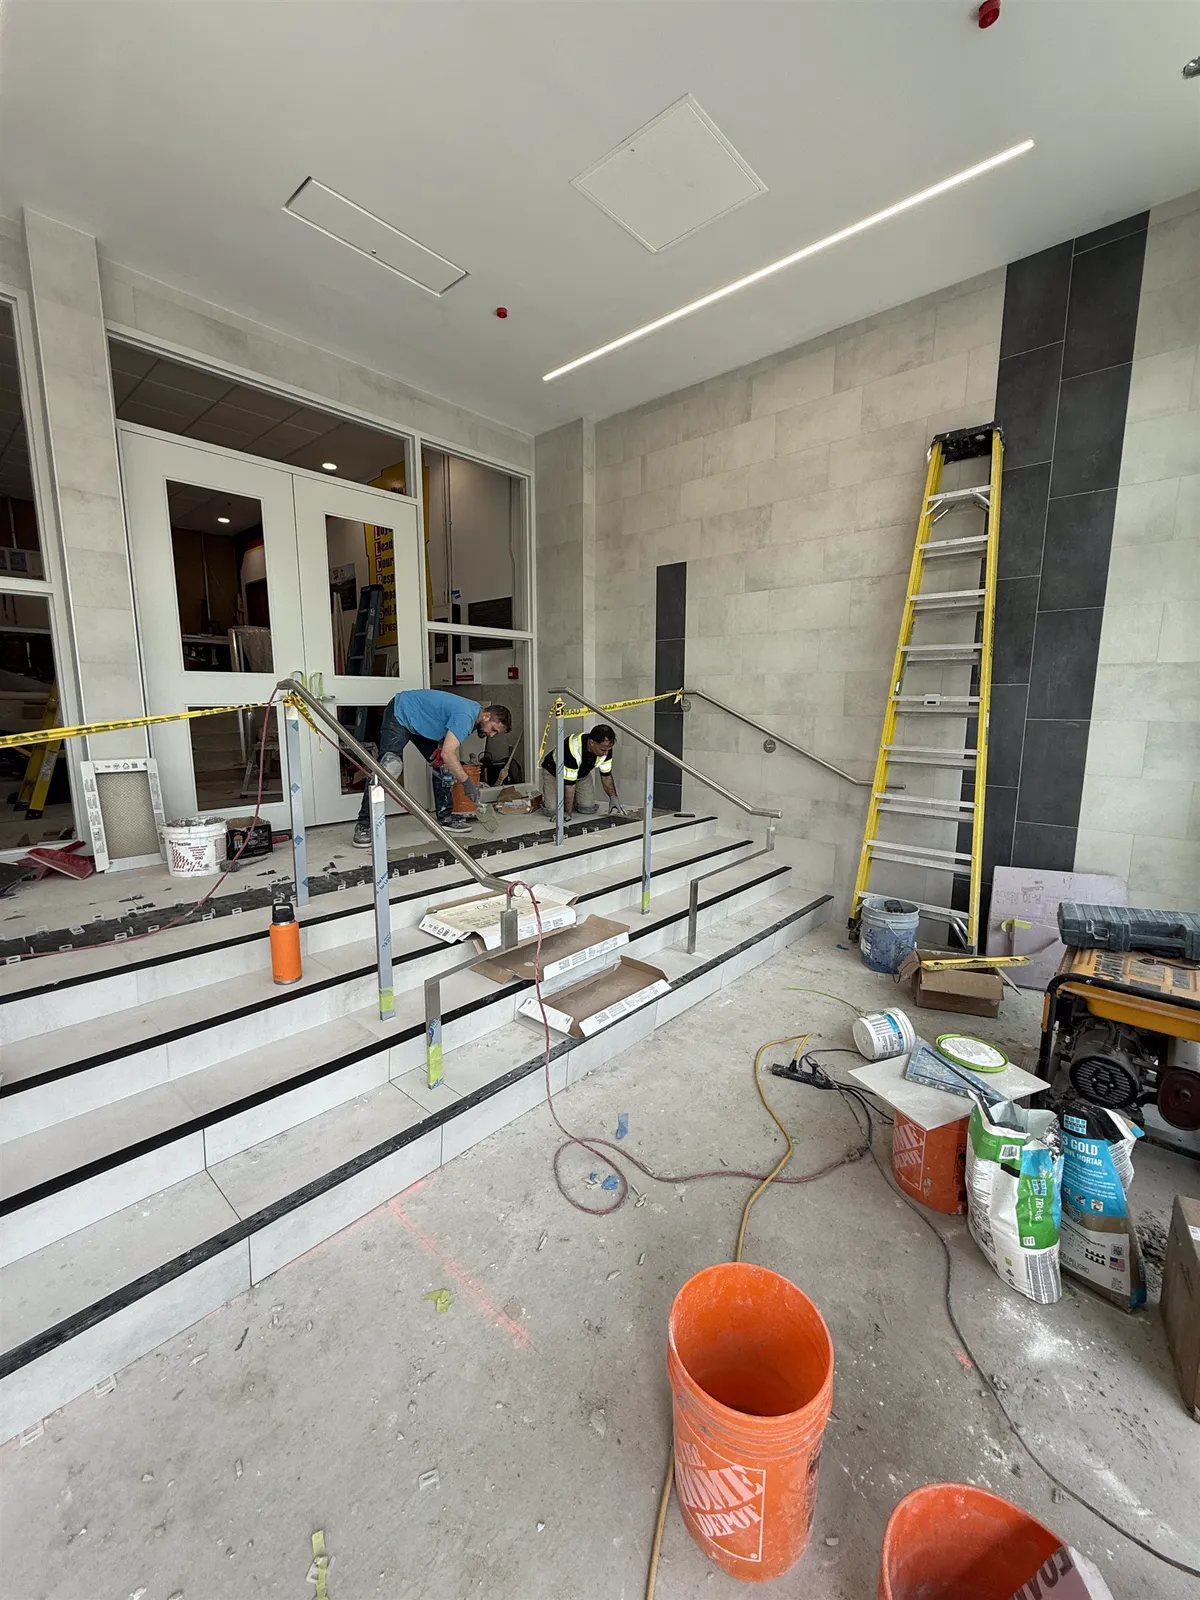
Short answer
Here is how to install vinyl plank flooring: start with a clean, dry subfloor that is flat within the maker's tolerance (commonly around 3/16" over 10 ft). Plan the layout so the first and last rows are balanced, leave the expansion gap at every wall the instructions call for, and click the planks together row by row with the end joints staggered. Never pin a floating floor under cabinets or islands. Most of the skill is in the preparation and layout, not in clicking planks together.
Luxury vinyl plank (LVP) is one of the most forgiving floors to install, but it still shows every shortcut. A dip in the subfloor or a missing gap at the wall can turn into open joints and clicking sounds months later. This guide explains how to install vinyl plank flooring of the click-lock (floating) type used in most homes, in the order a careful installer works. Glue-down vinyl is covered briefly near the end. If you are still choosing a floor, start with LVP vs laminate.
Start with the instructions in the box
Every vinyl plank product has its own installation instructions, and they double as the warranty conditions. They set the flatness tolerance, the expansion gap, the minimum end-joint offset, the underlay rules, the largest area allowed without a break, and whether the planks can go over radiant heat. Read them before you buy underlay or trim, and keep them with the receipt and the batch numbers from the boxes. Where this guide and the instructions differ, follow the instructions.
How to install vinyl plank flooring: tools and materials
- Layout: tape measure, chalk line or string line, a long straightedge (6 to 10 ft) and a square.
- Cutting: a utility knife with spare blades, a jigsaw or mitre saw for notches, a hole saw for pipes, and a jamb saw or oscillating tool for door casings.
- Installing: spacers, a tapping block made for click flooring, a pull bar and a non-marking rubber mallet.
- Prep and safety: scraper, patching compound, shop vacuum, knee pads and safety glasses.
For material, most installers add about 10% to the floor area for cuts in a straight layout, and more in rooms with many corners and closets. You also need any underlay or vapour barrier the product calls for, a transition for each doorway, baseboard or quarter round, and a spare box for future repairs.
Acclimation: follow the maker, not a rule of thumb
Vinyl reacts mostly to temperature. A cold plank is shorter and stiffer than a warm one, and it grows as it warms up. Acclimation rules vary a lot: many rigid-core (SPC) products need little or none, while others ask for the boxes to sit flat in the room at normal living temperature for a set time. Use the time your maker gives, not a number from a forum.
In an Ottawa winter, flooring often arrives cold from an unheated truck or warehouse. Cold planks are more brittle, so the locking edges chip more easily, and a floor clicked together cold expands once the room warms it. Let the boxes come up to room temperature as the instructions say, and keep the heating running normally before, during and after the work. Sunrooms and rooms with very large windows see bigger temperature swings, which is where glue-down vinyl is often the safer choice.
Subfloor preparation: the most important step
If you remember one thing about how to install vinyl plank flooring, make it this: flatness decides how the floor performs. A click joint that sits over a dip flexes every time someone steps on it. Over months, the lock wears, the joint opens or peaks, and the floor starts to click. Rigid-core planks bridge small flaws, but not real dips.
Makers commonly specify a tolerance such as 3/16" in 10 ft, and some add a limit over a shorter span; check your product's figure. Lay a long straightedge across the floor in several directions and mark every gap under it and every hump it rocks on. Fill low spots with patching compound. Grind high spots on concrete, and sand or plane high seams on wood panels. When the whole floor is wavy, a pour of self-levelling compound is often faster and better than dozens of patches.
On wood subfloors, screw loose panels and squeaks down to the joists now; a floating floor will not quiet a subfloor that moves. On concrete, moisture is the other question. A plastic sheet taped to the slab overnight is a rough first check, but many makers require a measured test and publish their limits. Use the vapour barrier the product calls for, either built into an approved underlay or as a separate sheet. Our underlayment guide covers pads, barriers and condo sound rules, and basement flooring covers damp slabs. Finish by vacuuming thoroughly. One small stone under a plank makes a bump you will feel underfoot.
Removing old flooring and undercutting door casings
Carpet, pad, tack strip and staples all come out, and so does any old floating floor. A floating floor on top of another is too soft, and the joints fail. Vinyl plank can often go over flat, well-bonded tile or sheet flooring instead; see can you put vinyl plank over tile, which also covers the asbestos warning for old sheet flooring.
If you plan to reuse the baseboards, pry them off against a scrap of wood so the wall isn't crushed, and number them on the back. At each door, undercut the casings and jambs rather than notching planks around their profile. Lay a scrap plank, with any underlay, upside down against the casing as a height guide and cut along it with a jamb saw. The new plank slides under the casing, which looks clean and hides the expansion gap. Check the doors as well: if the new floor is higher than the old one, some will need trimming to swing freely.
Planning the layout for vinyl plank installation
Layout is what makes a floor look professionally installed. Planks usually run parallel to the longest wall or toward the main window, so the light runs along the boards and the end joints show less. Keep one direction through connected rooms, and run hallways lengthwise.
Next, balance the first and last rows. Measure the room's width at both ends, because walls are rarely parallel. Divide by the visible face width of a plank, not counting the tongue, and see what is left for the last row. If it would be a sliver, rip the first row narrower so both edge rows are a similar width. Most instructions also set a minimum width for edge rows and a minimum length for short end pieces.
Finally, mix the planks. Vinyl designs are printed, and the pattern repeats every few planks. Open three or four boxes at a time and pull from all of them, so two identical planks never sit side by side and darker planks don't cluster in one spot.
Expansion gaps at walls and fixed objects
A floating floor moves as one sheet as the temperature changes. It needs a gap at every wall and fixed object: cabinet bases, door jambs, pipes, stairs, hearths and the edges of tile floors. Many makers call for about 1/4" (6 mm), and some ask for more in large rooms. Follow your product's figure.
Spacers hold the gap while you work. The gap is then hidden under baseboard, quarter round or a transition. It is never filled with nails, screws or tight trim; the only exception is flexible silicone where the maker calls for it in wet areas. Anything that pins the floor stops it moving, and the movement shows up elsewhere as gaps or peaked joints.
How to install vinyl plank flooring: the first row
The first row sets the line for the whole floor, and walls are almost never straight. Snap a chalk line or pull a string parallel to the starting wall, at the width of the first row plus the gap. Set the first row to the line, not the wall, and scribe the planks to follow the wall where it wanders. The instructions show which edge faces the wall and whether to trim off the tongue on that side. Lay three rows, then check them against the line. Any error at the start grows across the room.
How to click vinyl planks together
Most click vinyl uses an angle-and-drop system. You angle the long edge into the previous row and lower it, and the short end drops onto the end of the plank before it. Some end joints then need a light tap with a rubber mallet to lock. Other products angle in on both edges. The instructions say which method applies and whether tapping is allowed.
Vinyl locks are thin, so force does harm. Use a tapping block made for click flooring, never a hammer on the plank edge, and tap lightly. A chipped lock can look closed on the day and open later. If a joint won't close, take the plank apart and look for grit in the groove instead of hitting it harder. Run your hand over each joint: you should feel no gap and no ridge. At the end of each row, use the pull bar to draw the last plank tight, with the spacer still behind it.
Staggering the end joints
End joints in neighbouring rows must be offset. Makers set a minimum, commonly at least 6 inches (150 mm), and some ask for more. A random-looking stagger is stronger and looks more like real wood. Avoid H-joints, where end joints line up every second row, and avoid a regular stair-step pattern. Starting each row with the off-cut from the last one saves material, as long as each piece meets the minimum length and the joints keep moving around.
Cutting around door frames, pipes and vents
For straight cuts in most rigid-core planks, score the face deeply with a utility knife against a square, snap the plank and cut through the backing. Notches and curves need a jigsaw or oscillating tool. Measure from the wall in two places and allow for the expansion gap before you cut.
For pipes, drill a hole a little larger than the pipe so the gap continues all the way around. Cut across the centre of the hole, fit the main piece, then fit the small back piece behind the pipe; the instructions say whether to glue it. A pipe collar hides the cut. At floor vents, cut the opening to the duct and set the register on the finished floor. At door frames, the undercut casing does most of the work.
The last row needs the same care. Measure the gap to the wall at several points, subtract the expansion gap, rip each plank to its own width and lock it with the pull bar. If you balanced the layout at the start, it will be a decent width rather than a sliver that breaks or won't hold its lock.
Transitions and expansion breaks in open areas
A T-moulding joins floors of about the same height, a reducer steps down to a lower floor, and an end moulding finishes against a sliding door track or hearth. Transitions are fixed to the subfloor or a track, never through the floating floor, and the expansion gap runs underneath. Our guide to floor transition strips explains each type.
Many makers also set a maximum length and width for an unbroken floating floor. Beyond it, they require an expansion break, usually a T-moulding, and some want breaks where rooms meet through narrow openings. Check these limits before planning one continuous floor through a long open main level.
Installing vinyl plank in kitchens, bathrooms and on stairs
Kitchens. A floating floor must not be pinned under heavy cabinets or an island. The usual approach is to install up to the cabinet bases with the gap and cover it with the toe kick or trim. If the floor has to go in first, read flooring before or after cabinets. Check that the dishwasher will still slide out over the new floor height.
Bathrooms. The toilet is usually removed so the planks run under it, then reset on a new seal; if you are not comfortable with that, it is a job for a plumber. Leave the gap around the flange and make sure the flange height still suits the finished floor. Water at the edges is the real risk. Many makers call for flexible silicone in the gap at the tub, shower and toilet base, and some around the whole room. See is luxury vinyl plank waterproof for why the planks resist water but the floor is not sealed.
Stairs. Floating floors don't float on stairs. Each tread and riser is cut and fixed in place, with a nosing made for that floor; see stair nosing.
Glue-down vinyl: what changes
Glue-down (dryback) vinyl is thin and flexible, and it is bonded across the whole floor with the adhesive and trowel the maker lists. The subfloor must be smooth as well as flat, often with a full skim coat, because every bump shows through. You work within the adhesive's open time and roll the floor with a heavy roller. In return, it stays put in large rooms, sunny rooms and areas with rolling loads. See click vs glue-down vinyl plank.
Finishing with baseboards or quarter round
Remove the spacers, then cover the gap. Baseboards and quarter round are nailed to the wall, never down into the floor, so the floor can still move underneath. Reinstalled baseboards often look cleaner than added quarter round, while quarter round hides an uneven wall line; our guide to quarter round vs baseboard compares them.
Common LVP installation mistakes
- Skipping the flatness check, so joints flex over dips and open later.
- Adding a second cushion pad under planks that have one attached.
- No gap at door jambs, pipes or cabinets, or trim nailed into the floor.
- Islands or heavy built-ins set on top of the floating floor.
- Hammering on the locks, or clicking cold planks together in winter.
- Thin slivers at a doorway because the rows weren't balanced.
- End joints too close together, or H-joints across the room.
How long vinyl plank installation takes
A single bedroom over a flat, clean subfloor usually takes about a day. A 500 to 800 sq ft basement or main floor usually takes an experienced crew two to three days. Levelling adds drying time before planks can go down, and stairs, kitchens, bathrooms and many doorways add hours. A first-time DIY installer should plan on at least double.
Luxury vinyl plank installation: DIY or hire a pro?
A square bedroom over a flat floor is a reasonable DIY project if you are patient and follow the instructions. The parts that go wrong take experience: correcting flatness, testing a slab, balancing a layout through several rooms, undercutting casings, and working around stairs, kitchens and bathrooms. Mistakes there often don't show for months, when they are harder to fix.
Installation labour for LVP runs about $1.75 to $3.75 per sq ft, according to the average of the published 2026 price ranges of four Ottawa flooring companies; see flooring cost in Ottawa for what that covers. At Agora, we check flatness and moisture at the free site visit and put the prep in the written quote. More on our vinyl plank installation page.
Frequently asked questions
Do you need underlayment for vinyl plank flooring?
If the planks have a pad attached, usually not, apart from a vapour barrier over concrete when the maker calls for one. If they have no pad, use only the thin, dense underlay the maker approves. A second cushion pad is a common way to break the click joints.
How big should the expansion gap be for vinyl plank?
Many makers call for about 1/4" (6 mm) at walls and fixed objects, and some ask for more in large rooms. Use the figure in your product's instructions.
Do you need to acclimate vinyl plank flooring?
It depends on the product. Many rigid-core planks need little or none, while others ask for a set time at room temperature. In winter, always let cold boxes warm up first.
Can you install vinyl plank under kitchen cabinets?
A floating click floor should not go under cabinets or islands, because their weight pins it. Install up to the cabinet bases with a gap and cover it with the toe kick or trim.
Can you install vinyl plank flooring over tile?
Often, if the tile is flat, solid and well bonded and the height works at doors and appliances. Wide or deep grout lines are usually filled first so they don't show through.