Short answer
Quarter round and shoe moulding are small trims nailed along the bottom of a baseboard to cover the gap at the edge of a floor. With new flooring you have two choices. Remove the baseboards, install the floor, then reinstall or replace them: the cleanest look, with no quarter round needed. Or leave the baseboards in place and add quarter round: faster and cheaper, but it changes the look. Either way, the trim is nailed to the wall or baseboard, never to a floating floor.
Quarter round is one of those details most people never think about until the new floor is going in. Then the question comes up fast: do the baseboards come off, or does quarter round go on? The answer changes how the finished room looks, how long the job takes and what it costs. This guide explains what each trim is, why new floors need it, and how baseboard and quarter round are installed properly.
What baseboard, quarter round and shoe moulding are
Baseboard is the tall trim that runs along the bottom of every wall. It covers the joint between the wall and the floor, protects the drywall from vacuums, mops and feet, and gives the room a finished edge. It comes in many heights and profiles, from a plain square edge to tall colonial styles.
Quarter round is a small moulding shaped like a quarter of a circle when you look at its end. It is nailed along the bottom of the baseboard, where it meets the floor. Shoe moulding does the same job with a slimmer profile. Both cover the gap between the baseboard and the floor without the baseboard having to come off.
Quarter round vs shoe moulding
The difference is the shape. Quarter round is as deep as it is tall, a common size being about 3/4 inch by 3/4 inch. Its full curve sticks out further from the baseboard. Shoe moulding is taller than it is deep, commonly around 1/2 inch deep and 3/4 inch tall, with a flatter curve. It sits closer to the baseboard and looks more refined. That is why it is often preferred in finished living areas.
Quarter round covers a slightly wider gap, which helps where walls or floors are wavy. Shoe moulding is slimmer and takes up less floor, but it needs a more even gap to cover. Both are sold in paint-grade and stain-grade versions, and many vinyl and laminate collections offer a quarter round in the same colour as the planks.
Why new floors need trim at the walls
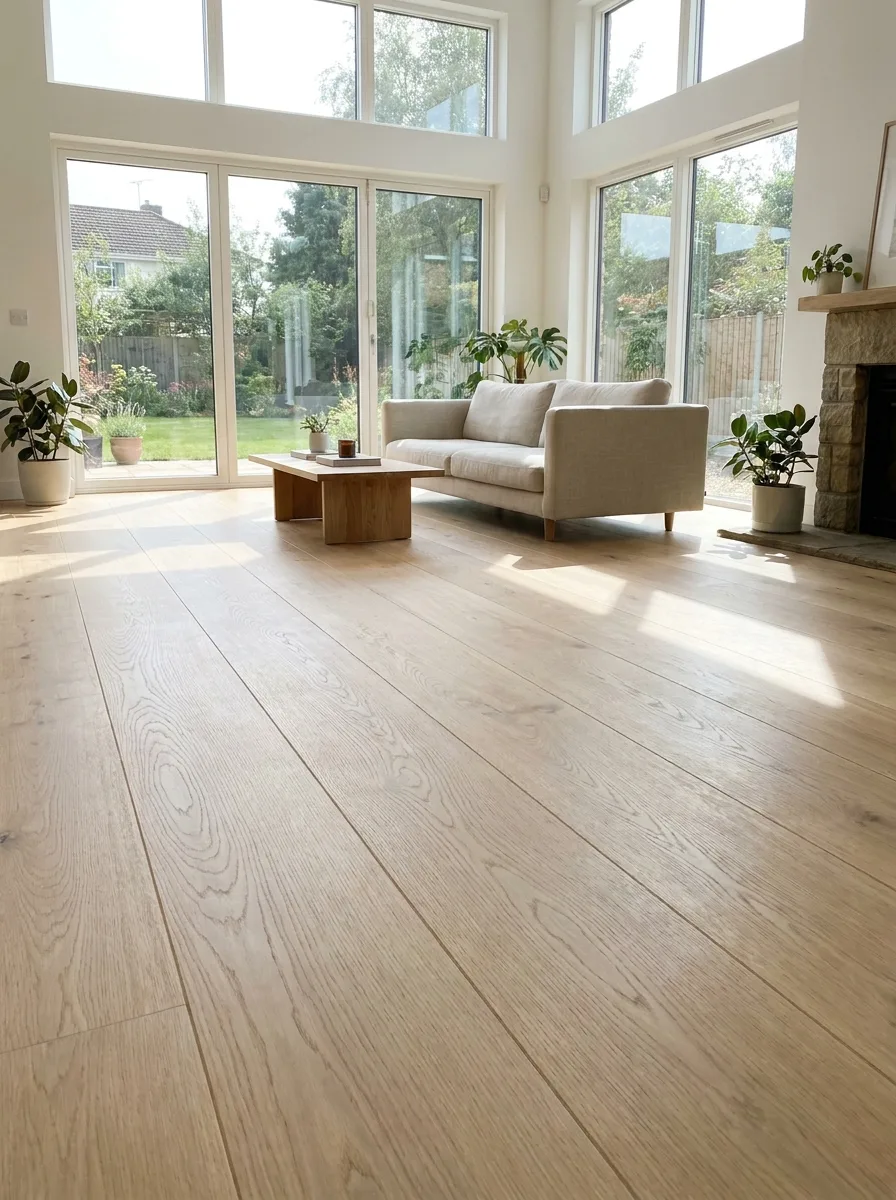
Floating floors, such as laminate, click vinyl plank and floating engineered wood, expand and contract with the seasons. They need a gap at every wall, door frame and fixed object, so the floor can move without pushing against the wall. Most makers ask for a gap of roughly 1/4 to 3/8 inch, and the installation instructions give the exact number. That gap has to be covered, and that is what baseboard or quarter round does.
Nail-down hardwood needs a gap at the walls too, because wood moves with humidity. And no house has perfectly straight walls or perfectly flat floors. Even with a small gap, the joint along the wall wanders, and the trim hides it. In an Ottawa house, where indoor humidity swings between dry winters and humid summers, that movement is real and the gap matters. Our guides on how to install laminate flooring and how to install vinyl plank flooring cover expansion gaps in more detail.
Option 1: remove the baseboards for new flooring
For new baseboards from scratch, see how baseboards are installed.
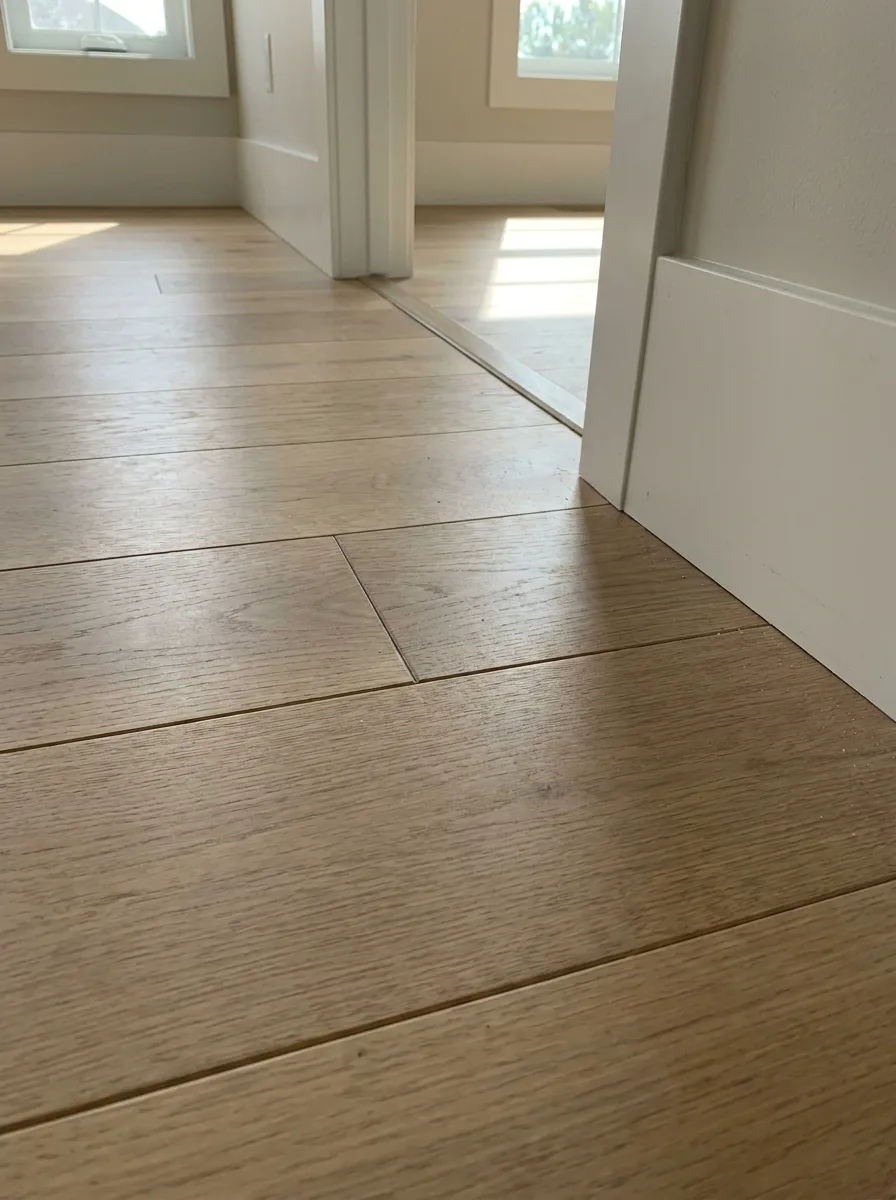
The cleanest result comes from removing the baseboards before the new floor goes in. The floor is installed with its expansion gap at the wall, and the baseboards go back on top, covering the gap. No quarter round is needed, so the wall has one clean line of trim.
This option also fixes height problems. If the new floor is thicker than the old one, baseboards left in place look shorter and may sit on the new floor oddly. If the new floor is thinner, the old baseboard may leave a gap at its bottom edge. With the baseboards off, they are reset at the right height for the new floor.
The downsides are time and risk. Removing, storing and reinstalling baseboards takes longer, and the top joint has to be caulked and touched up with paint. Some baseboards, especially old MDF, crack or crumble when they come off, so plan on replacing a few lengths. Many people take the chance to install new baseboards instead, in a taller or more modern profile.
Option 2: keep the baseboards and add quarter round
Leaving the baseboards in place and adding quarter round or shoe moulding is faster and cheaper. The new floor is cut to fit up to the baseboard with its expansion gap, and the quarter round covers the gap. It is a common choice when the baseboards are in good shape and you are happy with their height and style.
The trade-off is the look. Quarter round adds a second, rounded line along the bottom of every wall. Some people like the traditional look, and in many homes it is normal. Others find it dated or bulky, especially next to a modern flat baseboard. Shoe moulding is the slimmer middle ground. Ask to see a sample piece against your baseboard before deciding.
Which option suits which floor
Laminate and click vinyl plank need a covered expansion gap, so either option works. Removing the baseboards gives a cleaner look, and quarter round is the quicker route. Our comparison of LVP vs laminate covers the floors themselves.
Hardwood works with either option too. Stained hardwood often gets a stain-grade shoe moulding to match the floor, or a painted shoe to match the baseboard. See how to install hardwood flooring.
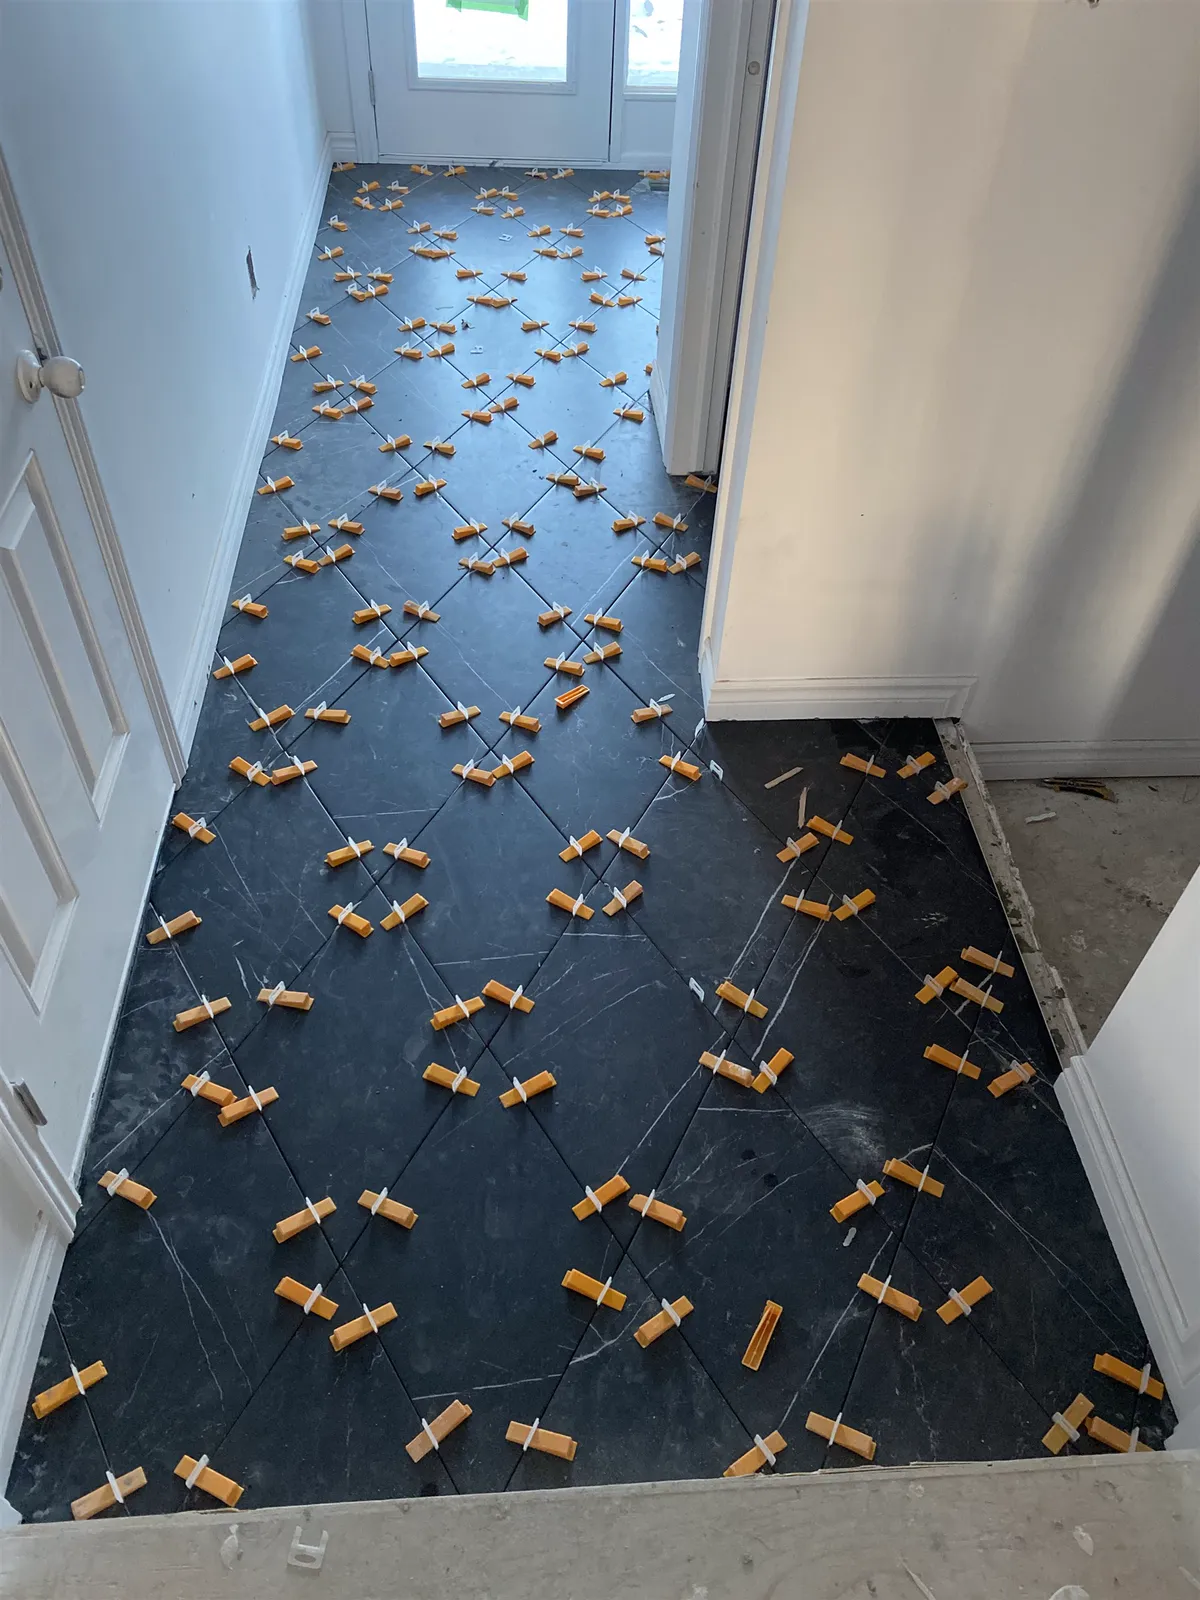
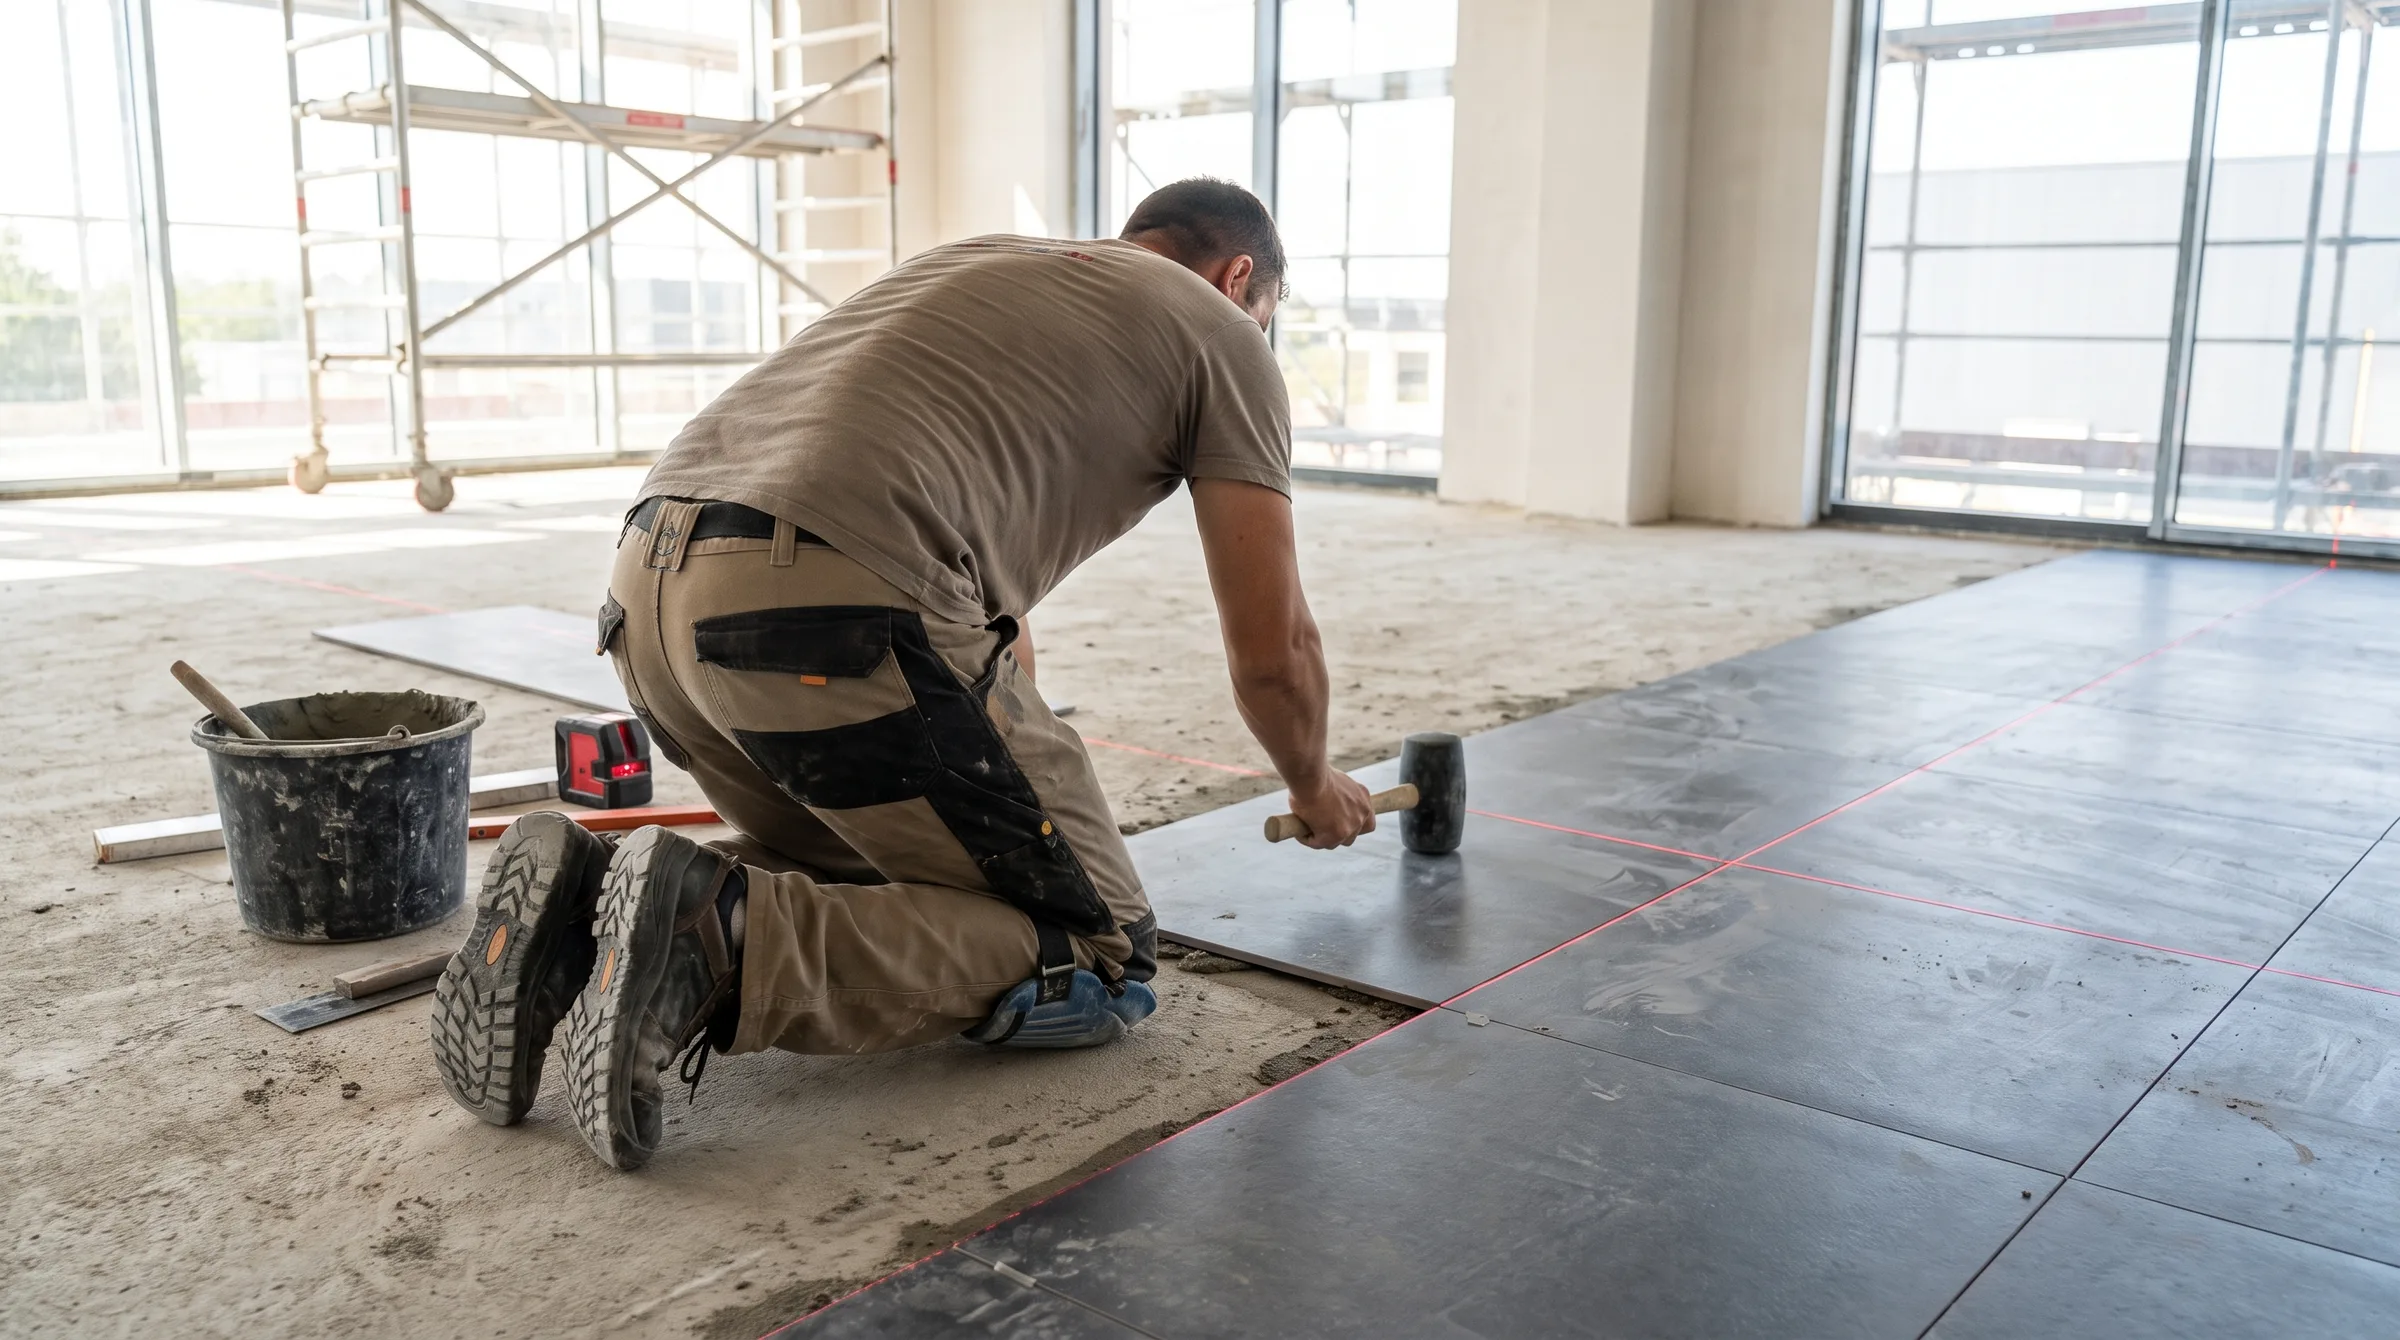
Tile floors are different. Quarter round is usually not used with tile. Instead, the walls get a tile base cut from the floor tile, or a baseboard installed after the tile. The gap at the walls is kept free of grout and mortar, because tile needs room at the edges for movement. The baseboard or tile base covers it, and where tile base meets the floor tile, the joint is sealed with a flexible sealant. Our guides on how to tile a floor and tile movement joints explain why. Some tile installations finish with a clean caulked joint and no trim at all, such as where tile meets a cabinet or a tub.
Carpet is tucked under the baseboard edge, so it never uses quarter round. Baseboards in carpeted rooms are usually set a little above the subfloor to leave room for the carpet and pad.
How to remove baseboards for reinstallation
If you plan to reuse the baseboards, take them off carefully. Run a utility knife along the top edge, where paint and caulk bond the baseboard to the wall. That stops the paint from tearing the drywall. Then pry the baseboard away gently with a wide flat bar, placing a putty knife or a thin block behind the bar so it doesn't dent the wall. Work along the length a little at a time near each nail, rather than prying one end hard.
Number every piece as it comes off, and write the wall and room on the back. Walls are not identical, and each piece was cut for its spot. Pull the old nails out through the back with pliers, so the face isn't damaged. Store the pieces flat, somewhere dry. Our checklist for preparing for a flooring installation includes agreeing on trim before the job starts.
How to install baseboard properly
Here is how to install baseboard so it stays tight and looks right.
- Find the studs. Mark the wall studs, and remember the bottom plate, the horizontal framing member at the base of the wall.
- Set the height. Over a floating floor, the baseboard rests lightly on the floor or a hair above it, never pressed down hard, so the floor can still move under it.
- Nail to the wall, not the floor. Use finish nails into the studs and the bottom plate. Never nail through or into a floating floor.
- Cope inside corners. One piece runs square into the corner. The next is cut to the profile of the first, so it fits over it. A coped joint stays tight even when the corner isn't square, where a mitre would open up.
- Mitre outside corners. Cut both pieces at 45 degrees, or at half the actual corner angle, and glue the joint as well as nailing it.
- Scarf long runs. Where one length isn't enough, join two pieces with overlapping angled cuts over a stud, rather than a square butt joint that shows a line.
- Finish. Fill the nail holes, caulk the top edge to the wall with paintable caulk, then paint.
Coping takes more time than mitring, but it is the mark of careful trim work. Walls in most houses are slightly off square, and a mitred inside corner opens into a visible gap as the house moves. A good cope stays closed.
How to install quarter round and shoe moulding
Quarter round is nailed into the baseboard, not into the floor. That is the single most important rule. A floating floor has to move under the quarter round. If the moulding is nailed down into the floor, it pins the floor at the edges, and the floor can buckle or open gaps. Use small finish nails or pin nails, angled into the baseboard. Hold the quarter round snug against the floor without pressing down.
Corners are handled like baseboard. Outside corners are mitred. Inside corners are mitred or coped; on such a small profile, many installers mitre them. At door casings, the quarter round needs a neat end. The usual finish is a small return, a short mitred piece that turns the profile back into the baseboard, so no cut end shows. Pre-painting or pre-staining the moulding before it goes up saves time, leaving only the nail holes and touch-ups.
Materials: MDF, solid wood and PVC
MDF (medium-density fibreboard) is the most common baseboard material. It is stable, straight, smooth and economical, and it comes pre-primed for painting. Its weakness is water. MDF swells if it gets wet and doesn't recover. That makes it a poor choice where floors get mopped heavily or can flood.
Solid wood is tougher and can be stained. Finger-jointed pine and poplar are common paint-grade woods. Oak, maple and other hardwoods are used where the trim is stained to match a wood floor or other woodwork. Wood dents less than MDF and handles knocks better.
PVC baseboard and quarter round are waterproof, which suits bathrooms, laundry rooms and basements. A basement on a concrete slab, where a leak or high humidity is possible, is a good place for PVC. Our guide to the best basement flooring covers the floor side.
Paint-grade vs stain-grade, and matching existing trim
Paint-grade trim is made to be painted, so small joints and filler don't show once it is finished. Stain-grade trim is clear wood with a consistent grain, because stain shows every joint, nail hole and patch. Stain-grade work is slower and less forgiving, and coped corners and scarf joints have to be tight.
If you are replacing baseboards in only some rooms, match the height and profile of the trim in the rest of the house. Check the door casings too. The baseboard should usually be a little thinner than the casing, so it ends neatly against the casing's edge. A baseboard thicker than the casing sticks out past it, which looks wrong.
Older Ottawa homes, plaster walls and condos
Many older Ottawa homes have plaster and lath walls rather than drywall. Plaster walls are often wavy, so baseboards may need scribing, or a flexible shoe moulding, to follow them. Original baseboards in older homes are often taller and built up from several pieces, and they may be worth saving and reusing. Plaster can crack if baseboards are pried off roughly, so removal needs extra care. Matching an old profile with new trim can be hard, and sometimes a close stock profile is the practical choice. In homes built before the 1980s, some plaster, old flooring and adhesives can contain asbestos, so have suspect materials tested before they are disturbed.
Condos bring other conditions. Walls may be concrete or steel-stud framed, where ordinary nailing doesn't hold, so baseboards are often fixed with construction adhesive and pin nails. Many buildings also want the floor isolated from the walls for sound, and the gap under the baseboard is part of that. Check the building's flooring rules before work starts; see condo flooring rules.
Trim is usually the last thing installed and the first thing people notice. We install baseboards, quarter round and transitions as part of a flooring job or on their own; see our baseboards and trim page. For doorways, see our guide to floor transition strips.
Frequently asked questions
Do I need quarter round with new flooring?
Only if the baseboards stay in place. If the baseboards are removed and reinstalled after the new floor, they cover the expansion gap themselves and no quarter round is needed.
Is it better to remove baseboards when installing new floors?
For the cleanest look, yes. The floor goes in and the baseboards go back at the right height, with one clean line of trim. Leaving them and adding quarter round is faster and cheaper.
What is the difference between quarter round and shoe moulding?
Quarter round is as deep as it is tall, with a full rounded profile. Shoe moulding is taller than it is deep, so it sits closer to the baseboard and looks slimmer.
Should quarter round be nailed to the floor or the baseboard?
To the baseboard. Nailing it into a floating floor pins the floor at the walls, which can cause buckling or gaps.
Is quarter round outdated?
It is still common, but many people now prefer removing the baseboards for a cleaner look, or a slimmer shoe moulding. It comes down to your trim style and budget.
Can you use quarter round with tile?
It is rarely used. Tile floors usually get a tile base or a baseboard installed after the tile, with the edge gap kept clear for movement and the joints sealed where needed.
How do you finish quarter round at a door frame?
With a small return: a short mitred piece that turns the profile back into the baseboard, so no cut end shows next to the casing.