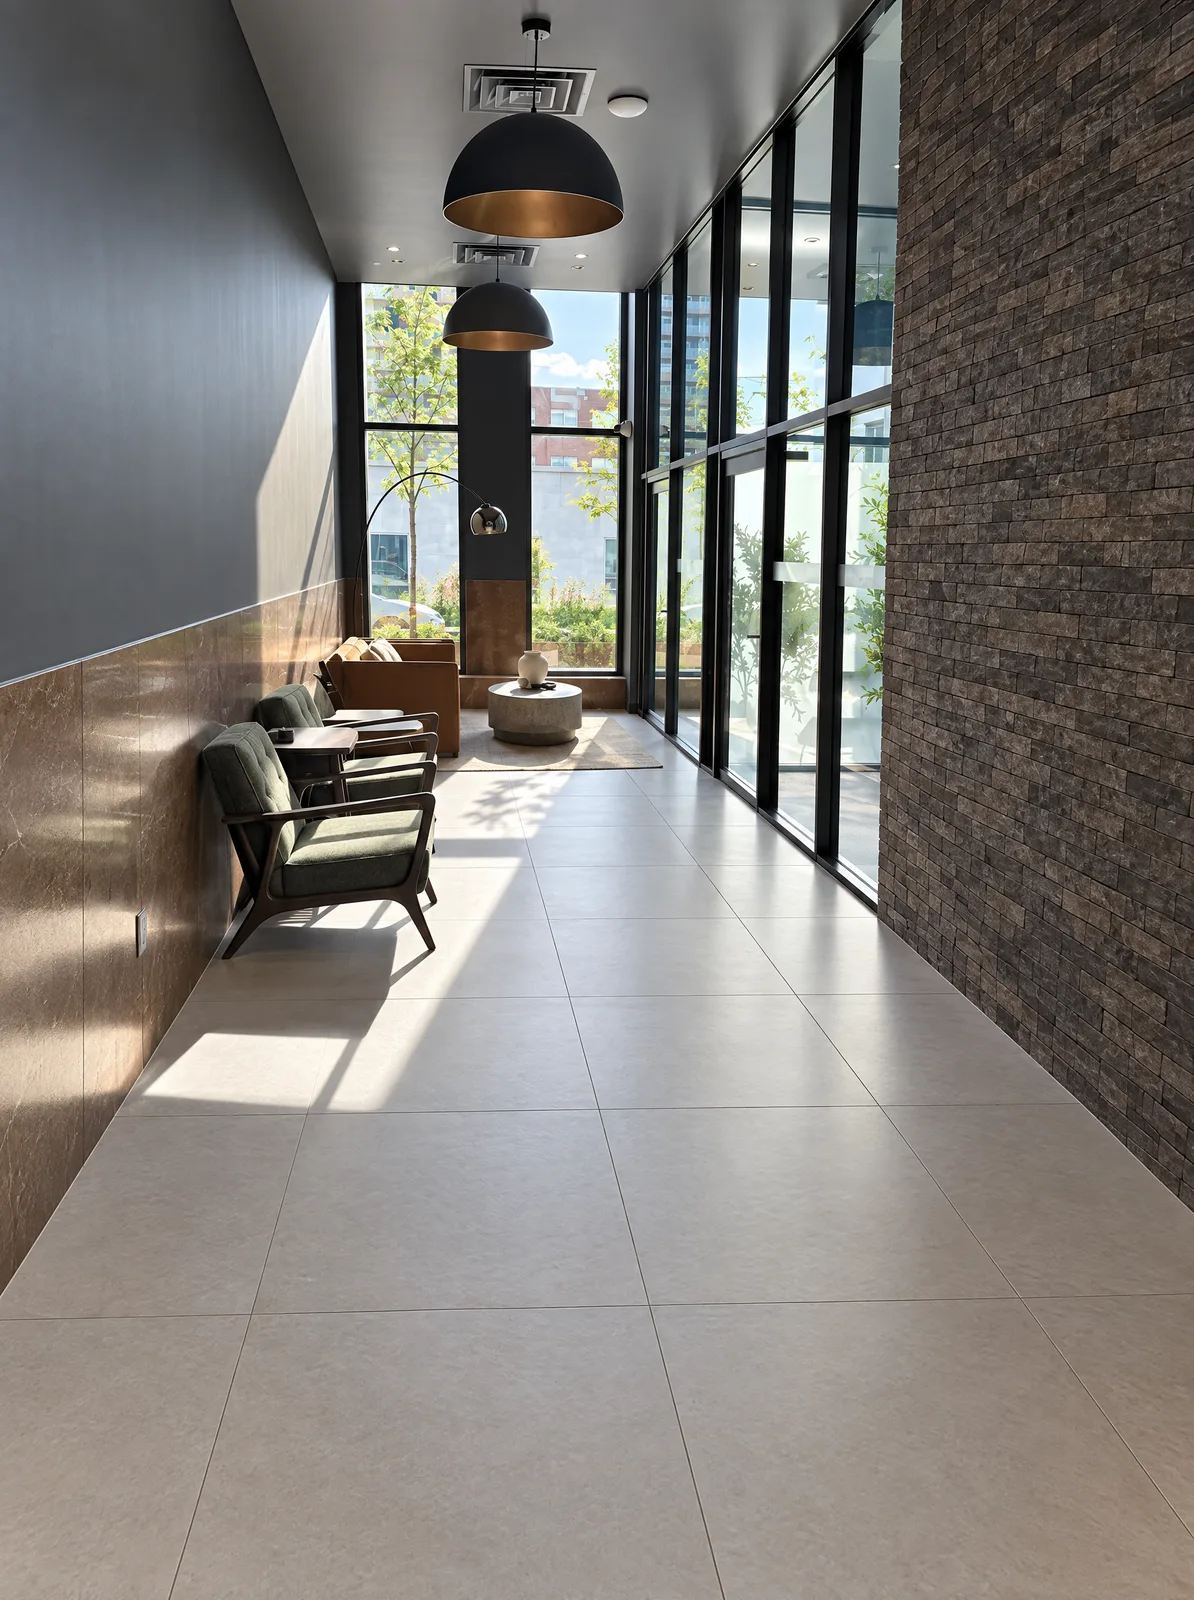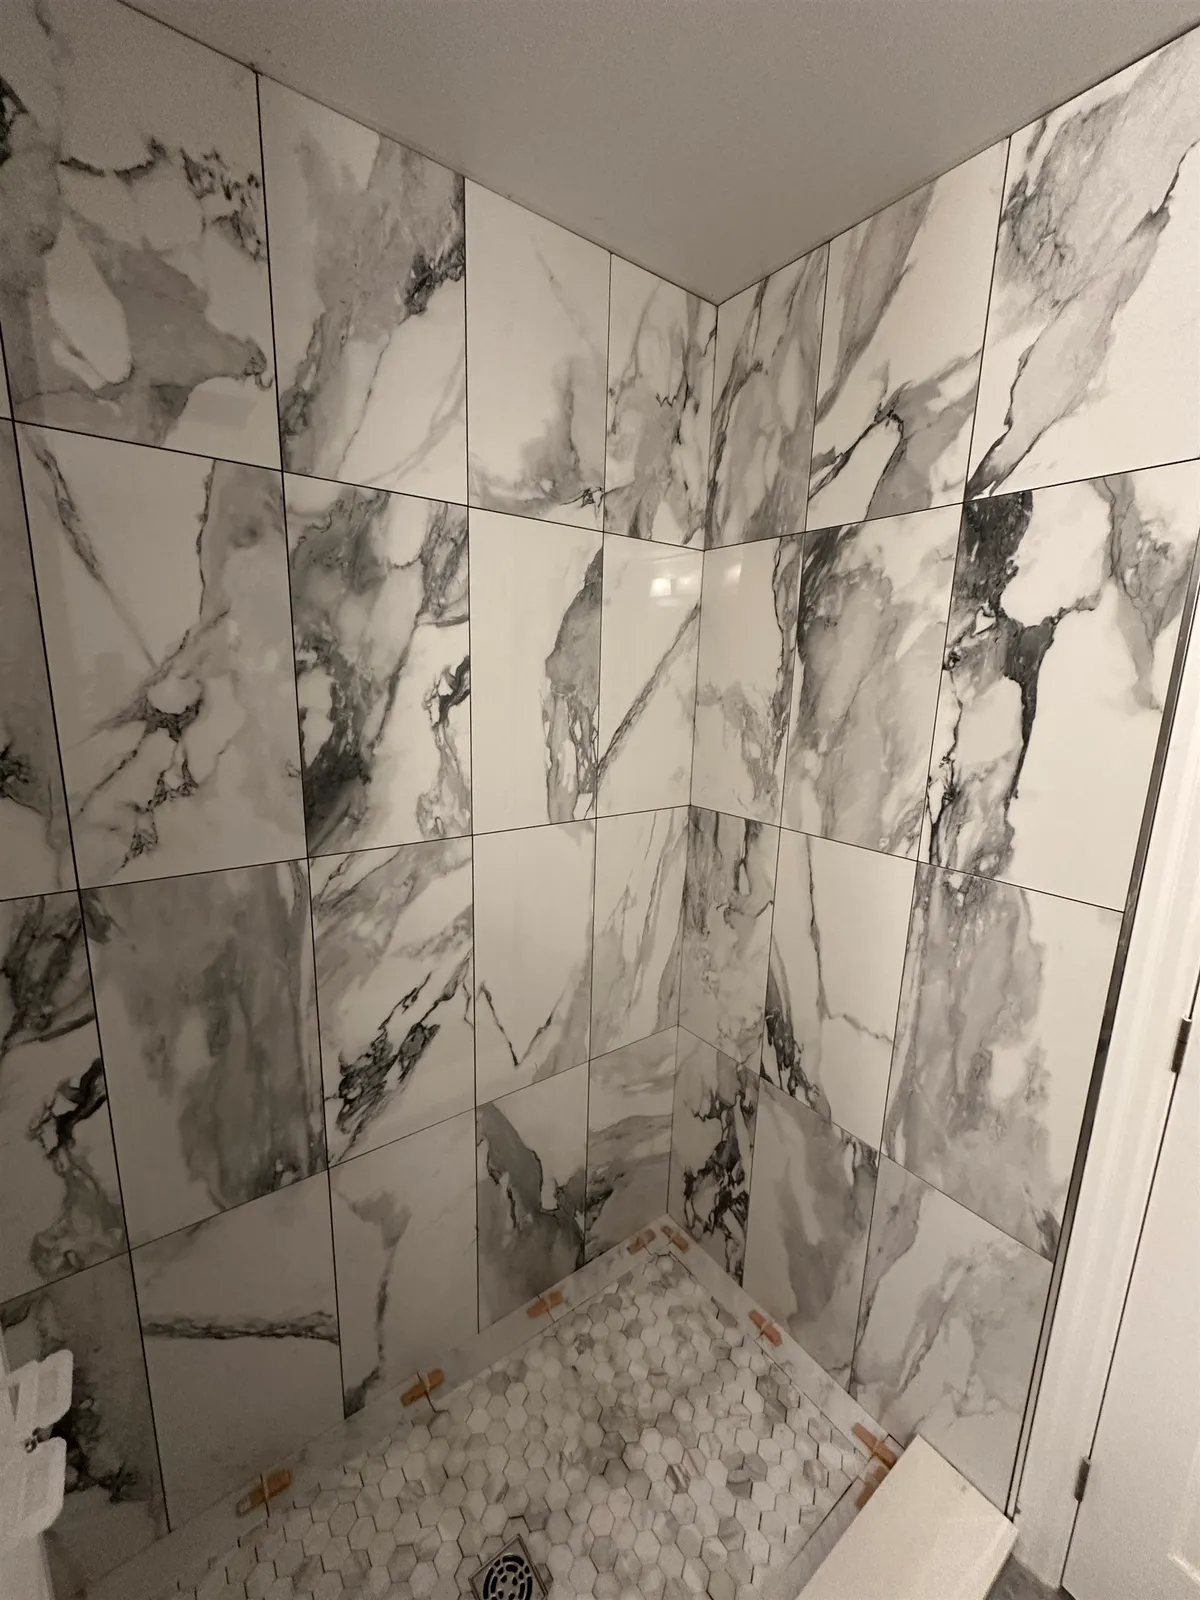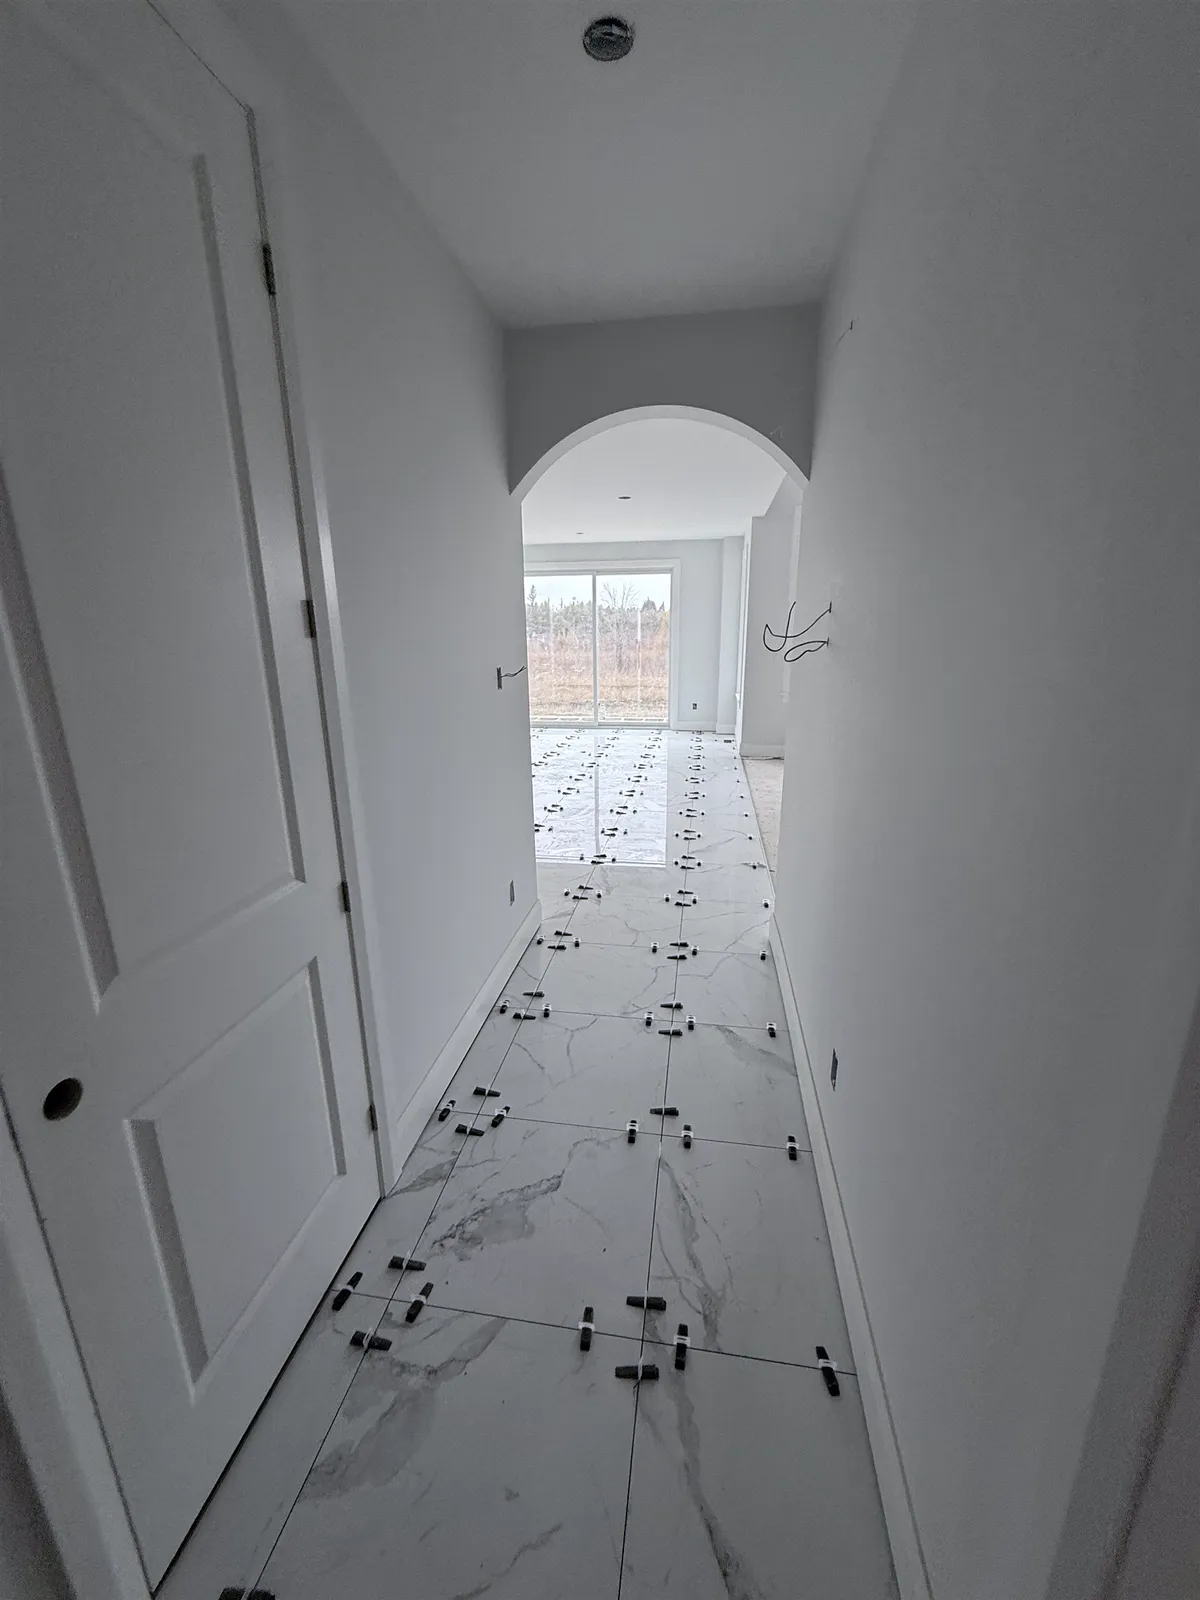

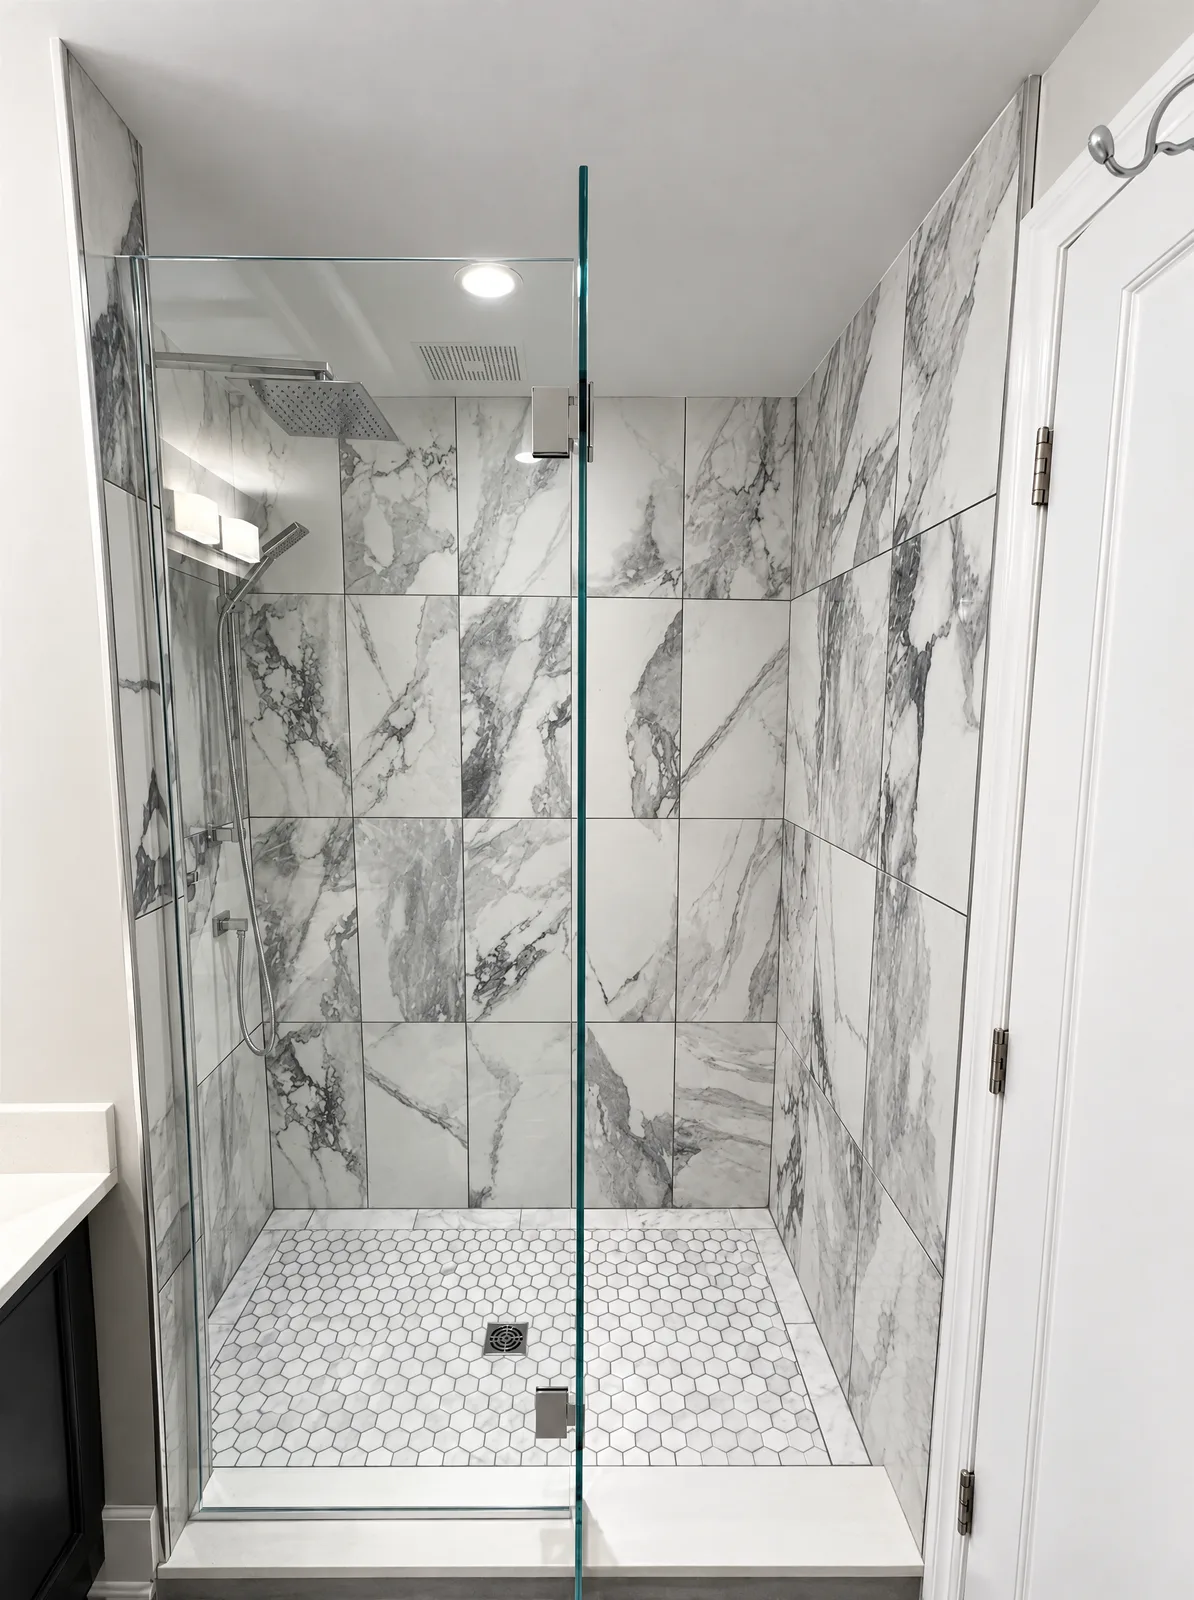
Short answer
Choose tile in this order: where it's going (floor, wall, shower, outdoors), then material (porcelain for floors and wet or outdoor areas), slip resistance for floors, size (which also changes your floor prep and labour), finish and edges, and only then colour and pattern. Order 10–15% extra from the same batch, and look at samples in your own room's light.
1. Start with where the tile is going
- Floors need wear resistance and grip.
- Shower floors need grip and usually smaller tiles or a linear drain, because the floor slopes to the drain (see shower floor options).
- Walls and backsplashes can use almost anything, including glossy, glass and handmade-look tile.
- Outdoors needs porcelain rated for freeze–thaw.
2. Pick the material
Porcelain for floors, shower floors and outdoors; ceramic is fine and often easier for walls and backsplashes; natural stone if you're happy to seal and maintain it. Full comparison: porcelain vs ceramic tile.
3. Check slip resistance on floors
Look for the DCOF value on the spec sheet: 0.42 or higher for level interior floors that get wet. Polished tile looks great but is slippery in a bathroom. Matte, textured or honed finishes, and smaller tiles with more grout lines, give better grip.
4. Decide on size (it changes the cost)
- Large format (any side 15 inches or more) means fewer grout lines and a modern look, but needs a much flatter floor and more labour per tile (see our large-format guide).
- Mosaics and small tile follow slopes and add grip, but have more grout to clean.
- Patterns such as herringbone, chevron or diagonal layouts mean more cutting and more waste, so expect higher labour and more extra tile.
5. Look at finish, edges and variation
- Rectified tile is ground to exact size with sharp edges, allowing thin grout lines. Pressed (cushion-edge) tile has softer edges and needs wider joints.
- Shade variation is often rated V1 (uniform) to V4 (very varied). Lay out several boxes to see the real range before installation.
- Glossy wall tile reflects light and shows every bump in the wall, so flat walls matter.
6. Choose the grout colour with the tile
Matching grout makes the tile read as one surface; contrasting grout outlines every tile and highlights the pattern (and any layout flaw). Mid-tone grout hides dirt on floors. See grout types and epoxy vs cement grout.
7. Order enough, from one batch
- 10% extra for straight layouts, 15% or more for diagonals, herringbone and large format.
- Check that the batch (lot) number matches on every box. Different batches can differ in colour and even size.
- Keep a few spare tiles after the job for future repairs.
8. See it in your room first
Showroom lighting is flattering. Bring samples home and look at them at different times of day, on the floor, next to your cabinets and paint. Or see the whole room finished first: our 3D design packages render your space with your actual tile choices, and the fee is waived when you hire us to install.