Short answer
A professional tile installation runs in a set order: a free estimate and written quote, choosing and ordering the tile, preparing the room, then on site the prep and membranes, waterproofing and its cure, setting the tile, grout and sealant, and a final walk-through. A bathroom floor typically takes three to five working days, a backsplash one to two, and a standard shower or tub surround several working days, because waterproofing, mortar and grout each need time. Size, prep and drying times decide the real schedule.
Most people hire a tile installer only a few times in their lives, so it is hard to know what a normal job looks like. How long will the crew be in the house? Why are there days when nobody comes? What do you need to do before they arrive? This guide walks through a tile installation from the first call to the final walk-through, the way Agora Flooring works and the way any careful tile contractor should. It includes typical day-by-day timelines for a bathroom floor, a shower and a kitchen backsplash, so you can plan around them. If you are still choosing who to hire, start with our guide to hiring a tile installer.
Tile installation from start to finish: the overview
A tile job has two halves. The first happens before anyone touches the room: the estimate, the quote, choosing the tile and ordering it. The second is the work on site, which is a chain of layers. Each layer has to be in place and, in most cases, cured before the next one goes on. That is why tile is measured in working days rather than hours, and why a schedule includes days that are mostly waiting.
A typical tile job goes through these stages:
- Estimate: photos, measurements or a site visit, then a written quote.
- Tile selection and ordering, with an optional 3D design.
- Room preparation by you, and removal of the old floor or tile if it is part of the job.
- Substrate prep: repairs, levelling, backer board and membranes.
- Waterproofing in wet areas, with its cure and a flood test where the system calls for it.
- Setting the tile, then the mortar cure.
- Grout, then flexible sealant at corners and changes of plane.
- Cleanup, cure time before use, and the final walk-through.
The rest of this guide takes each stage in turn.
Step 1: The free estimate and written quote
Most tile jobs start with a call, an email or an online request. Agora gives free estimates in person, by phone, by email or online. For many jobs, a few photos and rough measurements are enough to start. Send photos of the room and the current floor or walls, the approximate size of each area, and anything unusual, such as cracks, soft spots, water stains or an old tile floor that has to come out. Tell the installer which tile you have in mind, or at least its size and material, because large-format tile, mosaics, natural stone and patterns all change the labour.
For larger jobs, showers and anything with an uncertain subfloor, a site visit is usually worth it. The installer checks the floor for flatness and bounce, looks at the walls, and notes doorways, transitions and fixtures. That visit is where hidden costs are found before the work starts rather than halfway through.
The result should be a written quote. A good one lists the rooms and square footage, who supplies the tile, the prep and levelling, membranes and waterproofing, trims and transitions, the grout type, removal and disposal, and cleanup. It should also say what is excluded, such as plumbing, electrical work, drywall or painting. Our guide to tile installation cost in Ottawa explains what drives each line.
Step 2: Choosing tile, 3D design and ordering
Once the scope is clear, the tile is chosen and ordered. If you are buying it yourself, ask the installer how much extra to order for your layout and room. Straight layouts need less; diagonal, herringbone and large-format tile need more. Ask for the trims, the grout colour and any membranes to be on someone's list too, so nothing is missing on day one.
If you find it hard to picture tile from a small sample, a 3D design helps. Agora offers optional 3D design consultations, where you can see the tile, layout and grout colour in your room before anything is ordered. It is the easiest time to change your mind.
Lead times vary. Common tile in stock can be picked up quickly, and when the flooring is in stock, Agora can often install the same week. Special-order tile, imported or handmade tile and some large-format porcelain can take longer. Check every box when it arrives: the same product, the same shade and lot number, and no broken pieces.
Step 3: Getting the room ready
A little preparation on your side keeps installation day smooth. Empty the room, including closets and vanity cabinets in a bathroom. Take down anything fragile on nearby walls. Plan for appliances in a kitchen, which may need a plumber or gas fitter to disconnect. Clear a path from the door to the room, and a place for the tile and tools. In a condo, book the elevator and confirm the building's working hours and any approvals. Our checklist for preparing for flooring installation covers the details.
Removing the old floor or tile is often part of the job, and Agora quotes it as an extra. It is loud and dusty, so expect the room to be closed off and the dust controlled. In older homes, some old floor tile, sheet vinyl backing and the mastic under them can contain asbestos. If that is possible in your house, have the material tested before it is disturbed and use qualified abatement if needed; our guide to asbestos floor tile explains what to look for. Plumbing and electrical changes, such as moving a drain or adding a heated floor circuit, are done by licensed trades before tiling.
Step 4: Prep, membranes and waterproofing
The first days on site are often spent on work you won't see once the tile is down, and they decide how long the tile lasts. On floors, the installer checks the subfloor for stiffness and flatness, repairs or fastens loose panels, grinds high spots and fills low ones, sometimes with self-levelling compound. Over wood, an uncoupling membrane such as Schluter-DITRA is commonly installed. If you are adding an electric heated floor, the cable goes down now, and a licensed electrician makes the final connection. Our guide to the right subfloor for tile explains the standards.
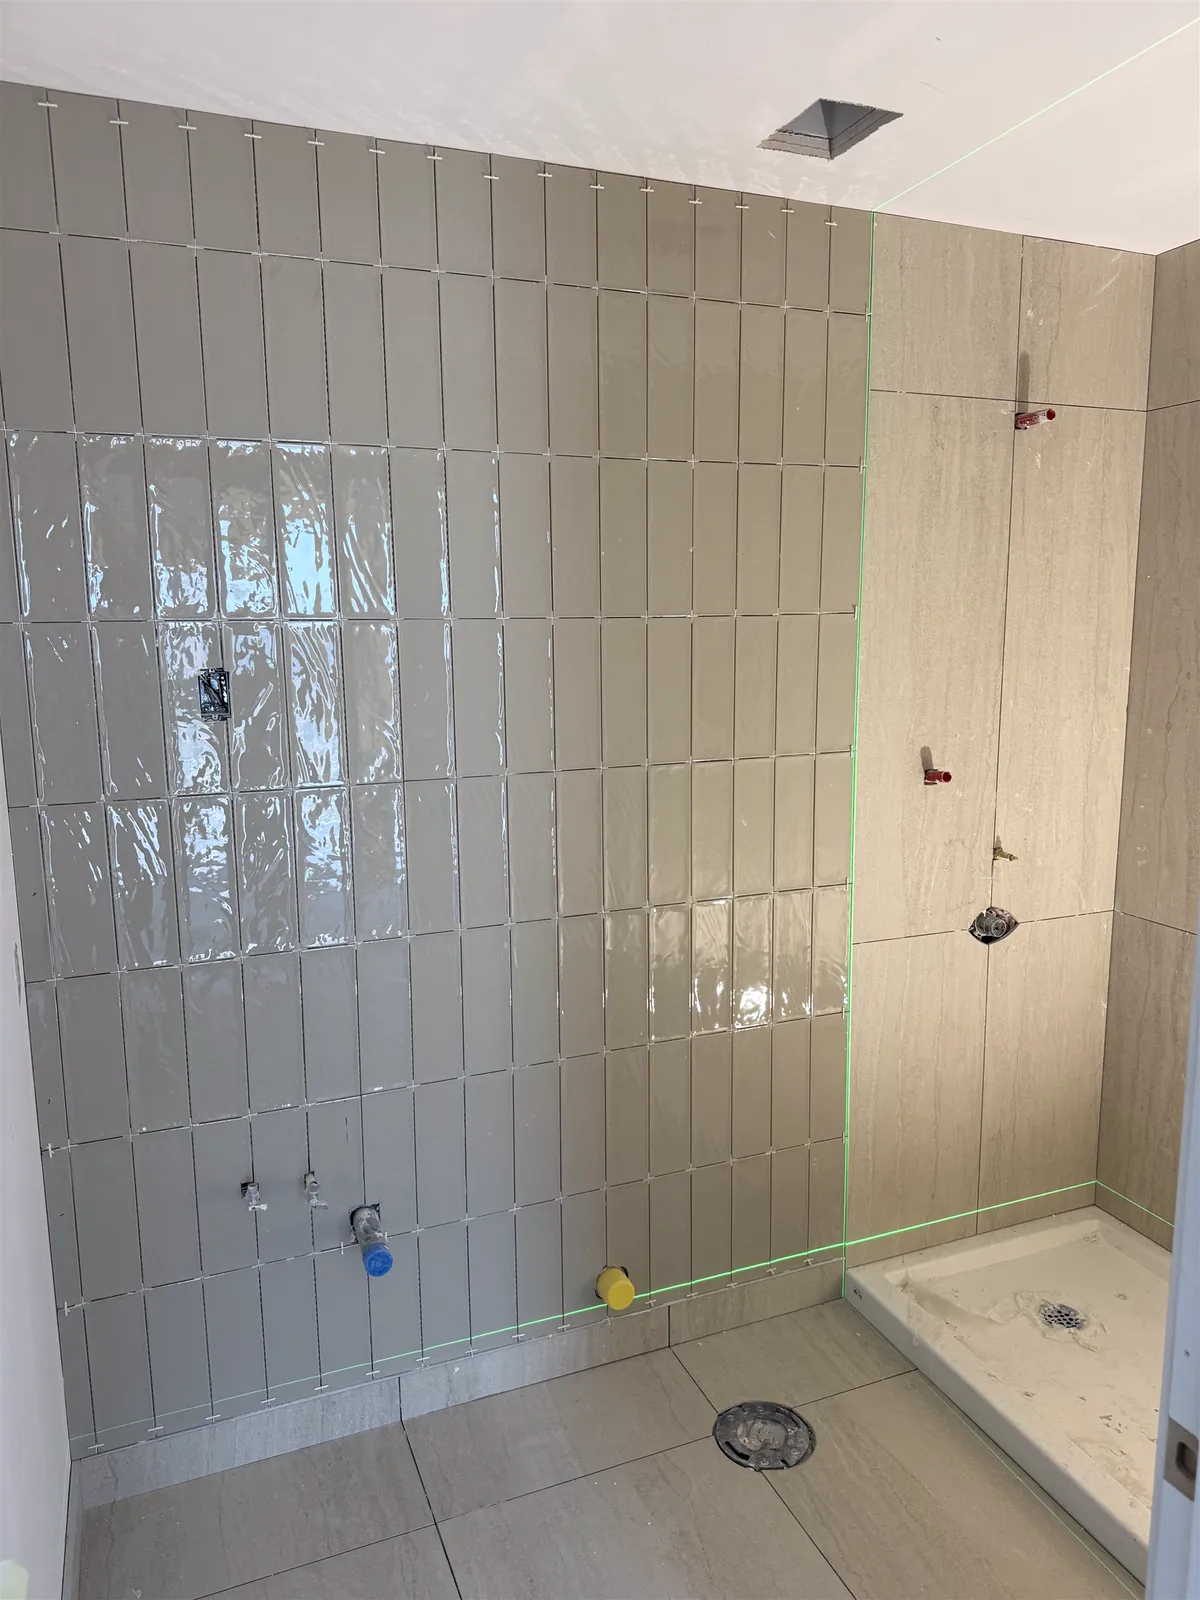
In a shower or tub surround, this is the waterproofing stage. The walls get a waterproof board or a membrane over backer board, the floor is sloped to the drain, and every seam, corner, niche and pipe is sealed with the system's own parts. Agora has waterproofed more than 350 showers with Schluter-KERDI. Depending on the system, the shower is flood tested before tiling, which can add a day. Liquid membranes and mortar beds need their own cure time. Our guide on how to waterproof a shower walks through the steps.
These days can look slow from the outside. A self-levelling pour may need time before it can be walked on, and a mortar bed for a shower floor needs to cure before the membrane goes on. That waiting is part of the job, not a delay.
Step 5: Setting the tile
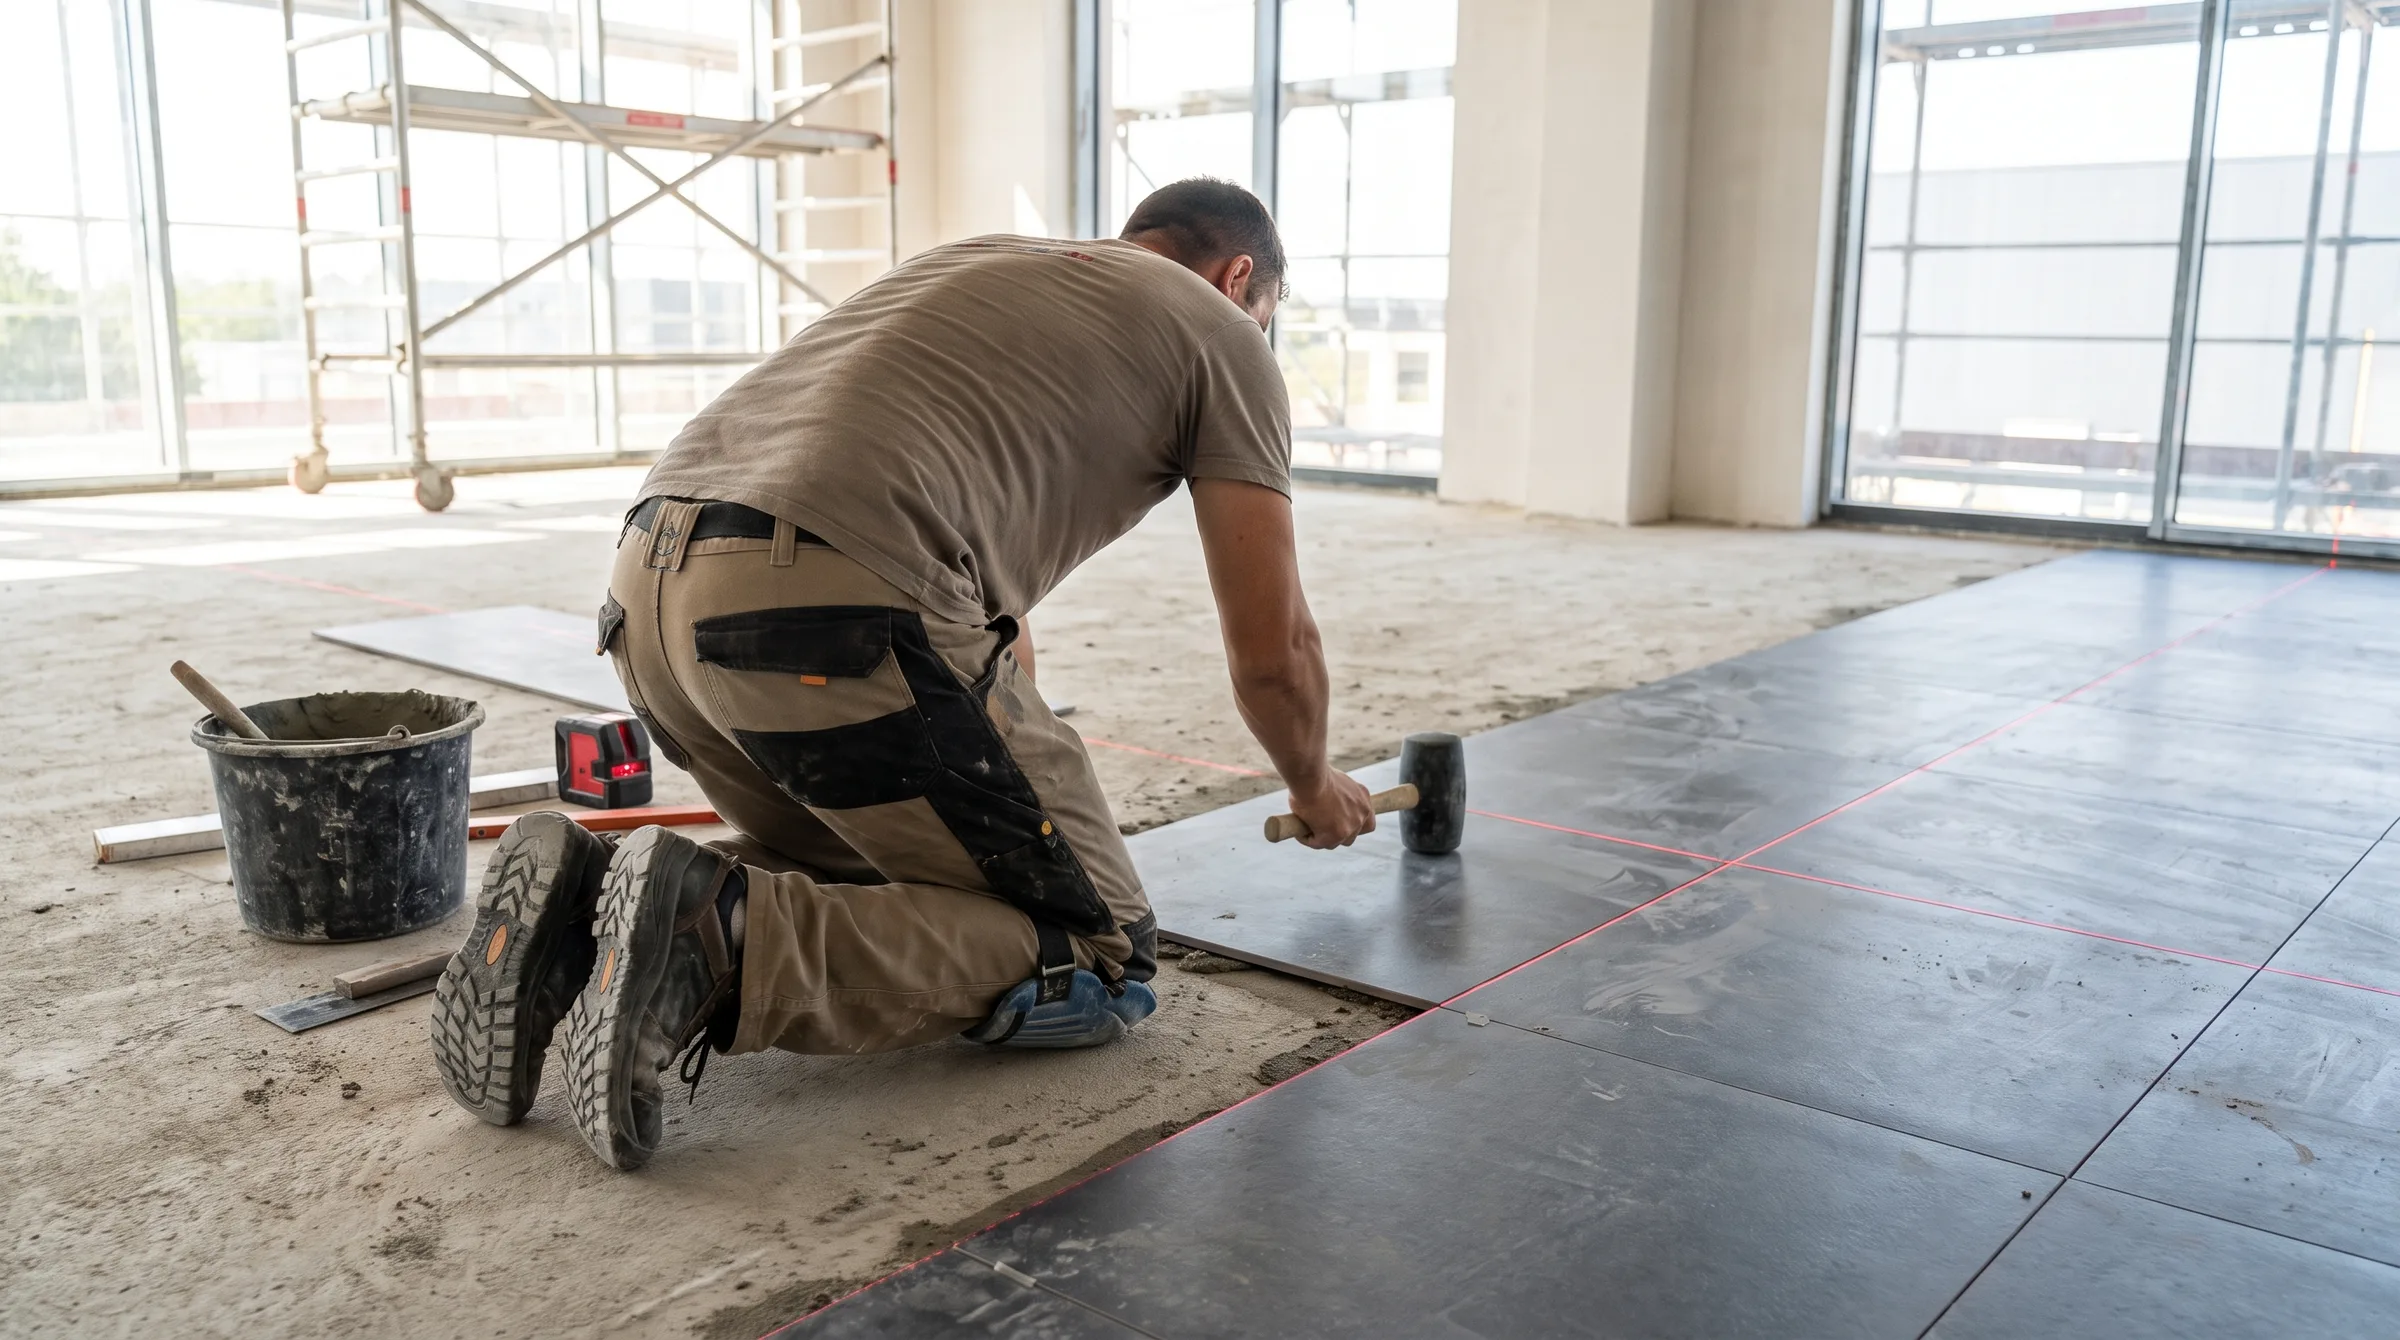
Setting starts with layout. The installer snaps centre lines on a floor, or a level line on a wall, and dry-lays tile to see where the cuts land. The goal is full tiles where the eye lands, at the doorway, the front of the tub or the centre of a range, and balanced cuts at the edges. It is a good moment to be home: a quick look at the layout and the grout colour before setting starts avoids surprises.
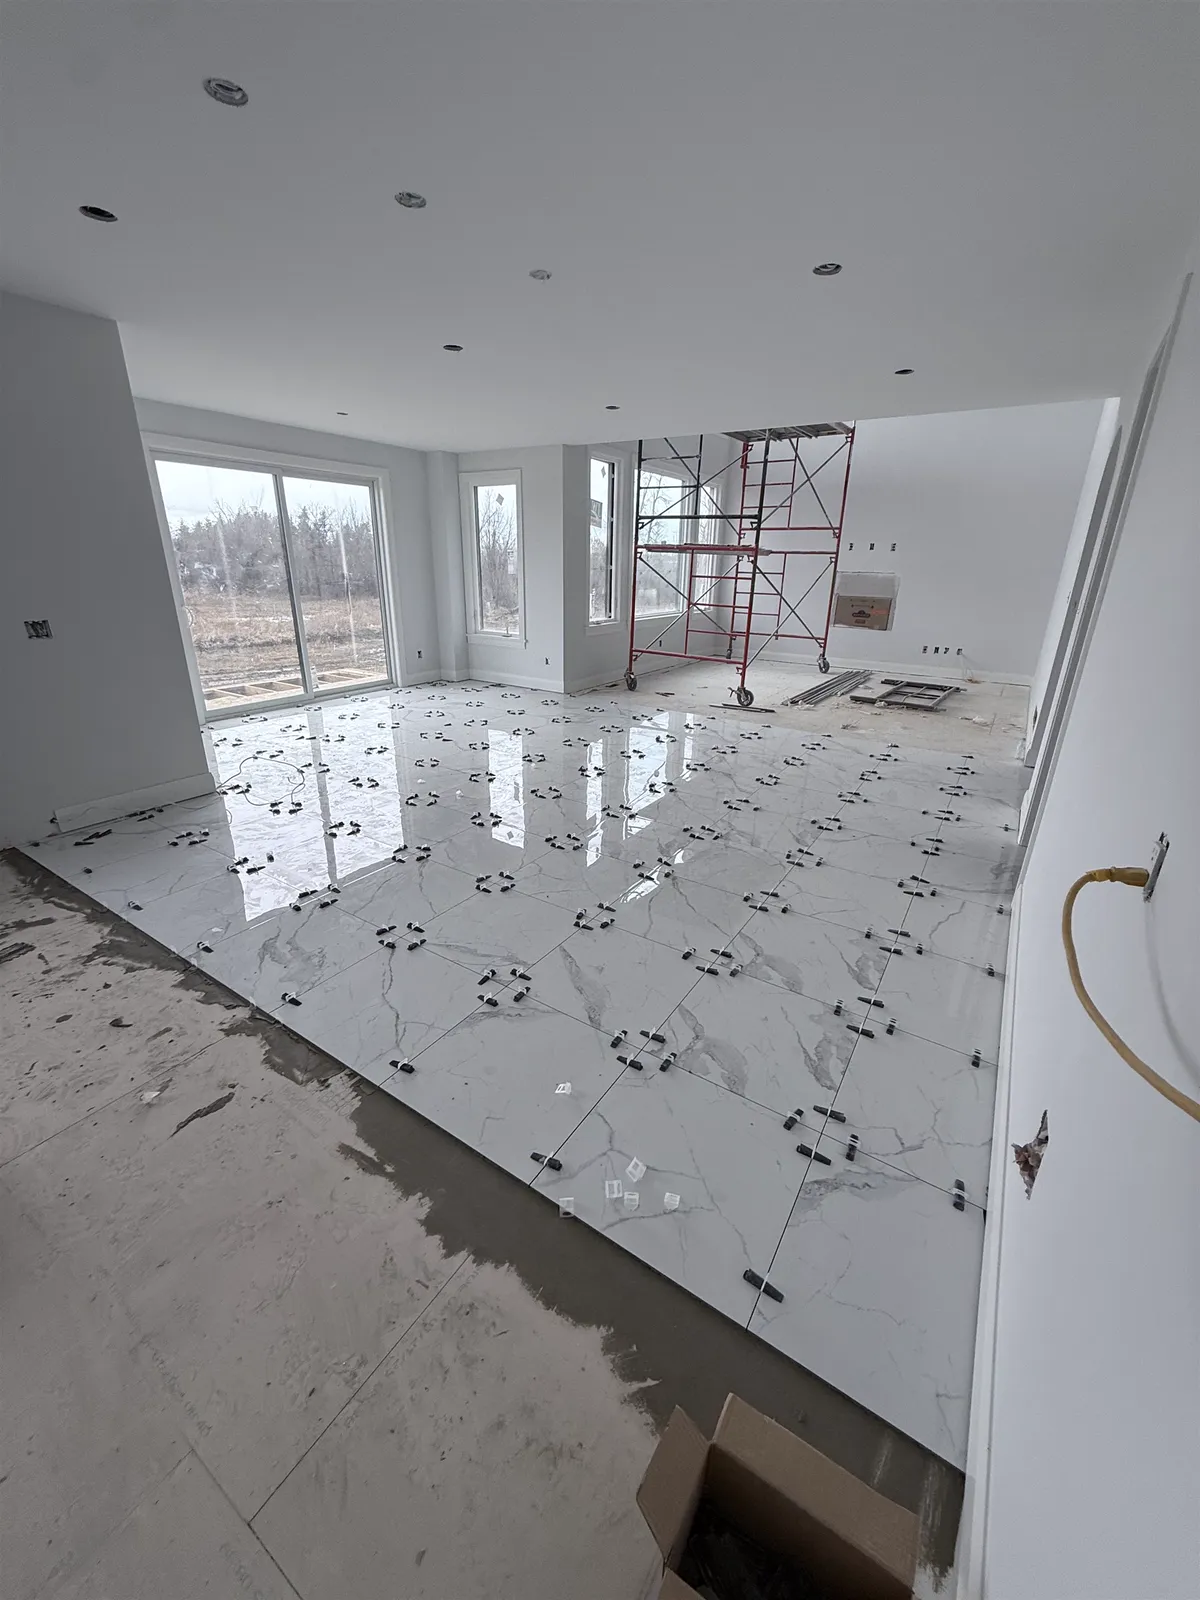
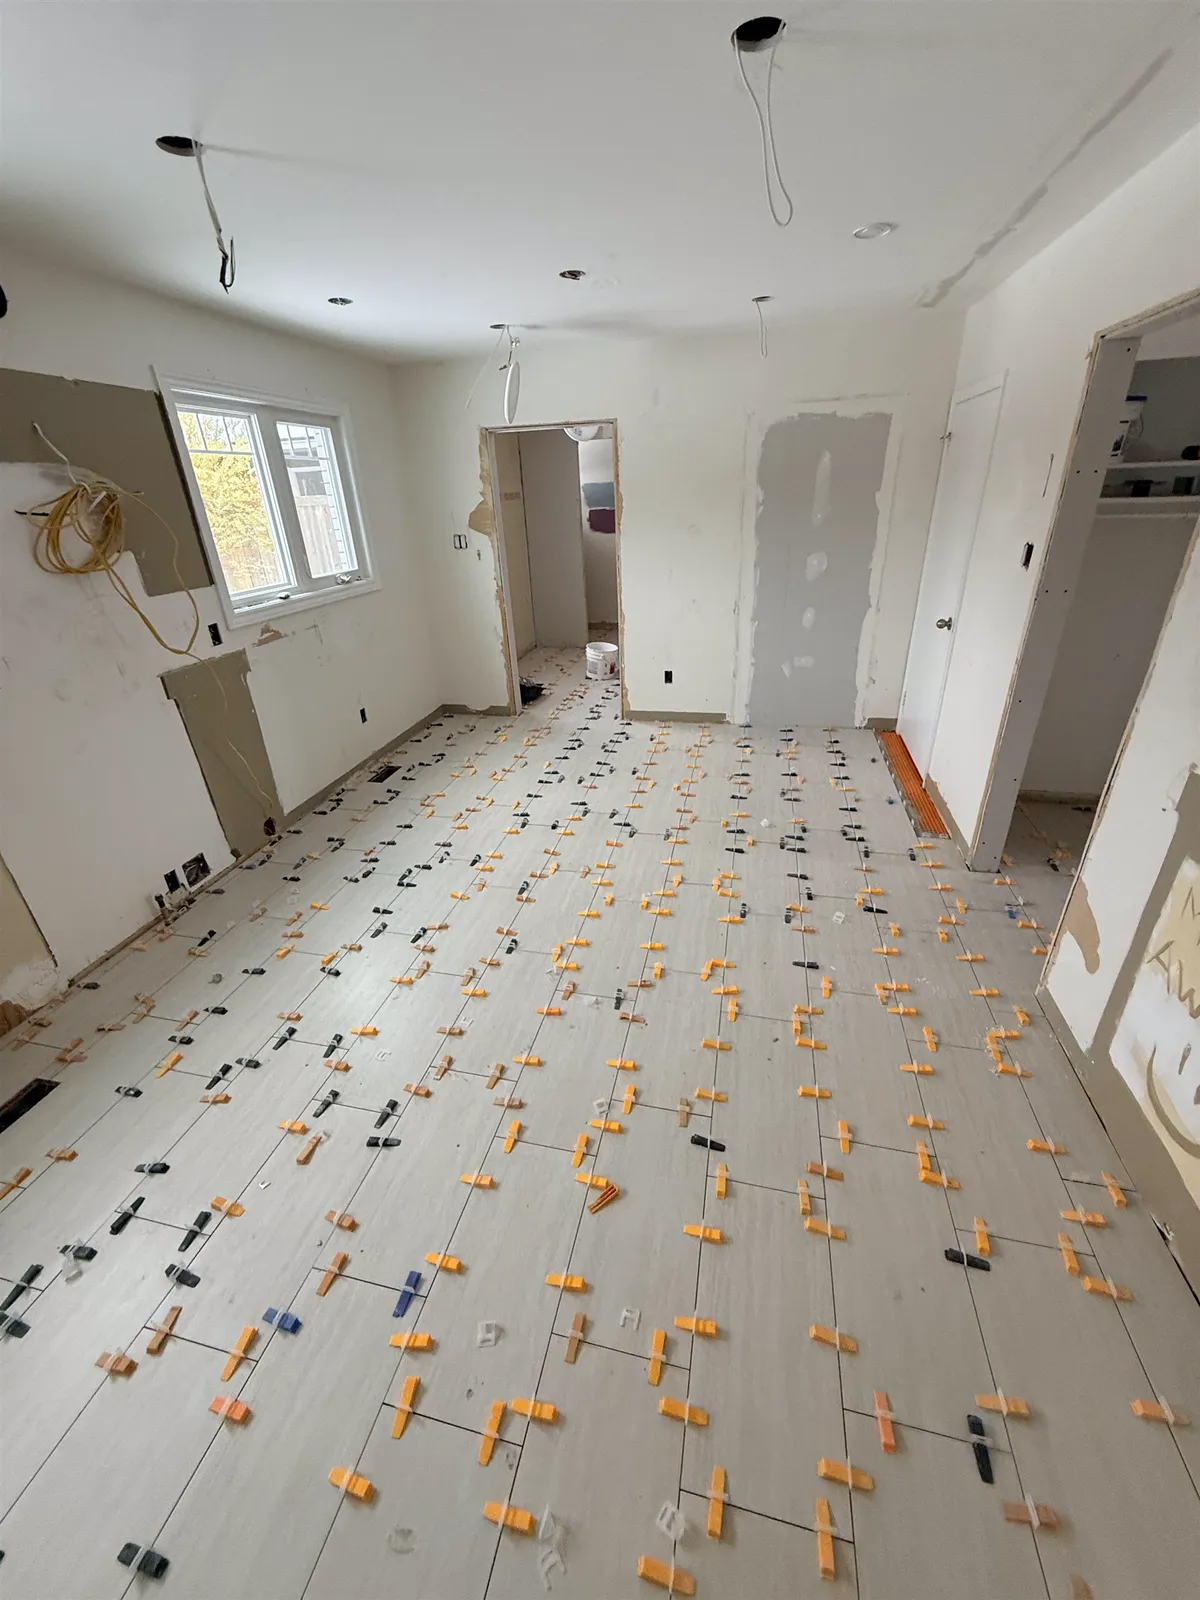
The tile is then set in thin-set mortar, with the trowel sized for the tile. Large tile is back-buttered, and a careful installer lifts a tile now and then to check coverage. Industry standards call for about 80% coverage in dry areas and 95% in wet areas. Levelling clips help keep large tile edges flush. Cuts around pipes, drains, outlets and door casings are made as the work goes. Porcelain and stone are wet-cut where possible to control silica dust.
Once the tile is set, the mortar needs to cure before grout, typically about 24 hours for standard thin-set at room temperature. Rapid-setting products can shorten that; cold rooms and large tile lengthen it.
Step 6: Grout, sealant and cleanup
On grout day, the installer removes the spacers and clips, cleans the joints and works the grout in, one section at a time. The face is cleaned in stages as the grout firms up, and a final buff removes the haze. The grout type and colour should match what the quote listed. Our guide on how to grout tile covers the process.
Inside corners, the joint at a tub or countertop, and the perimeter of a floor get a flexible sealant, not grout. These are movement joints, and rigid grout there tends to crack. The sealant goes in after the grout has cured, colour-matched to the grout. Trims, transitions and thresholds are finished at this stage too.
Cleanup follows. Offcuts, empty bags and packaging are removed, and the work area is left tidy. Ask for any leftover full tiles, and keep a box somewhere dry for future repairs, because the same shade can be hard to find later.
How long does it take to tile a bathroom, shower or backsplash
Every job is different, so treat these as typical ranges. They depend on size, prep and drying times, and on the products used.
| Job | Typical time on site | What takes the time |
|---|---|---|
| Bathroom floor | About 3 to 5 working days | Subfloor prep and membrane, setting, mortar cure, grout |
| Tub surround or alcove shower | Several working days | Waterproofing and its cure or flood test, wall tile, floor, grout, sealant |
| Kitchen backsplash | About 1 to 2 working days | Prep and setting on day one; grout and sealant on day two |
| Kitchen or main floor | A few days to a week or more | Area, levelling, large-format tile, patterns, heated floor |
A bathroom floor often looks like this. On the first day, the old floor comes out if it is part of the job, and the subfloor is checked, repaired and covered with a membrane. On the second day, the layout is set and the tile goes down. On the third, after the mortar has cured, the floor is grouted. Sealant at the perimeter and the toilet flange, and the threshold, finish it. Levelling, a heated floor or a large room add a day or more.
A standard shower or tub surround usually takes several working days because waterproofing, mortar and grout each need their turn. Building the floor slope, waterproofing and flood testing often take two to three days with cure times. Wall tile takes one to three days, depending on size and pattern. The floor, grout and sealant take a couple more. A full shower from bare studs to first use is often about one to two weeks, including about three days of cure before it gets wet. Our guide on how to tile a shower breaks this down further.
A whole bathroom renovation takes longer than the tile part, because the plumber, electrician, drywaller and glass company each need their own time. See our bathroom renovation guide for the full order of trades.
Cure times before you use the new tile
Once the installer leaves, the materials are still curing. With standard products, a new tile floor typically takes light foot traffic about 24 hours after grouting, and heavy furniture and appliances wait several days. A shower is usually left about 72 hours after grouting before it gets wet. Epoxy grout reaches full strength in about a week. Rapid-setting systems shorten these times. The product data sheets have the final word, so ask your installer which products were used. The typical waits are in our guide on how long before using new tile.
In the first days, keep the room warm and ventilated, avoid dragging anything across the floor, and leave a heated floor off until the setting materials have cured. Cement grout that needs sealing is typically sealed after it has cured, as the grout maker directs.
The final walk-through and the warranty
At the end of the job, walk the room with the installer. Look at it from the doorway and from where you normally stand. Check the cuts at the doorway and around fixtures, the transitions to other floors, the edge trims, the sealant joints and the grout colour. Run a hand over the edges of large tiles. Ask about anything you're unsure of while the crew is still there; small touch-ups are easy now and harder later.
Ask for the names of the products used, especially the grout and any membrane, and for care instructions. Agora gives a workmanship warranty on its installations. Product warranties for tile, membranes and setting materials are separate and come from the makers. Keep the quote, invoice and product names together in case you need them later.
What can change the schedule
Most tile schedules slip for the same few reasons. Damage turns up when the old floor comes out: rot under a shower, a soft subfloor or a cracked slab. Tile arrives late, short or in the wrong shade. Another trade, such as the plumber, isn't finished in time. A cold room slows the cure. Decisions about layout, trim or grout colour are still open on the day. Large-format tile, mosaics, patterns, natural stone, niches and benches all add time as well.
The fix is mostly planning: finalise choices before the start date, have the tile on site and checked, and let the installer know about other trades' schedules. A good installer will tell you early if something changes. Agora has been installing tile in Ottawa for more than 26 years, and our site supervisor, Fergan Sik, has more than 20 years of experience. See our tile installation page and the project gallery for examples of the work.
Frequently asked questions
How long does it take to tile a bathroom?
A bathroom floor typically takes about three to five working days, including prep and cure times. A bathroom with a tiled shower takes longer, often one to two weeks for the tile and waterproofing, depending on size, prep and drying times.
How long does it take to tile a shower?
A standard shower or tub surround usually takes several working days, because waterproofing, mortar and grout each need time to cure. Then it is usually left about 72 hours before it gets wet.
Why are there days when the installer doesn't come?
Usually because something is curing: a levelling compound, a mortar bed, a liquid membrane, the thin-set or the grout. Working on it too soon causes cracked grout and loose tiles.
Do I need to be home during tile installation?
Not all the time, but it helps to be reachable, especially at the start to confirm the layout and grout colour, and at the end for the walk-through.
Is removal of the old floor included?
It depends on the quote. Agora quotes removal and disposal of the old flooring as an extra, so it is clear on the written quote.
What should I send for a tile installation estimate?
Photos of the room and the current floor or walls, rough measurements, the tile you are considering and your timeline. For showers and uncertain subfloors, a site visit is usually best.
When can I walk on new tile?
With standard products, light foot traffic is usually fine about 24 hours after grouting. Heavy furniture and appliances wait several days; see how long before using new tile.