Short answer
To grout tile, wait until the thin-set has cured (usually about 24 hours with standard mortar), pull the spacers and clean any mortar out of the joints. Mix the grout with the exact water the bag calls for, let it slake, then pack it into the joints with a rubber float held at about 45 degrees, working diagonally. When the grout firms up, clean it with a damp, well-wrung sponge, buff off the haze later, and fill inside corners with flexible sealant, not grout.
Grouting is the last step of a tile job and the one you look at every day afterward. Knowing how to grout tile well is mostly about timing and water: when to start, how wet the mix is, and when the sponge goes on. This guide covers grouting tile in the order a careful installer works, on floors, walls and showers, plus the special cases.
When to grout tile: how long to wait after setting
Grout goes in only after the setting mortar has cured enough to hold the tile firmly. With a standard thin-set, that is usually about 24 hours. A cold room, a thick bed under large tile, or tile set over a membrane can stretch that time, because the mortar dries more slowly. Rapid-setting mortars can often be grouted within a few hours. The mortar bag gives the wait for that product, and it wins over any rule of thumb.
Grouting too soon lets tiles shift under the float, and moisture still leaving the mortar can dry the grout unevenly into dark and light patches. Temperature matters too. In an Ottawa winter, keep the room heated before, during and after the job, and never let fresh grout freeze.
Prepare the joints: spacers, clips and squeeze-out
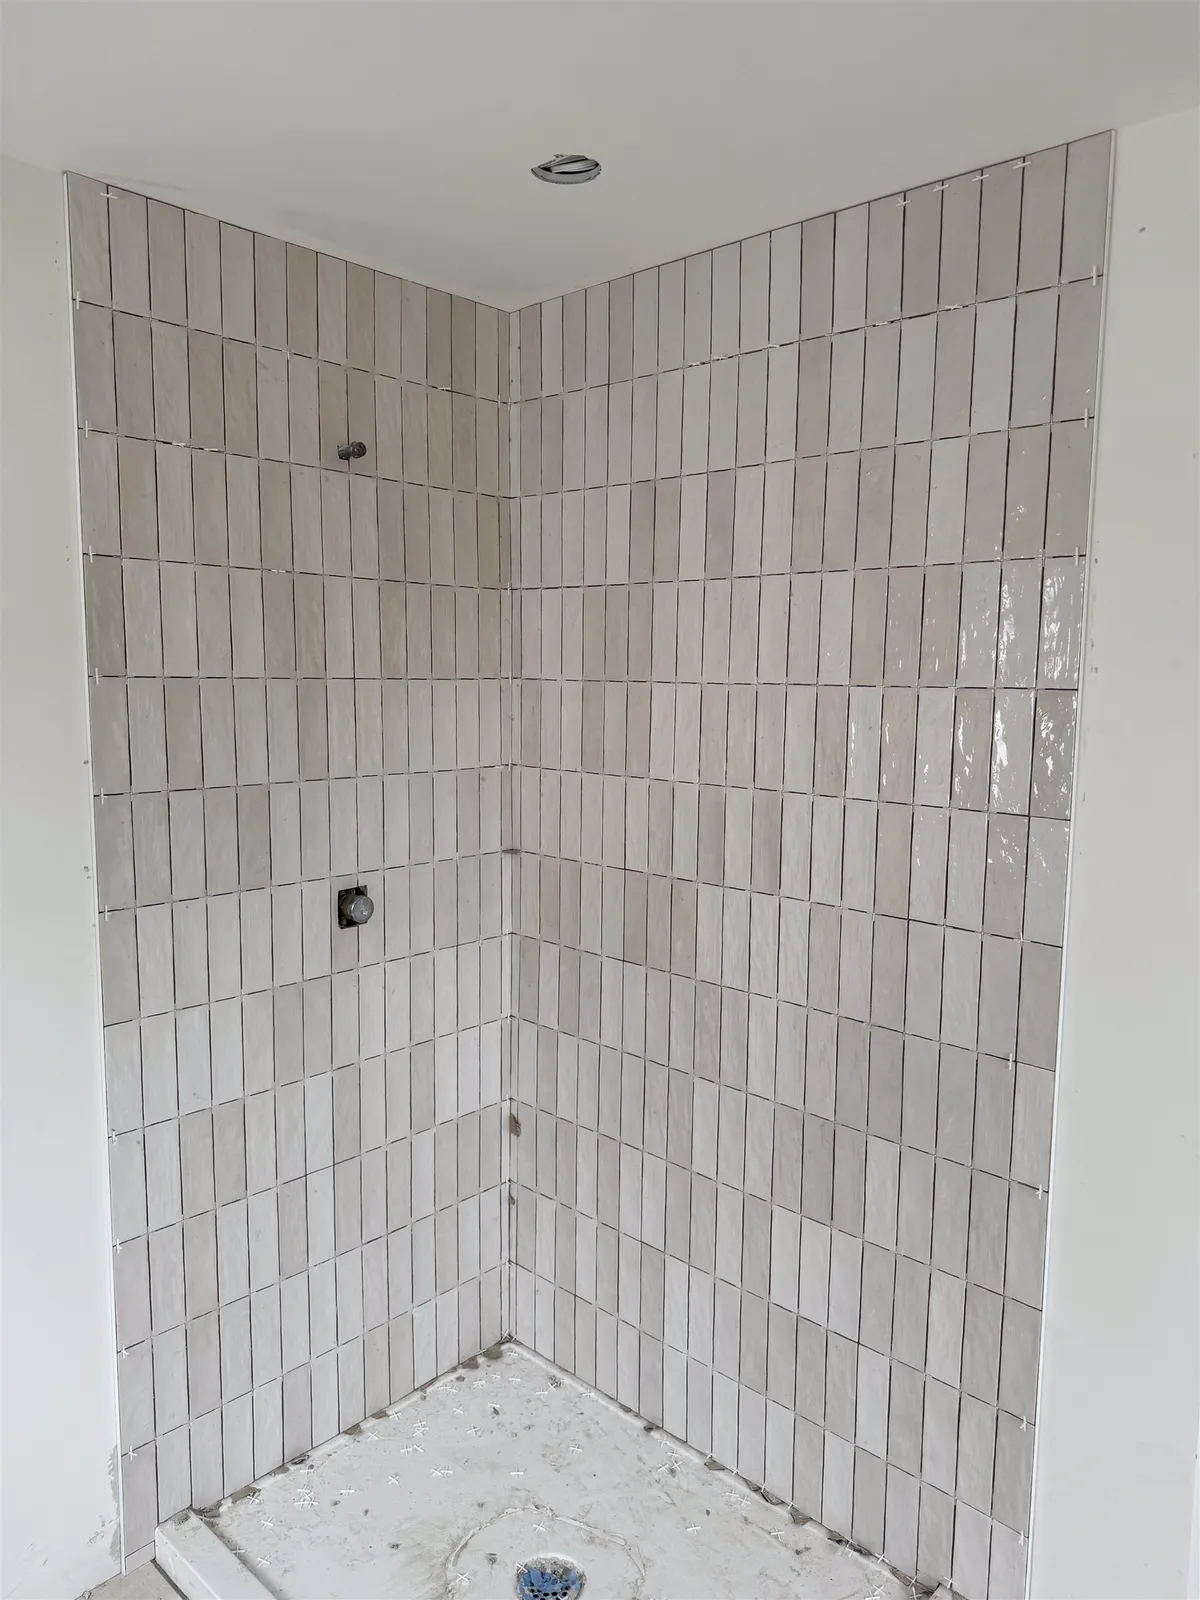
Take the spacers out before you grout. Grout over a buried spacer is too thin, cures to a different shade and tends to crack. Levelling clips are different: their tops are knocked off along the line of the joint once the mortar has set, so they break below the tile face, and the base stays hidden under the grout. Our guide to tile spacers and grout joint width explains the timing for each type.
Next, check the joints for mortar that squeezed up during setting. Ideally it was raked out while still soft. If some hardened, cut it out with a utility knife or a grout saw. A common rule of thumb is to keep at least two-thirds of the joint depth clear. Grout over a shallow joint is a thin skin that cracks and shows a different colour.
Finally, vacuum the joints and wipe the tile. Dust and grit stop the grout from bonding and get dragged around by the float.
Choosing the grout and the colour
The grout has to suit the joint width and the room. As a general guide, sanded cement grout is for joints of about 1/8" and wider, and unsanded grout is for narrower joints and for surfaces that sand can scratch. High-performance cement grouts cover a wide range of joints with better colour and stain resistance. Epoxy grout is the most stain-resistant and never needs sealing, but it is harder to work with. We compare them in grout types explained and epoxy grout vs cement grout, so we won't repeat that here.
Check that the bag covers your joint width, and choose the colour from a cured sample next to your tile, because most grout dries lighter than it looks wet. The rest of this guide describes cement-based grout, which most homes use. Epoxy and premixed grouts follow the steps and cleaning times on the product.
Tools for grouting tile
Grouting needs few tools, but the right ones make it much easier:
- A rubber grout float with a firm, square edge. A smaller one helps on backsplashes and mosaics.
- A margin trowel, a slow drill with a mixing paddle, and two buckets of clean water.
- Grout sponges: dense, rounded-edge sponges made for grout. Kitchen sponges tear and leave pits.
- A microfibre cloth or cheesecloth for buffing off haze.
- A grout saw or utility knife for cleaning joints, and painter's tape to keep grout out of corners that will get sealant.
- Gloves and eye protection. Cement grout is alkaline and irritates skin.
How to mix grout
Most grouting problems start in the bucket. The bag gives a water range for its weight. Measure the water, pour it into a clean bucket first, then add the powder. Mix by hand for small batches, or with a drill at low speed for larger ones. High speed whips air into the mix, which can leave pinholes in the finished joints.
Too much water is the most common mistake. A wet mix is easier to spread, but the extra water leaves pores as it dries. The grout ends up weaker, more porous and lighter in colour, and it can shrink and crack. Wet grout is one of the usual causes in why grout cracks. Use the same amount of water in every batch, so every batch dries the same colour.
After mixing, let the grout slake (rest) for the time on the bag, so the water fully wets the powder. Then remix briefly without adding water. The mix should be smooth and stiff enough to hold its shape on the float, not runny. If it stiffens in the bucket, remix it as the bag allows, but never add more water to bring it back. Mix only what you can use within the grout's working time.
How to grout tile: packing the joints
Work in small areas. On a floor, that might be a section a few feet square that you can grout and clean before it sets. On a wall, work from the top down so drips fall onto ungrouted tile. In hot or dry conditions, and with fast-setting grout, make the areas smaller.
Scoop grout onto the tile with the float. Hold the float at about 45 degrees to the surface and push the grout into the joints, moving diagonally across them. Going diagonally keeps the edge of the float from dipping into a joint and dragging grout back out. Pass over each joint more than once, in different directions, pressing firmly. The aim is joints packed full to the bottom, with no air pockets. This matters more than anything you do afterward. A joint that is full only near the surface will crack and crumble.
Then remove the excess. Turn the float almost upright, close to 90 degrees, and scrape it diagonally across the tile. This takes most of the grout off the face without pulling it out of the joints. The less grout you leave on the surface, the easier the cleaning and the less haze later.
Keep grout out of the joints that will get sealant: inside corners, where walls meet the floor or tub, and the perimeter gap. Tape them, or rake them clean before the grout firms up.
The first sponge pass and tooling the joints
Timing the first sponge pass is the skill that separates a smooth grout job from a patchy one. Start too early and the sponge pulls grout out of the joints. Start too late and the grout has set on the tile face and is hard to remove. The bag gives a time window. In practice, press a fingertip lightly on a joint: when the grout is firm and doesn't smear, it is ready.
Wring the sponge out until it is barely damp. A wet sponge washes cement out of the surface of the joint, which leaves sand exposed, lightens the colour and weakens the grout. Wipe diagonally across the joints with light pressure, using one side of the sponge per stroke. Rinse often in clean water and change the water when it turns cloudy.
The first pass also shapes the joints. This is called tooling. Run the rounded edge of the sponge, or a jointing tool, along each line so the grout is smooth and sits consistently, slightly below the tile edge. On pressed tile with soft, rounded edges, the grout follows the curve of the edge. On rectified tile with square edges, it sits just under the face. Consistent joints look much better than perfect ones that vary in depth.
Make a second, lighter pass to clean what the first one missed. Don't keep scrubbing.
Grout haze and the final clean
Once the surface dries, a thin film of cement usually remains on the tile. This is grout haze. Buff it off with a dry microfibre cloth or cheesecloth while it is still powdery, usually once the joints are firm enough not to be damaged by light rubbing. The bag gives the timing. Fresh haze comes off easily. Haze left for days bonds to the tile and is much harder to remove.
If cured haze remains, use a haze remover made for that purpose and confirm that both the tile maker and the grout maker allow it. Many removers are acidic, and acid can etch marble, travertine and other calcium-based stone, and some grouts. Test in a hidden spot first. Matte and textured porcelain hold haze in their surface, so they need a careful first clean.
Corners and changes of plane get sealant, not grout
Where two surfaces meet at an angle, they move slightly differently as the house heats, cools and settles. Rigid grout in those joints eventually cracks. Industry guidance is to fill them with a flexible sealant, usually a silicone colour-matched to the grout. That includes inside wall corners, the joint between the walls and the floor or tub, the countertop joint under a backsplash, and the perimeter of a floor.
Leave those joints open while grouting, then apply the sealant after the grout has cured. Keep the joint clean and dry, tape the edges for a straight line and tool the bead smooth. Large floors also need movement joints in the field. Our guide to tile movement joints explains where they go.
Curing and sealing new grout
New grout needs time before traffic and water. With standard products, light foot traffic is usually fine after about 24 hours, and a shower is usually left about 72 hours before it gets wet. Epoxy and rapid-setting grouts differ. The typical times are in how long before using new tile, and the bag has the final word.
Don't run a heated floor or aim a heater at the tile to speed things up. Fast drying weakens cement grout and can leave it blotchy.
Standard cement grout is porous and is usually sealed once it has cured, commonly after 48 to 72 hours. Epoxy never needs sealing, and many high-performance grouts don't either. Check the bag. Sealer goes on clean, dry grout and any excess is wiped off the tile right away. For which sealer to use and how often to reseal, see do you need to seal grout.
Grouting glossy, crackle, stone, mosaic and large-format tile
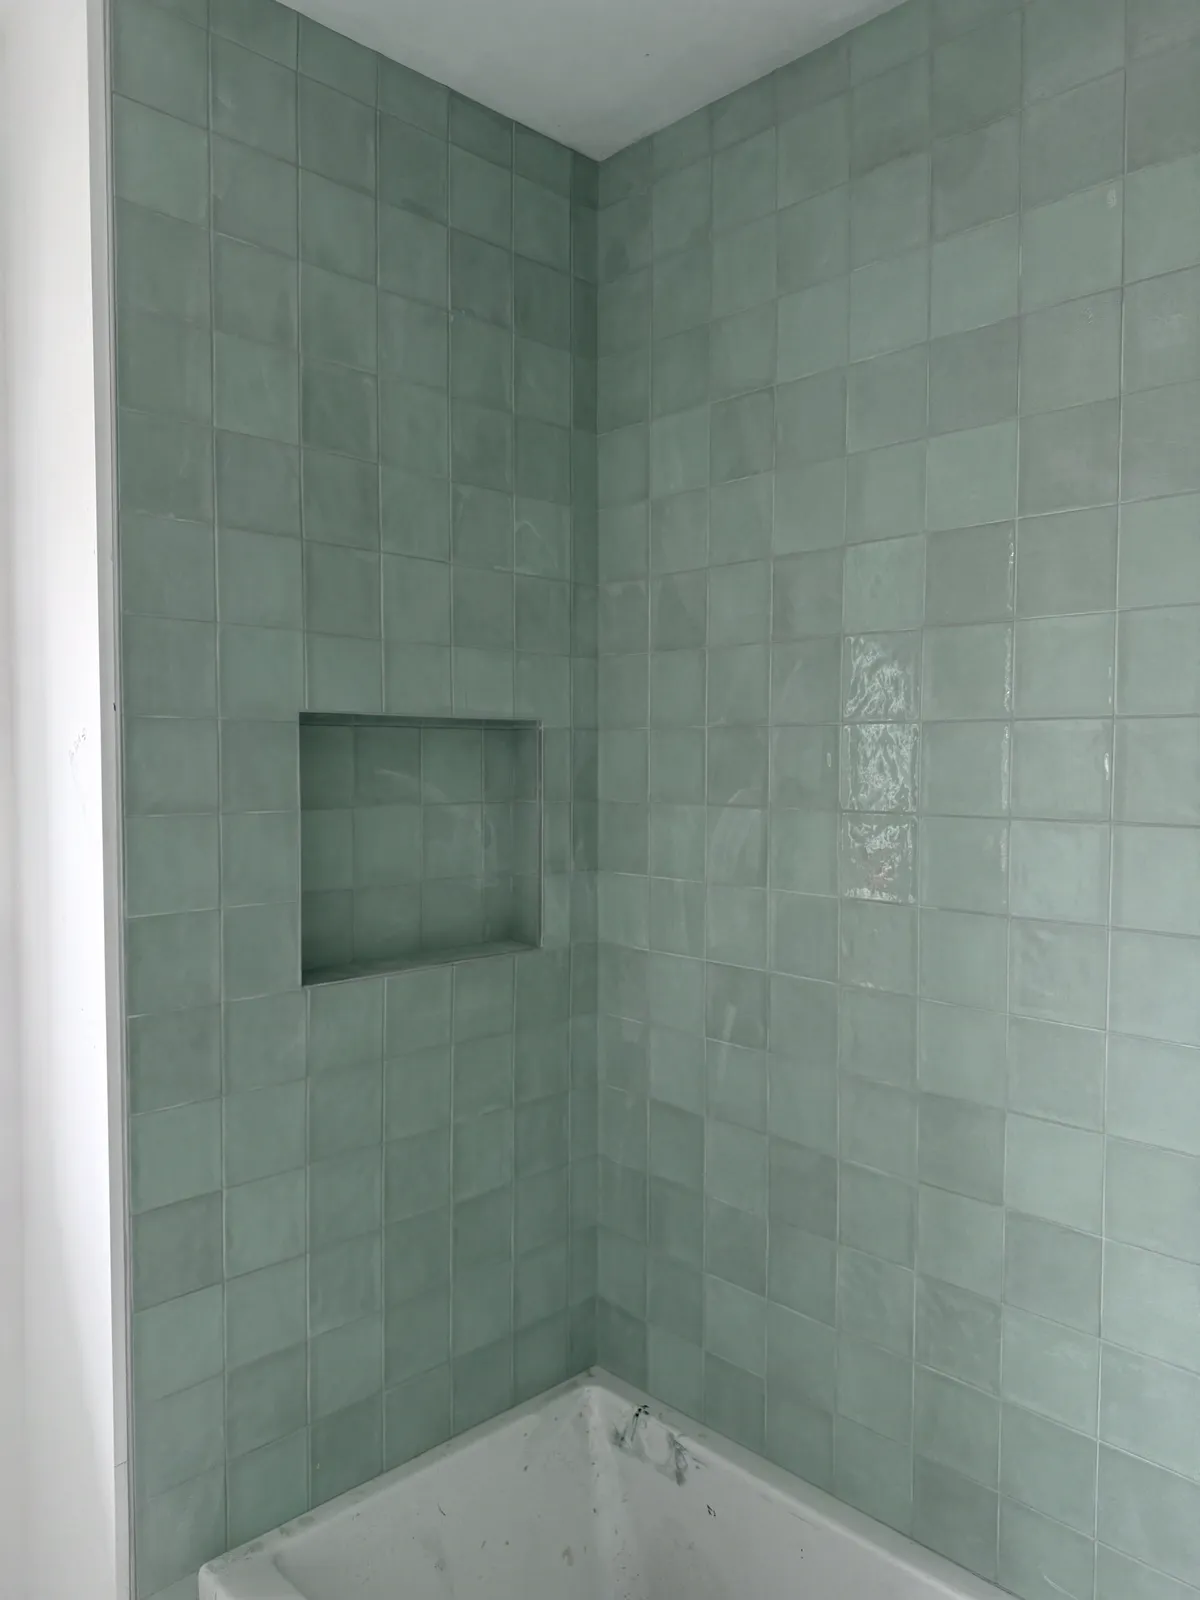
Glossy and polished tile. Sand can scratch high-gloss glazes, polished marble and glass. Use unsanded grout where the joint allows it, or a grout the tile maker approves, and test on a spare tile. The tile in the photo above is a glossy glaze, where a clean float and a soft sponge make the difference.
Crackle-glaze tile. Crackle tile has fine cracks in its glaze by design, and grout pigment can soak into them. Many makers ask for the tile to be sealed before grouting. Test the grout colour on a spare piece first, because a dark grout on light crackle tile can stain it for good.
Natural stone. Porous stone can absorb grout pigment and water, leaving stains or a picture frame around each tile. Stone is usually sealed before grouting, then again afterward, as the stone supplier advises. Avoid acidic cleaners on marble and travertine. Our natural stone care guide covers the products.
Mosaics. A mosaic has many more joints per square foot, so it takes more grout, more passes with the float and more careful sponging. Use a small float and a damp, not wet, sponge so the small pieces don't loosen. Glass mosaics need a grout their maker approves. See mosaic tile installation.
Large-format tile. Large tile is often set with narrow joints, so the grout has to suit narrow joints and be packed firmly past the clip bases. With so few joints, any colour difference between batches shows. Mix consistently and keep the sponge water clean.
How to grout a shower and how to grout floor tile
A shower is grouted like any other wall, from the top down, then the floor last. Grout is not waterproofing. The membrane behind the tile keeps the wall dry, which is why the shower must be waterproofed and tested before tile, as covered in how to waterproof a shower. Grout choice matters most here, and many people choose epoxy or a high-performance grout to resist soap scum and mildew. Leave all inside corners and the wall-to-floor joint for silicone. Our guide on how to tile a shower covers the steps before grout.
On a floor, plan your route so you finish at the door and never kneel on fresh grout, and keep the perimeter gap free of grout. For the full floor sequence, see how to tile a floor.
Common grouting mistakes
A short list of mistakes causes most of the grout problems installers are called back for. Too much water in the mix is first: weak, light, cracking grout. Too much water on the sponge is second, with the same results on the surface. Grouting before the mortar has cured comes next, causing blotchy colour and shifting tiles.
Colour blotching usually comes from batches mixed with different amounts of water or uneven sponging. Pinholes come from air whipped into the mix, joints not packed full, or a sponge that is too wet. Other common faults are grout in the corners, shallow joints over hardened mortar, and haze left until it bonds. If you are fixing old grout rather than grouting new tile, the steps are in regrouting a shower.
When grouting tile is a job for a pro
Grouting a small floor or backsplash with cement grout is a realistic DIY task. Work slowly, mix carefully, and do a test area on spare tile first. The work is physical but forgiving, as long as you control the water and the timing.
Some jobs are better left to an experienced installer. Epoxy grout is unforgiving: it sets fast, and haze that cures on the tile is very hard to remove. Polished stone, crackle glaze, glass mosaics and large showers also leave little room for error, and a stained or scratched tile can't be fixed with more grout. Agora Flooring has installed and grouted tile in Ottawa for 26+ years, and our tile installation page explains how we work. If you only need old grout replaced, see our tile and grout repair service.
Frequently asked questions
How long should you wait before grouting tile?
With a standard thin-set, usually about 24 hours. Cold rooms, large tile and tile over membranes can need longer, while rapid-setting mortars can often be grouted within a few hours. The mortar bag gives the wait for that product.
How long do you wait before wiping grout?
Until the grout in the joints is firm and doesn't smear when you press it lightly with a fingertip. The grout bag gives the time window, which changes with temperature and humidity. Wiping too early pulls grout out of the joints; too late and it is hard to remove from the tile.
How do you get grout haze off tile?
Buff fresh haze off with a dry microfibre cloth once the joints have firmed. For cured haze, use a haze remover that both the tile maker and the grout maker allow, and test it first. Many removers are acidic and can etch natural stone.
Should you grout or caulk tile corners?
Caulk them. Inside corners, the joint where walls meet the floor or tub, and the countertop joint under a backsplash get a flexible sealant colour-matched to the grout. Grout in those joints cracks as the surfaces move. See tile movement joints.
Do you wet tile before grouting?
Usually not, but some grout makers suggest lightly dampening very absorbent tile or joints on hot, dry days. Use a barely damp sponge and never leave standing water. The grout bag says whether it applies.
Why does my new grout look patchy?
Uneven water is the usual cause: batches mixed with different amounts of water, a sponge that was too wet in some areas, or grout drying over mortar that hadn't fully cured. Some patchiness evens out as the grout cures. If it doesn't, a grout colourant can even out cement grout.