Short answer
A kitchen renovation follows a fairly fixed order: design and ordering, demolition, plumbing and electrical rough-in, walls, then the floor (before or after the cabinets, depending on the floor type), cabinets, countertop templating and countertops, the backsplash, and finally appliances, hook-ups, paint and trim. Cabinet and countertop lead times usually set the schedule, so the most useful thing you can do is finish the design and place the orders before anything is torn out.
A kitchen renovation brings more trades into one room than almost any other project in a house. Plumbers, electricians, cabinet installers, countertop fabricators, flooring and tile installers and painters all need their turn, and most of them can't start until the one before has finished. This guide walks through the kitchen remodel steps in the order they usually happen, what each trade does, and where flooring and the backsplash fit. It is written from the floor and tile side: Agora Flooring installs kitchen floors, tile and backsplashes in Ottawa, while cabinets, countertops, plumbing and electrical work are done by those trades.
How a kitchen renovation works: the big picture
Every kitchen is different, but the sequence is driven by the same few facts. Services in the walls and floor have to be in place before the walls are closed. The floor has to be decided before the cabinets go in, because it changes the cabinet and dishwasher heights. Countertops can only be measured once the cabinets are fixed. And the backsplash sits on the finished countertop, so it is one of the last tile jobs in the room.
That chain is why a kitchen renovation rarely goes faster than its slowest order. If the cabinets arrive late, every trade after them waits. Planning is mostly about lining up those handoffs so nobody stands in an empty kitchen waiting.
Step 1: Design, measuring and ordering
The most important work happens before demolition. Start with the layout: where the sink, range, fridge and dishwasher go, whether there will be an island, and whether any of them move. Keeping the sink and range where they are keeps plumbing, gas and venting changes small. Moving them is possible, but it adds rough-in work and often opens more of the floor and walls.
Measure carefully, or have the cabinet supplier measure. Walls are rarely square, and older Ottawa houses often have floors that slope or dip. The designer needs real dimensions, including openings, ceiling height, bulkheads and every pipe and vent.
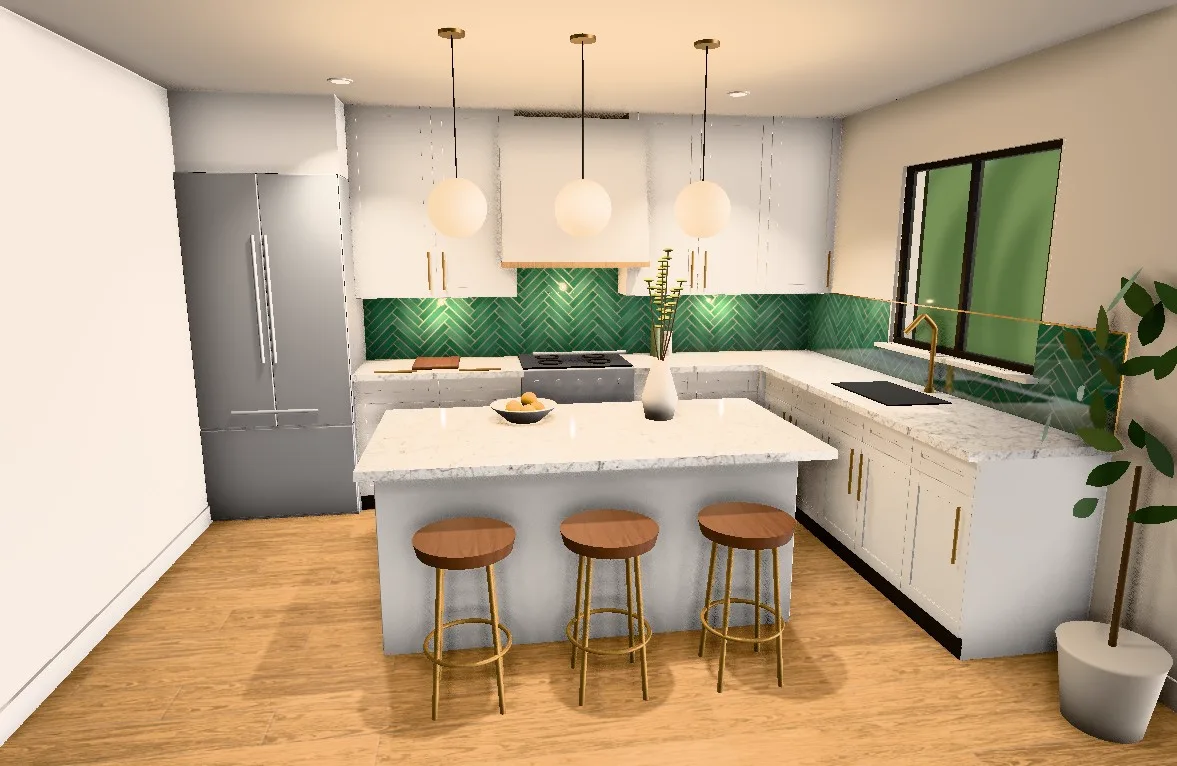
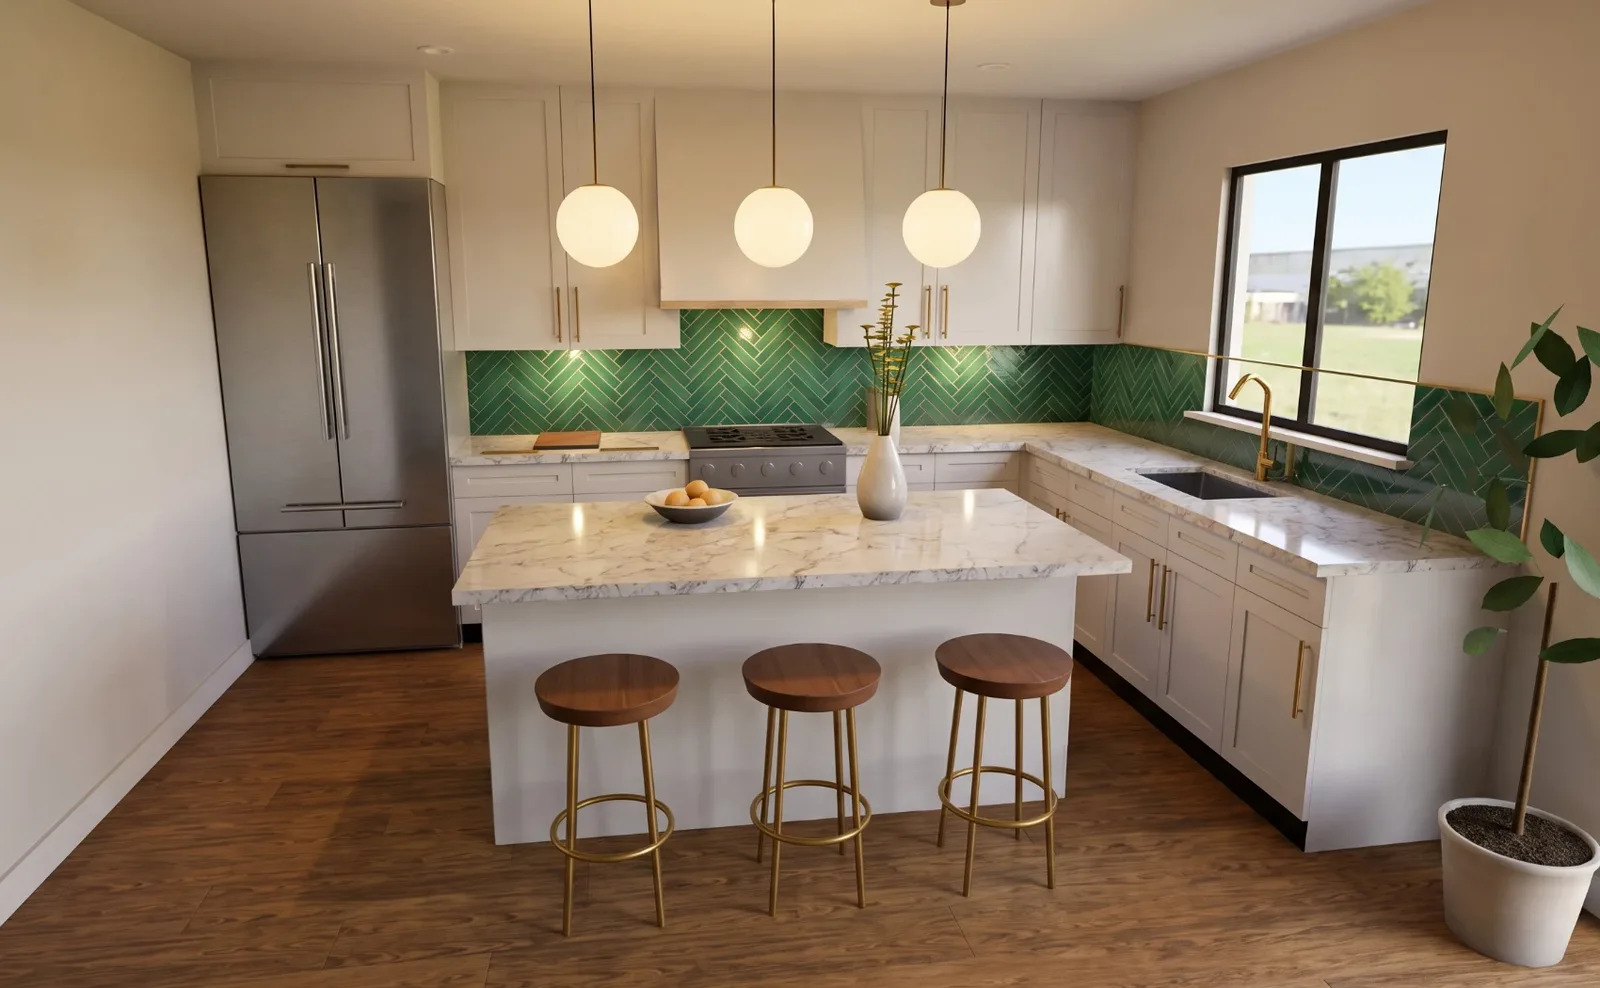
Then choose the finishes together, because they affect each other. The appliance specifications set the cabinet openings. The floor build-up sets the dishwasher clearance. The countertop decides which backsplash will suit it; our kitchen backsplash ideas start from the counter for that reason. If you find it hard to picture the finished room, a 3D design consultation lets you see the floor and backsplash in place before anything is ordered.
Place the orders before demolition. Custom and semi-custom cabinets are usually made to order, and some tile, appliances and sinks take weeks to arrive. Lead times vary by supplier and season, so ask each one for a date in writing and build the schedule around the longest. Ordering early is the single most effective way to shorten the time you live without a kitchen.
Step 2: Demolition and what it uncovers
Demolition takes out the old cabinets, countertops, backsplash and, if it is being replaced, the old floor. It is quick compared to the rest of the job, but it is also when surprises show up: water damage under the sink, a soft subfloor by the dishwasher, wiring that isn't up to current standards, or old patched floors under the vinyl.
In older homes, be careful with old flooring. Some older floor tile, sheet vinyl backing and the mastic under them can contain asbestos. If your house is old enough for that to be possible, have the material tested before it is disturbed, and use qualified abatement if the test is positive. Our guide to asbestos floor tile explains what to look for.
Protect the rest of the house during demolition: close off doorways, cover the floors on the way out, and change the furnace filter afterwards. Agora can remove old flooring and tile as part of a flooring job, quoted as an extra. Cabinets and countertops are removed by whoever does the demolition.
Step 3: Plumbing, electrical and ventilation rough-in
With the room open, the licensed trades run services to their new locations. The plumber moves supply and drain lines for the sink, dishwasher, fridge water line and any pot filler. The electrician runs new circuits for appliances, counter outlets, under-cabinet lighting and the range hood. A licensed gas fitter handles any gas line for a range or cooktop. The range hood duct is planned so it runs to the outside by a sensible route.
Permits depend on the work. Moving walls, changing structure or adding plumbing fixtures may need a City of Ottawa building permit, so check with the City before work starts. Electrical work needs an ESA permit where required, and the licensed electrician arranges it. Inspections are booked before the walls are closed, which is another reason the schedule needs some slack at this stage.
This is also the time to decide on an electric heated floor under kitchen tile. The heating cable runs only in the open floor, never under cabinets or the island, so the cabinet layout must be final before it goes down. The heating mat or cable for electric heated floors under tile goes in with the tile, and a licensed electrician makes the final connection.
Step 4: Walls, subfloor and the flooring decision
Once the rough-in passes inspection, the walls are insulated where needed, drywalled, taped and primed. A kitchen backsplash is a dry area, so sound, flat drywall is a good base for tile, and it doesn't need cement board. Flatness matters, though: a bowed wall shows behind long subway tile and large panels.
Repairs to the subfloor happen now as well. Soft spots, loose panels and dips are fixed so the new floor sits on something stiff and flat.
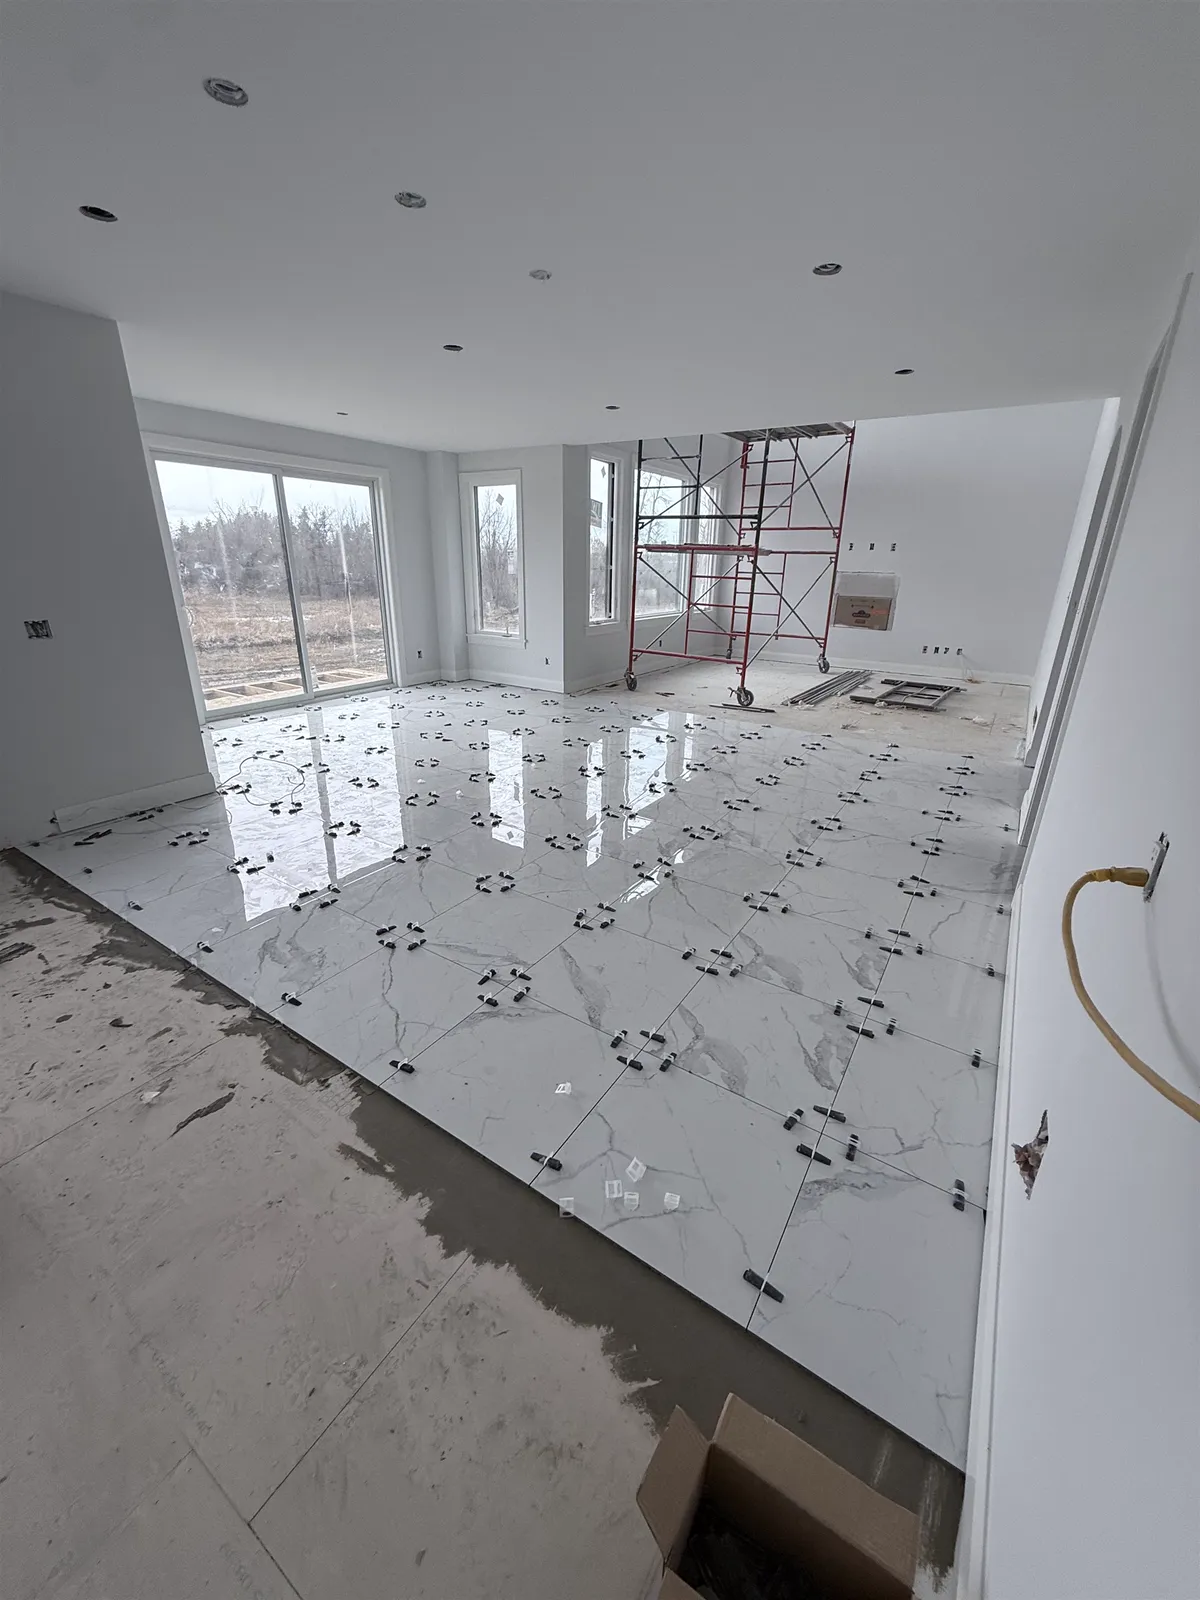
Then comes the question every kitchen renovation has to answer: does the floor go in before or after the cabinets? In short, porcelain and ceramic tile and nail-down hardwood are often installed first, so the floor is continuous and appliances and islands can move later. Floating floors such as click vinyl plank and laminate go in after the cabinets, because most makers don't allow fixed cabinets to pin them down. Either way, the finished floor runs into the dishwasher, fridge and range spaces. The full reasoning, including dishwasher heights and islands, is in flooring before or after cabinets. For the choice of floor itself, see tile vs vinyl for kitchens and bathrooms.
A floor laid before the cabinets needs a breathable protection board once it has cured, because every trade after it crosses it.
Step 5: Cabinets, countertop templating and countertops
The cabinet installer sets the base cabinets first, levelled and shimmed, then fixes them to the wall and to each other. Upper cabinets follow. The island is set and fastened in its final position. Filler strips, end panels and the dishwasher opening are checked against the appliance specifications at this stage.
Stone and quartz countertops are usually templated only after the cabinets are fixed and level. The fabricator measures the installed cabinets, often with a digital template, and makes the countertop to fit. Fabrication takes time, so there is usually a gap between templating and installation. Laminate and butcher-block counters can be quicker. The sink and cooktop cut-outs are made from the fixtures you chose, so have those on site or confirmed before templating.
One backsplash decision belongs here too. If any part of the backsplash will be a slab cut from the countertop material, the fabricator needs to know before templating.
Step 6: Backsplash installation
The backsplash goes on after the countertop is installed, because the tile starts from the finished counter. The installer turns off power at the breaker, removes the cover plates, cleans grease off the wall and checks it for flatness. Box extenders bring outlets flush with the new surface. The layout is centred on the range or the window over the sink, and the first full row is set from a level line, since counters are not always level.
The joint where the tile meets the countertop is filled with a flexible sealant colour-matched to the grout, not with grout, and so are the inside corners. A typical kitchen backsplash is often one to two days of tile work, plus grout cure. Patterns such as herringbone, full-height walls and window returns add time. The steps are covered in detail in how to install a backsplash, and the pattern choices in subway tile patterns.
Agora installs backsplashes in homes across Ottawa and tiled the food-station backsplashes at Teraanga Commons at Carleton University. See our kitchen backsplash installation page for how we work.
Step 7: Appliances, final hook-ups, paint and trim
With the counters and backsplash in, the plumber sets the sink, faucet, disposal and dishwasher. The electrician installs the devices, under-cabinet lights, pendants and range hood, and connects hard-wired appliances. A gas range is connected by a licensed gas fitter. Freestanding appliances slide into their spaces on the finished floor.
Floating floors are often fitted around the cabinets at about this point, once the heavy work is done, with the expansion gap at the cabinets covered by a small moulding. Then come the final touches: toe-kicks, cabinet mouldings, baseboards and trim, transitions to the next room, and the final coat of paint.
Finish with a walk-through: drawers and the dishwasher open fully, appliances slide out without catching, and sealant joints are neat.
Kitchen renovation timeline: what sets the pace
There is no single number for how long a kitchen renovation takes, but the shape of the timeline is predictable. The longest part is often the wait for cabinets, which happens before demolition if the orders were placed early. On site, the work runs in stages, and each stage waits for the one before.
| Stage | Who | What it waits for |
|---|---|---|
| Design and ordering | Homeowner, designer, suppliers | Final layout and finish choices |
| Demolition | Contractor or homeowner | Orders confirmed with delivery dates |
| Rough-in and inspections | Plumber, electrician, gas fitter | Open walls and floor; permits |
| Drywall and subfloor repairs | Drywaller, carpenter | Rough-in inspected |
| Tile or hardwood floor (if first) | Flooring installer | Final cabinet and island plan |
| Cabinets | Cabinet installer | Delivery; floor cured if laid first |
| Countertops | Fabricator | Cabinets fixed and level; templating |
| Backsplash | Tile installer | Countertop installed |
| Hook-ups, floating floor, paint and trim | Licensed trades, installers, painter | Counters and backsplash finished |
The tile parts are measured in days, not weeks. A tiled kitchen floor typically takes a few days, including subfloor preparation and the cure before grouting. The backsplash is usually one to two days of work. The bigger delays come from elsewhere: a late delivery, damage found during demolition, a failed inspection, or a decision still being made after the room is open. A written schedule that every trade can see, and a little slack between stages, does more to keep a kitchen on track than anything else.
Who does what in a kitchen renovation
A kitchen renovation only works if each trade knows its part and its place in the order. In a typical project, the homeowner or a general contractor coordinates the schedule. A licensed plumber makes plumbing changes and connects the sink and dishwasher. A licensed electrician does the wiring, with an ESA permit where required. A licensed gas fitter connects gas appliances. The cabinet installer sets the cabinets, and the countertop fabricator templates and installs the counters. Drywallers and painters finish the walls.
Agora's part is the floor, the backsplash and any other tile: tile floors and electric heated floors under tile, hardwood, vinyl plank and laminate, the backsplash, and the baseboards and transitions. We don't supply or install cabinets or countertops, and we don't do plumbing, electrical or general contracting. When the floor goes in before the cabinets, we need the final cabinet plan, the island position and the appliance specifications before we start, so the floor and any heating cable are laid out correctly.
Living without a kitchen during the renovation
For most households, the hardest part of a kitchen renovation is the weeks without one. A little planning makes it easier. Set up a temporary kitchen in another room with the fridge, a microwave, a kettle and a toaster oven or slow cooker, plugged into circuits that aren't being worked on. Use a laundry sink or bathroom for washing up. Paper plates and simple meals help.
Keep a path clear for deliveries and trades, and decide where cabinets and tile will be stored when they arrive. Check every box against the order, including the tile lot numbers, so a missing or damaged piece is found before installation day. Our checklist for preparing for flooring installation covers the floor side of the move-out.
Kitchen renovations in Ottawa condos
In a condo, the building's rules come first. Many condominium corporations require approval before any renovation, and some require an alteration agreement, proof of insurance from each contractor, set working hours and elevator bookings for deliveries and debris. Hard floors often need an approved acoustic underlay to limit noise to the suite below, and the rules may also apply to the floor under the cabinets. Read your declaration and rules and ask the property manager what applies before anything is ordered. Our guide to condo flooring rules explains the sound requirements.
Plumbing in a condo is often harder to move, because drains and risers run through the concrete slab and are shared with other units. Plan the layout around what the building allows.
What drives kitchen renovation cost
Kitchen renovation cost varies more than almost any other project, so it is more useful to know what drives it than to rely on an average. Cabinets and countertops are usually the largest items, and their price depends on construction, finish and size. Moving the sink, range or walls adds plumbing, electrical, gas and permit work. Appliances range widely. Damage found during demolition, such as a rotten subfloor, adds repairs.
On the floor and tile side, the main drivers are the area, the floor type, subfloor preparation and levelling, removal of the old floor, whether the floor runs under the cabinets, and any heated floor. For the backsplash, the size of the wall, the tile, the pattern, the number of outlets and windows, and the edge finishes all change the labour. Our guides to backsplash installation cost in Ottawa and flooring cost in Ottawa explain those parts, and a free written quote gives you real numbers for your own kitchen.
Frequently asked questions
What is the correct order for a kitchen renovation?
Design and order first, then demolition, plumbing and electrical rough-in, drywall and subfloor repairs. Tile or nail-down hardwood often goes in next, then cabinets, countertop templating and countertops, the backsplash, appliances and hook-ups, and finally floating floors, paint and trim.
What comes first, flooring or cabinets?
It depends on the floor. Tile and nail-down hardwood are often installed first, while floating floors such as click vinyl plank and laminate go in after the cabinets. See flooring before or after cabinets for the details.
Does the backsplash go in before or after the countertop?
After. The tile starts from the finished countertop, and the joint between them is filled with flexible sealant rather than grout.
How long does a kitchen renovation take?
It varies with the scope, but the wait for cabinets and countertops usually sets the pace. The tile work itself is measured in days: often one to two days for a backsplash and a few days for a tiled floor.
Do I need a permit for a kitchen renovation in Ottawa?
It depends on the work. Changing walls or structure or adding plumbing fixtures may need a City of Ottawa building permit, so check with the City first. Electrical work needs an ESA permit where required, arranged by the licensed electrician.
Can I stay in the house during a kitchen renovation?
Most people do. Set up a temporary kitchen in another room, keep the work area closed off from the rest of the house, and expect noise and dust during demolition.
Does Agora do full kitchen renovations?
No. Agora installs the floor, the backsplash and other tile, and can remove the old floor as an extra. Cabinets, countertops, plumbing and electrical work are done by those trades, usually coordinated by the homeowner or a general contractor.